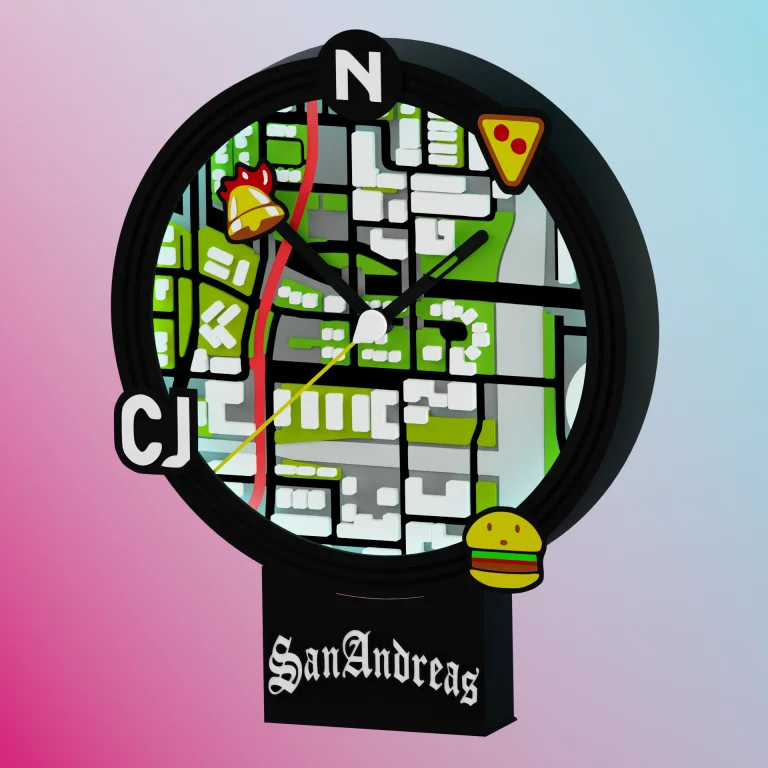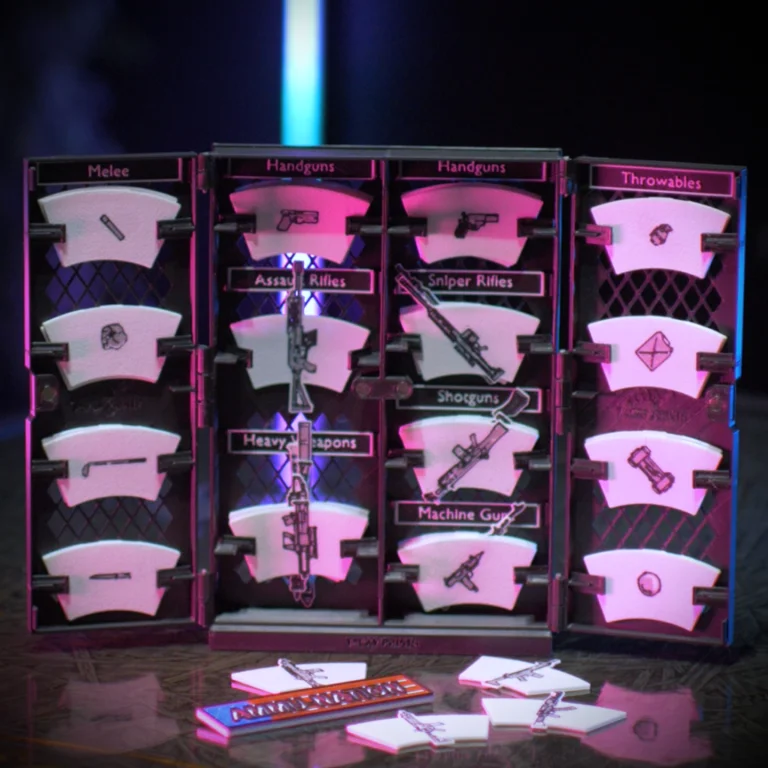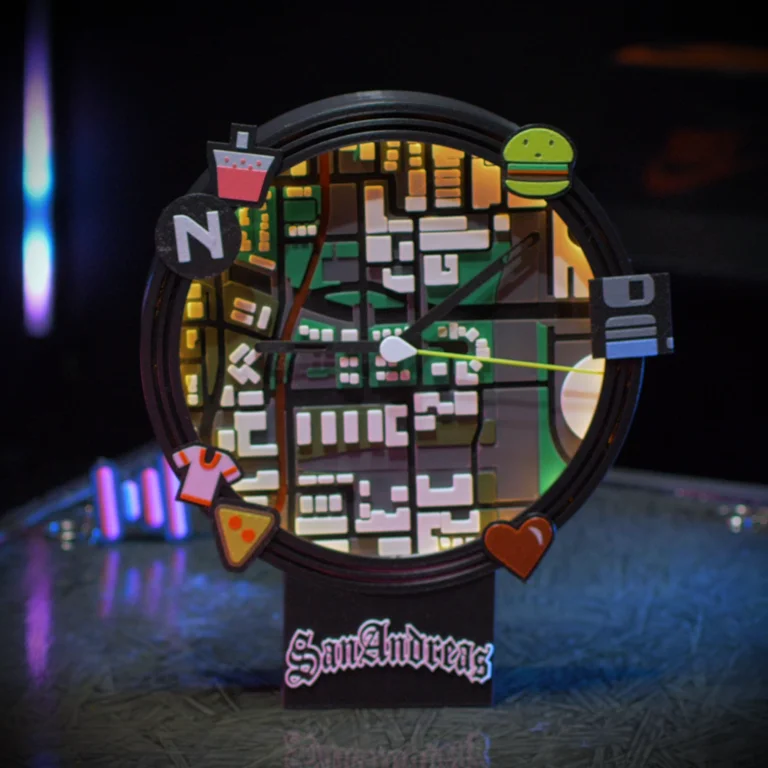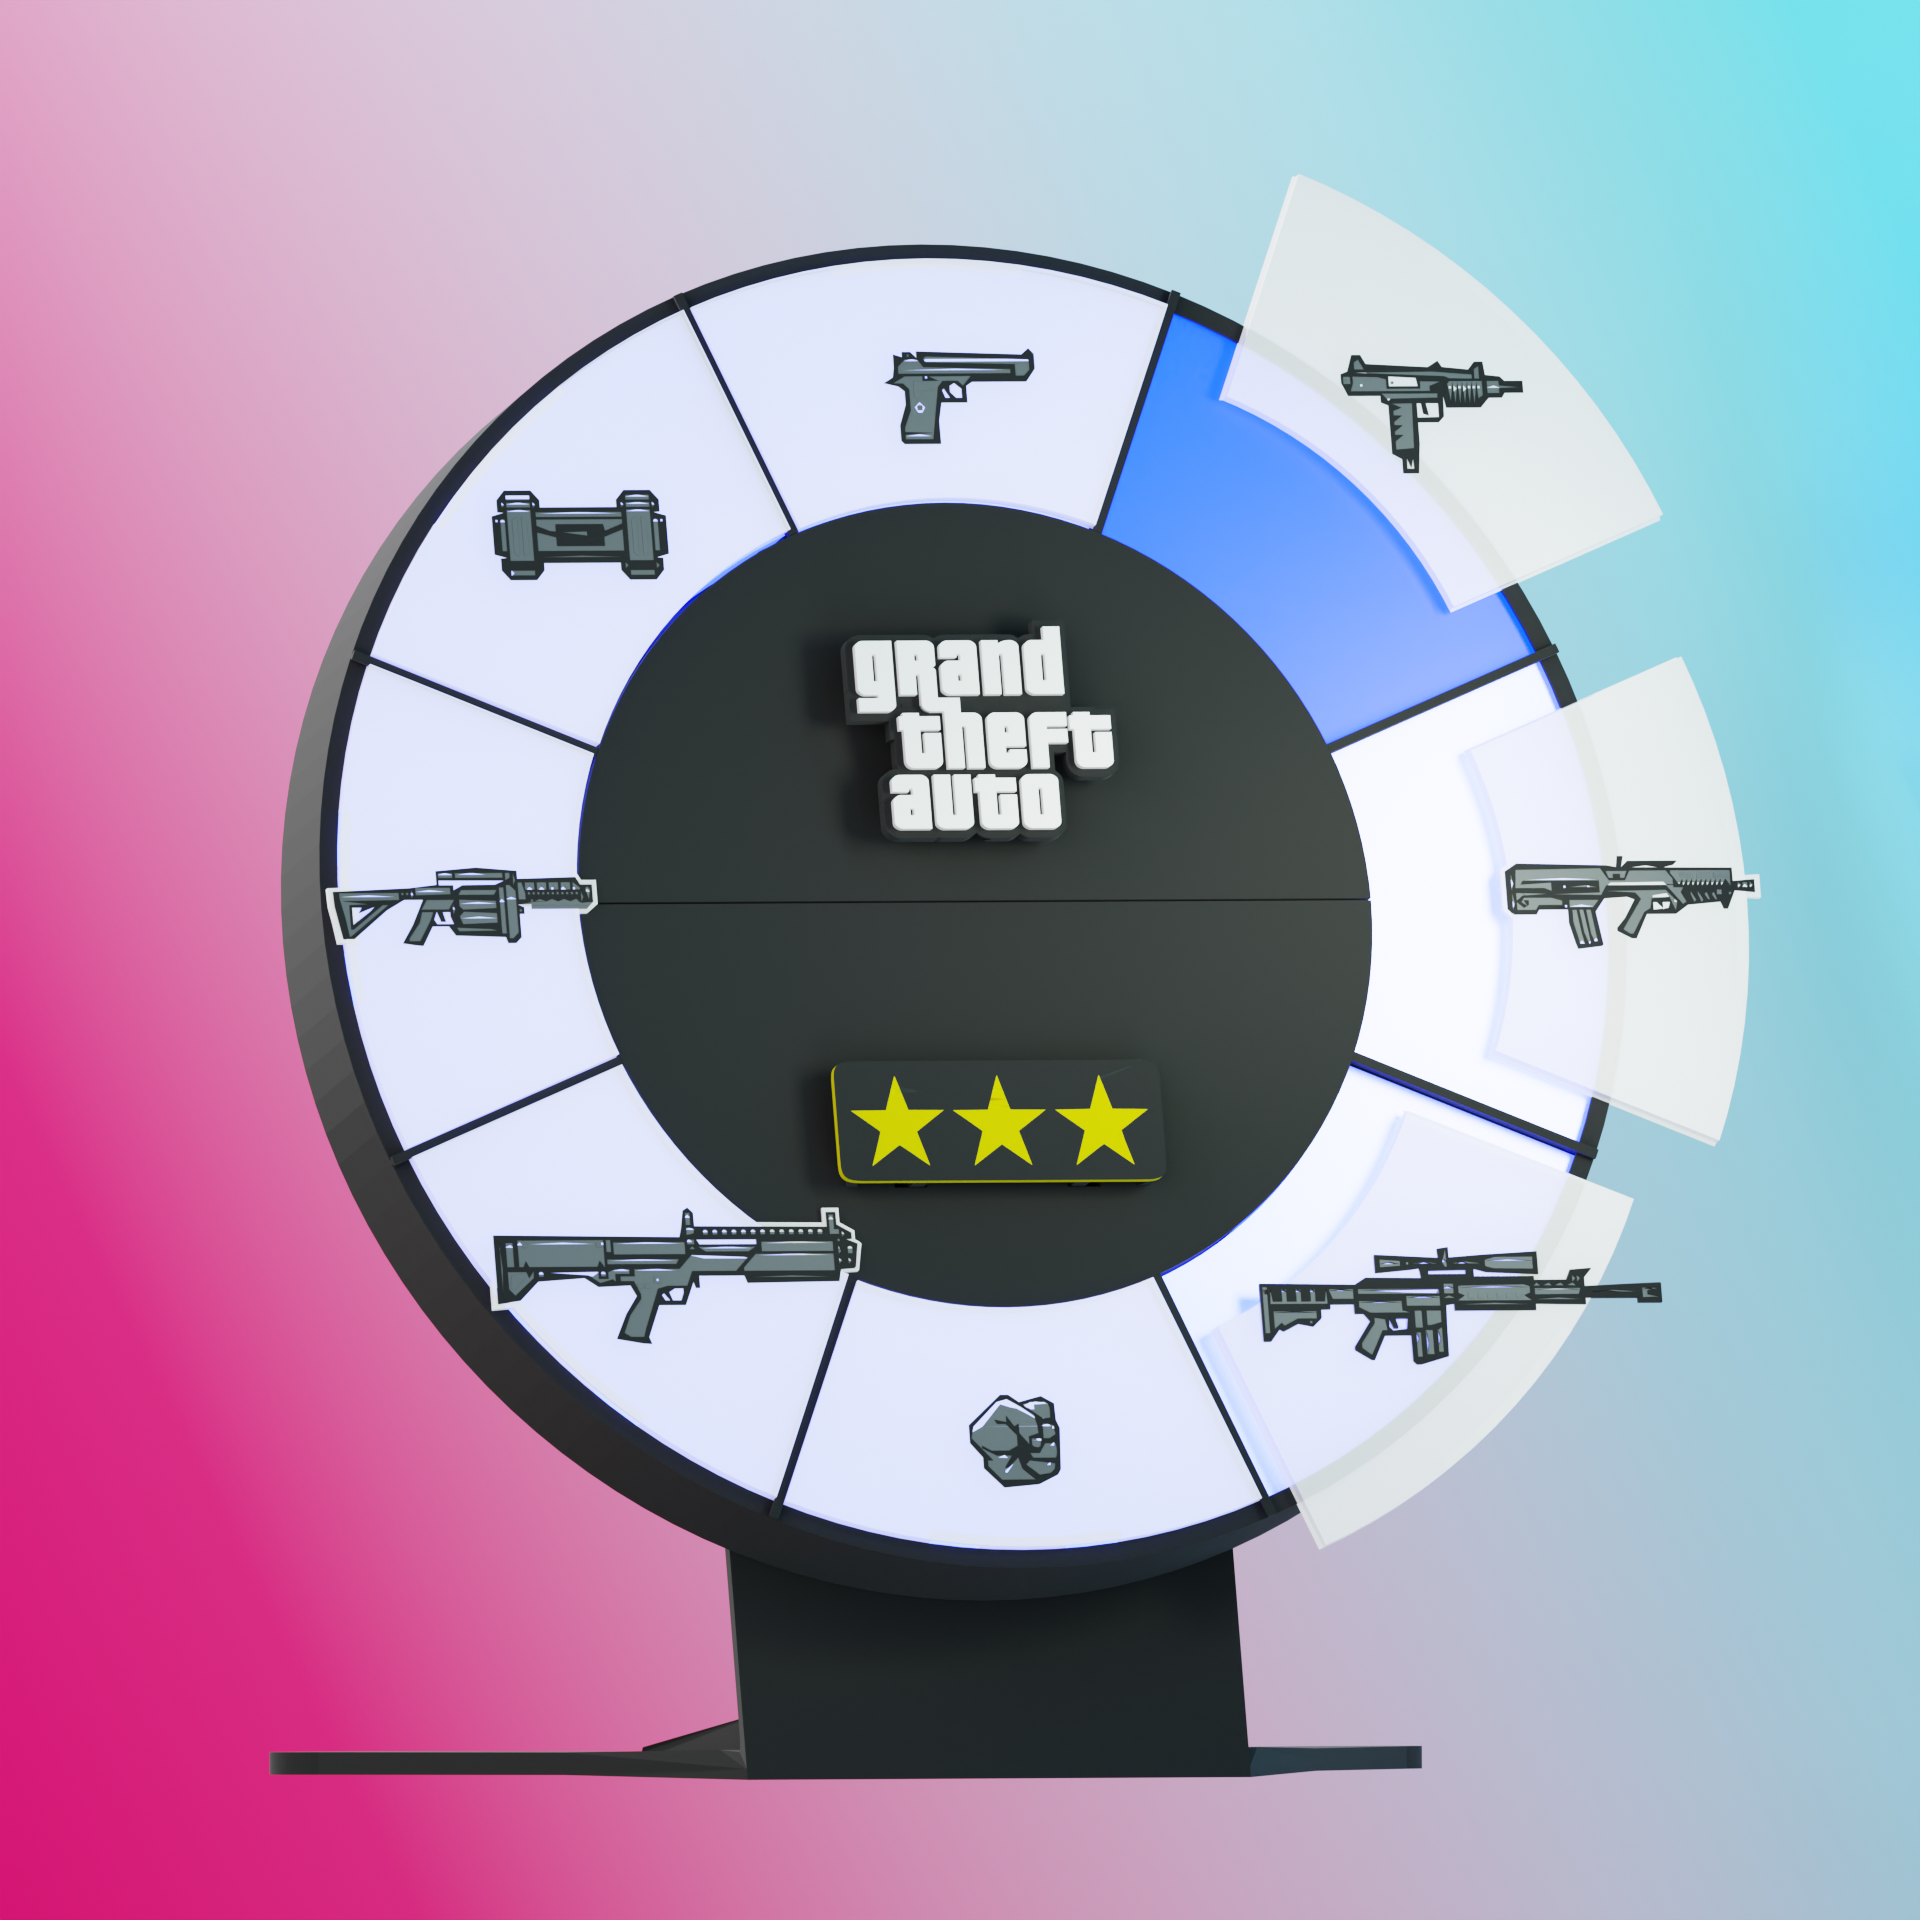
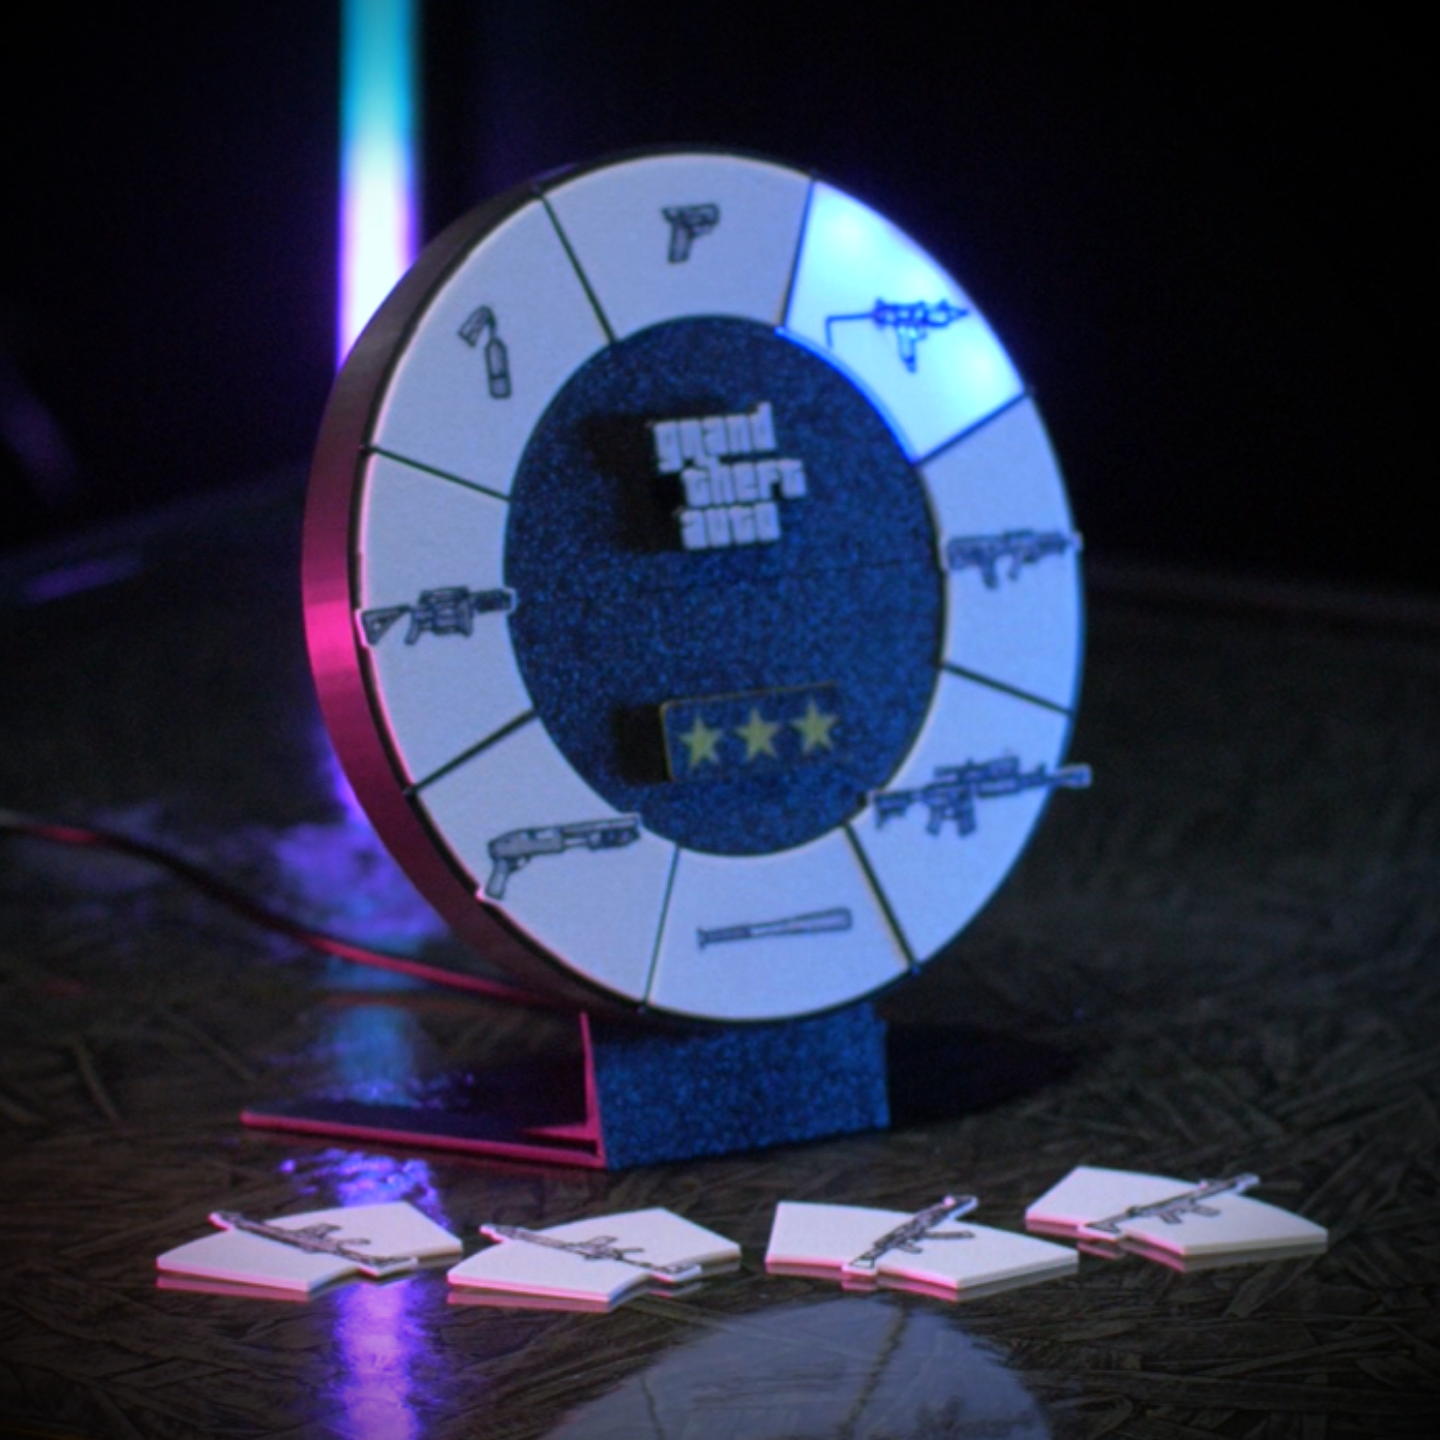
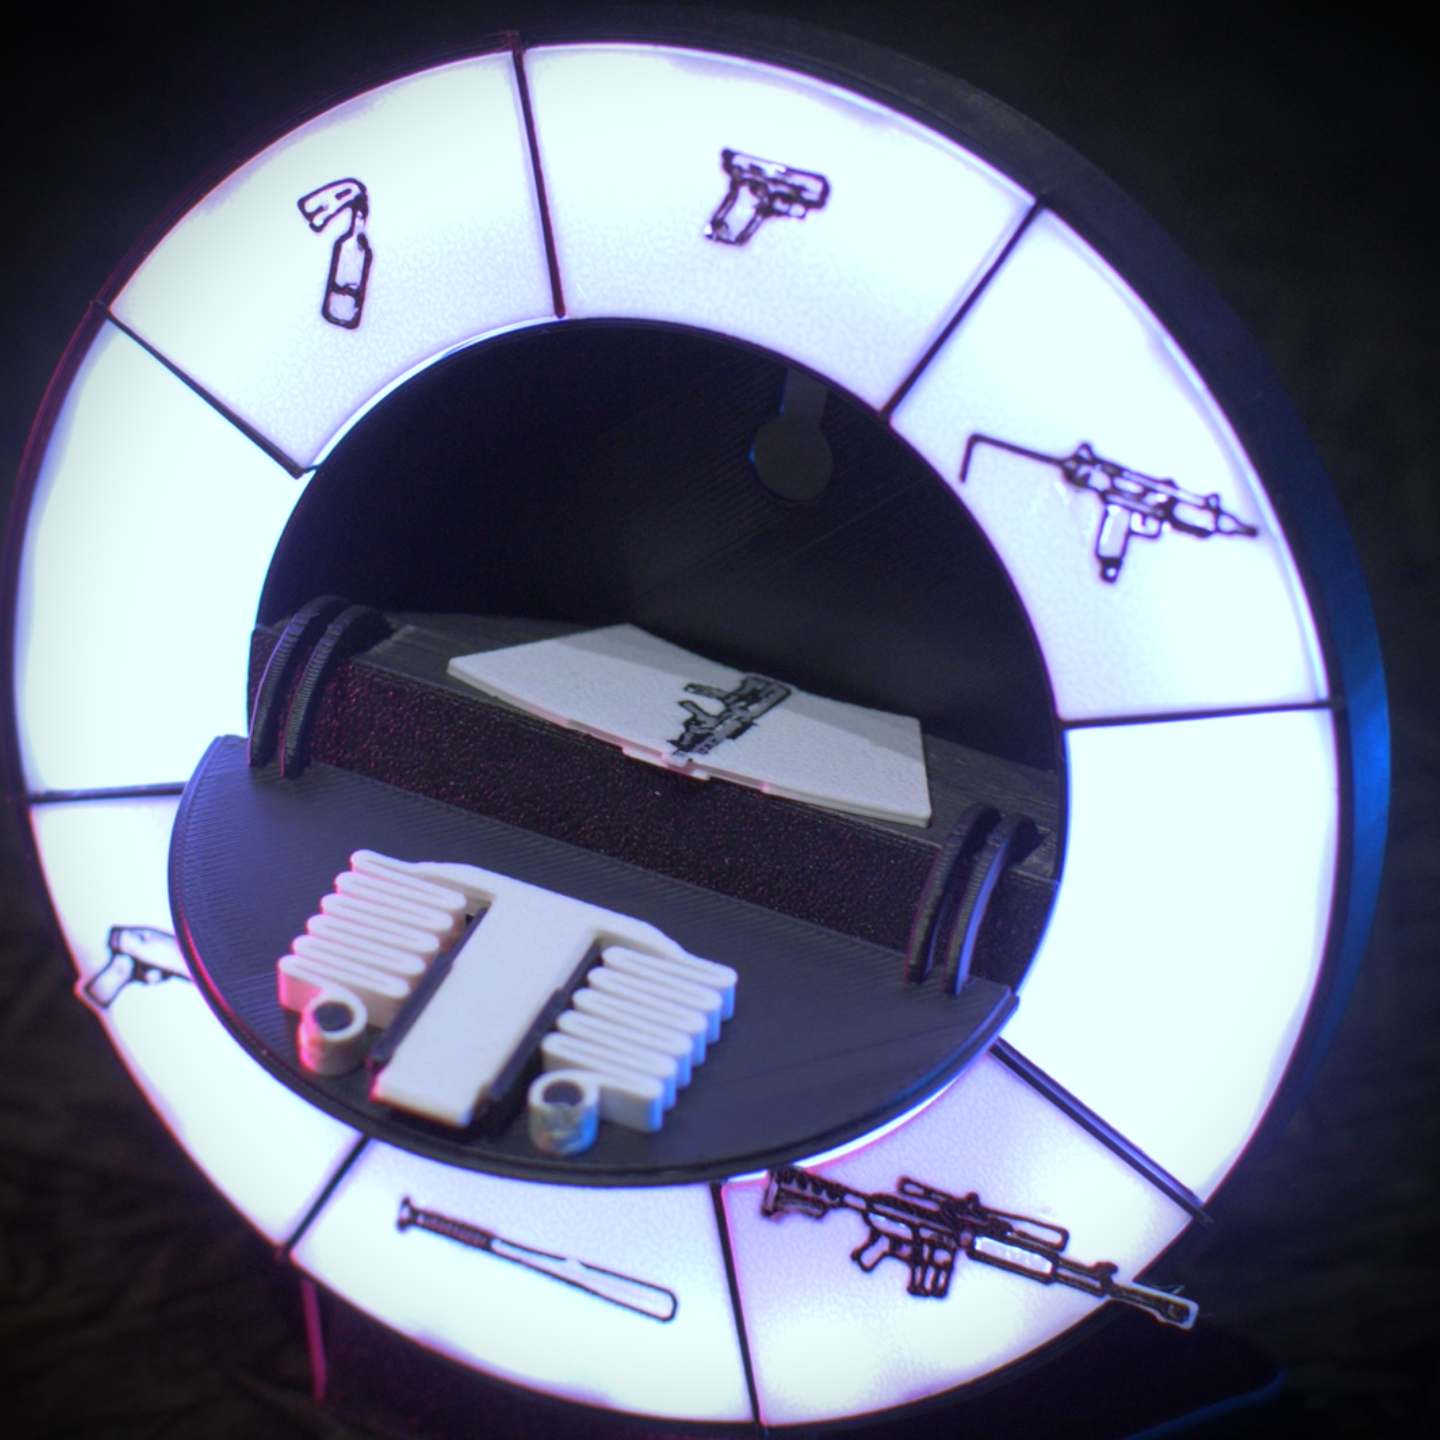
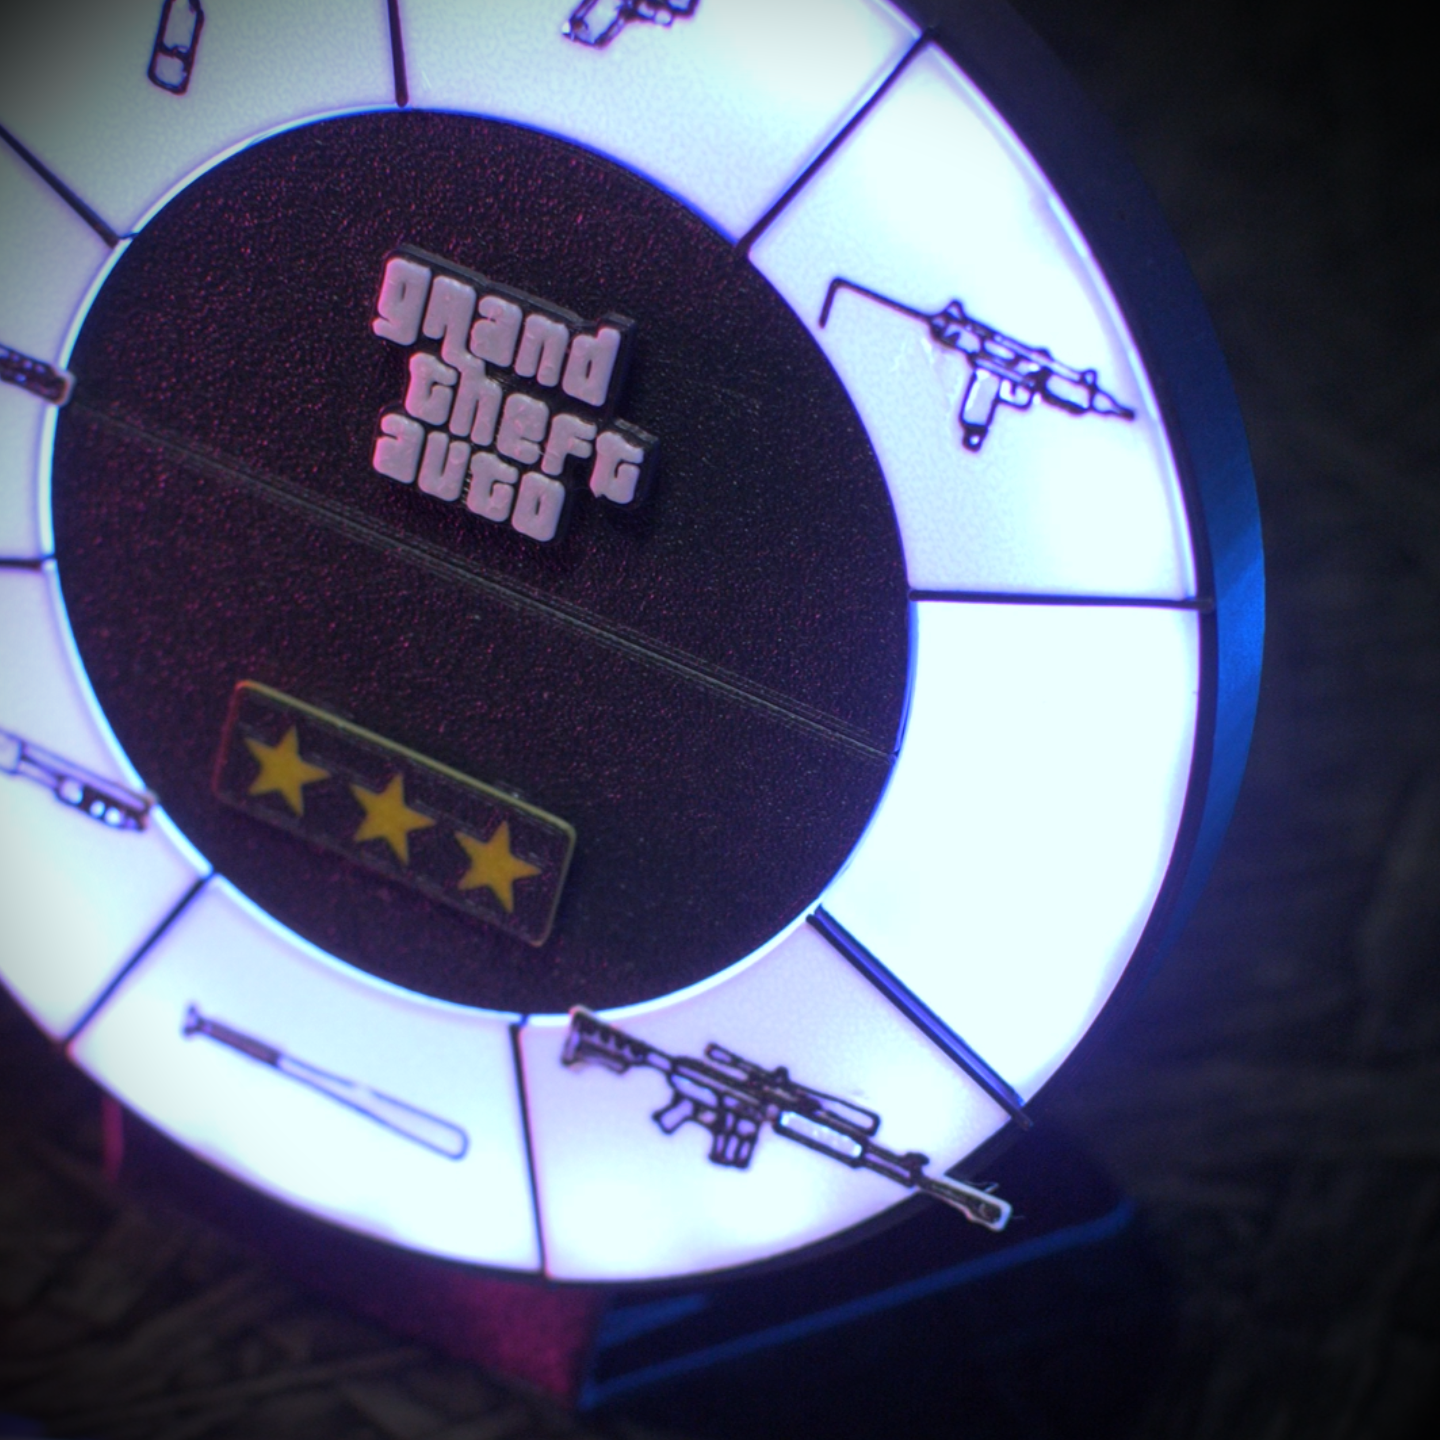
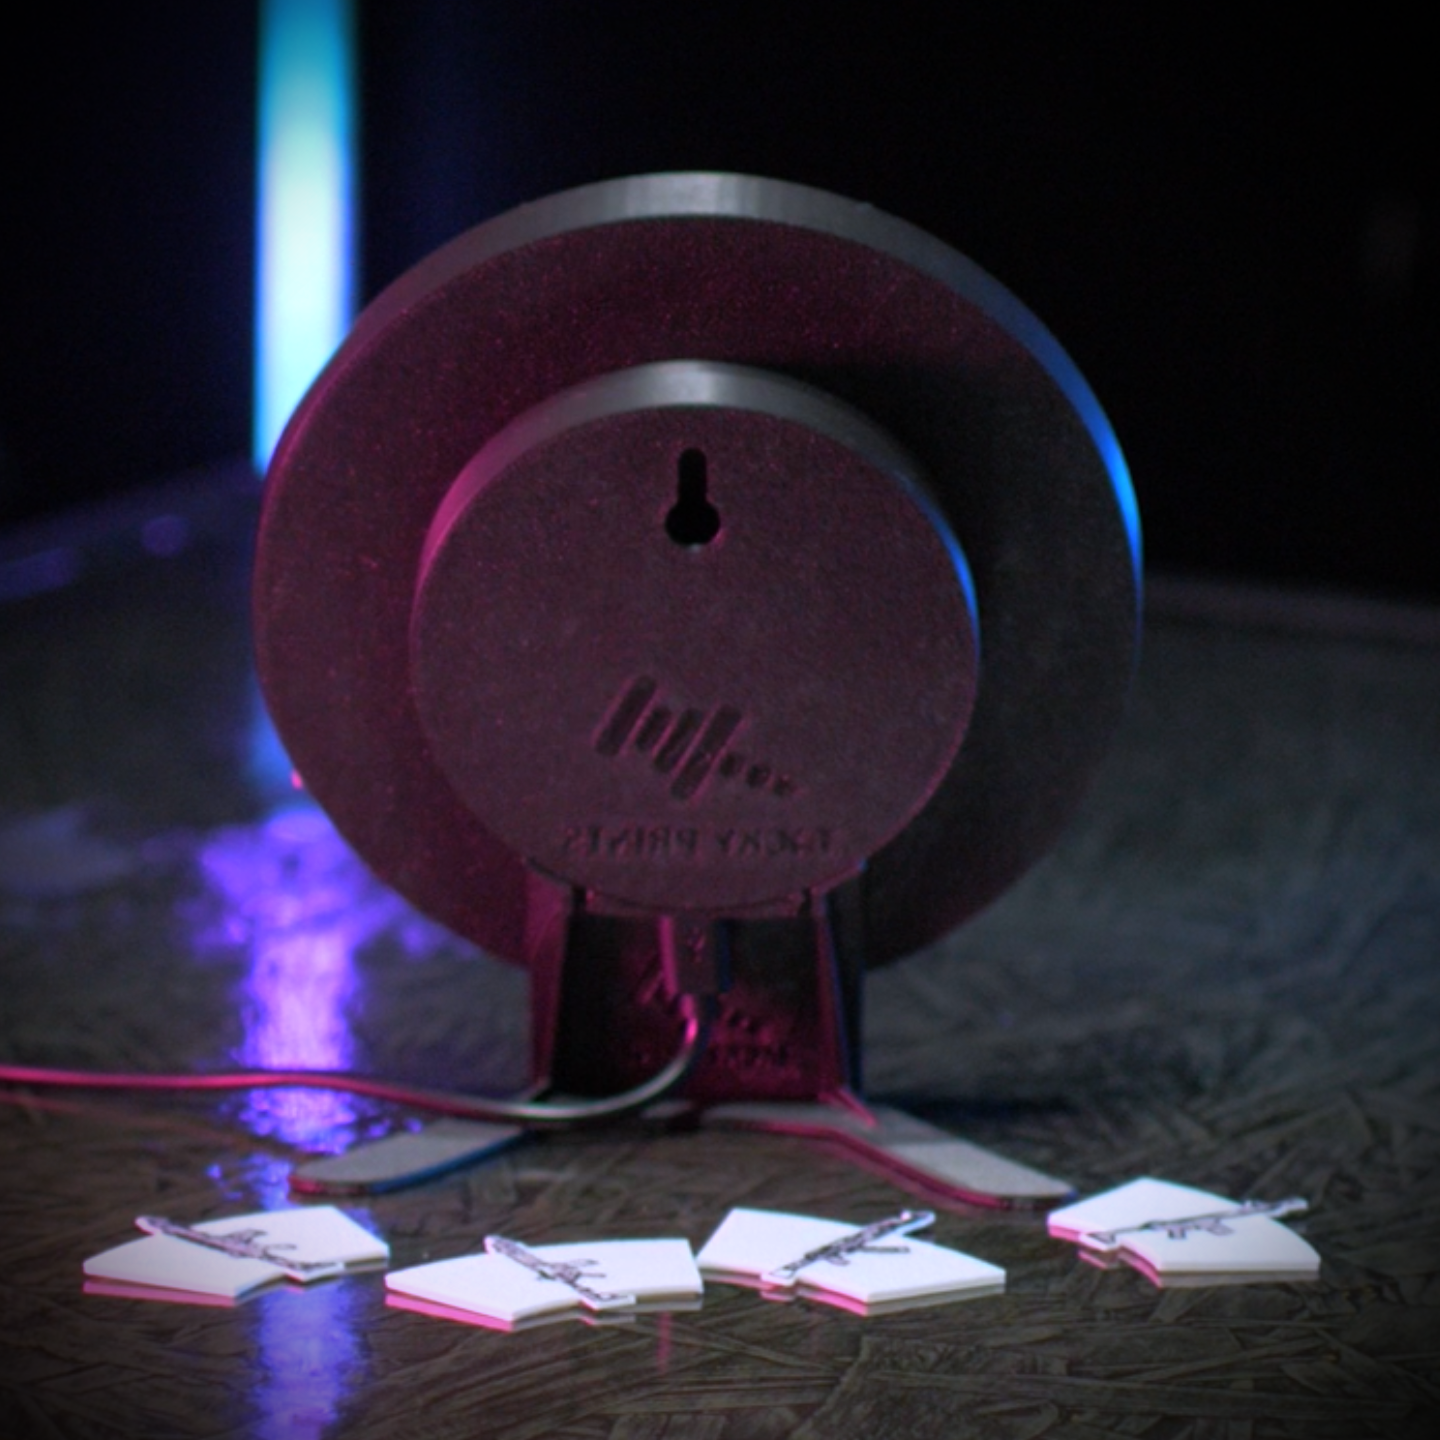
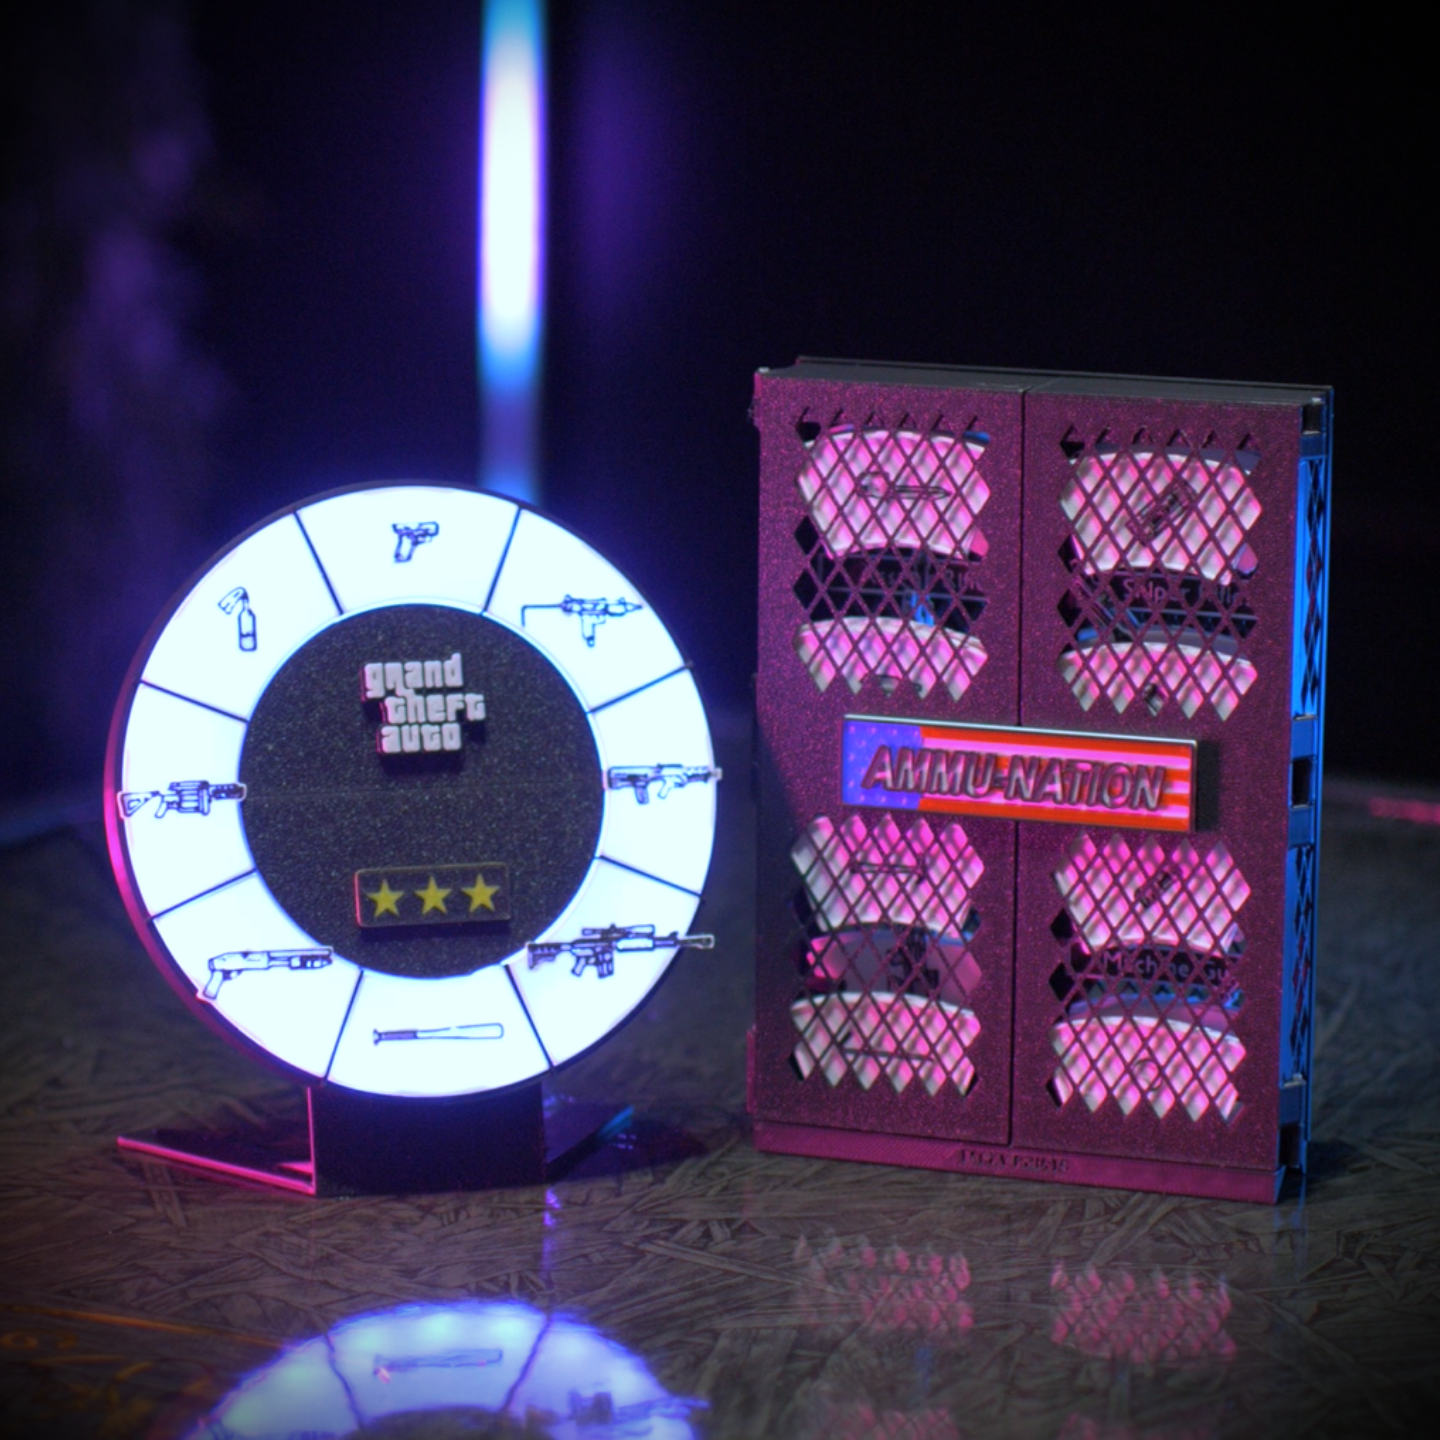
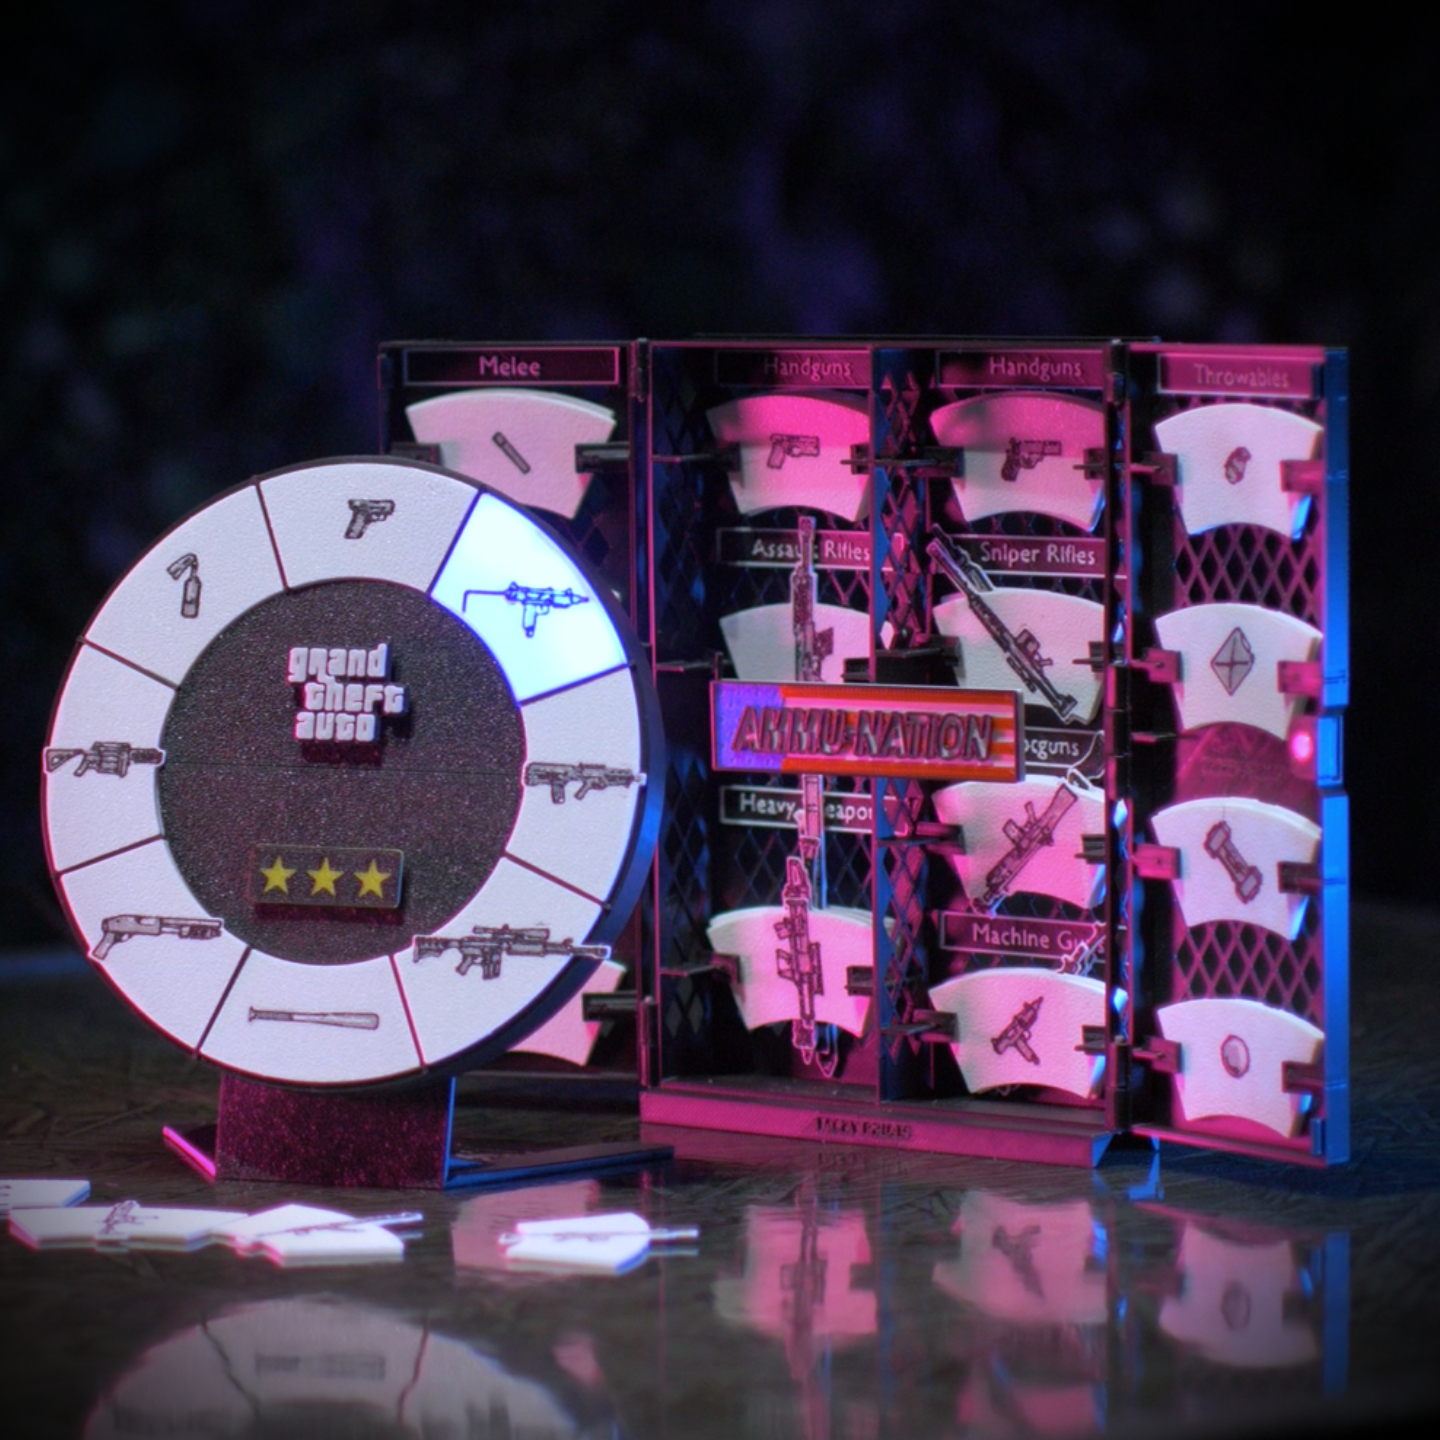
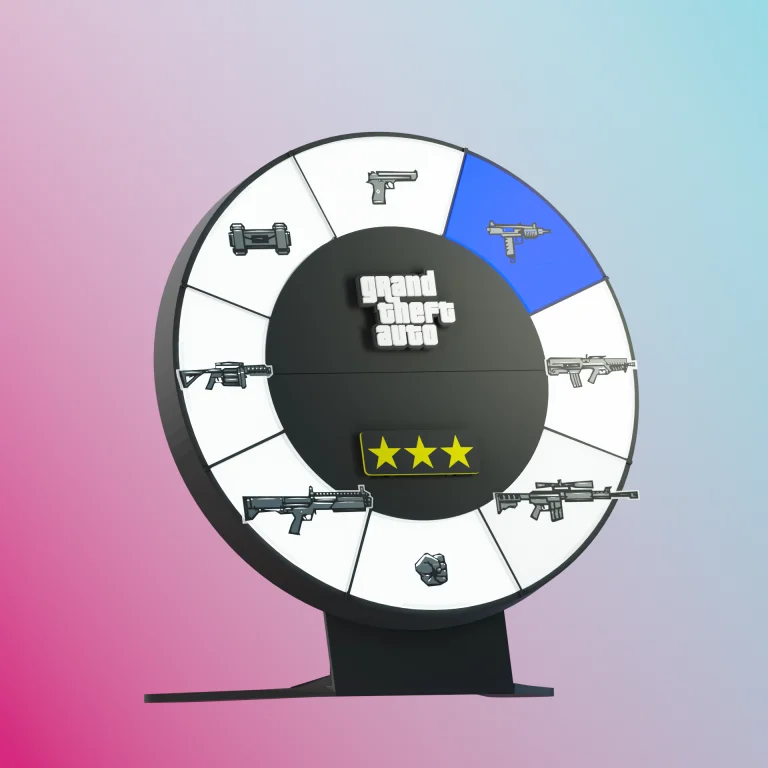
Tired of printing static statues? Build a functional piece of gaming art that transforms your desk into a live GTA interface. Engineered by Tacky Prints, this design features physical interactive mechanics like a spring-loaded secret stash drawer and a tactile button to physically "equip" your loadout.
We’ve taken all the guesswork out of the electronics. The download includes a custom WLED .json file that instantly programs the microcontroller for you. Just print the parts, follow our linked hardware list to buy the cheap ESP8266 board and LED strip, plug in our code, and you'll have an app-controlled, interactive lamp that cycles through weapons, auto-scrolls, and pulses with millions of colors.
-
Instant Digital Download: Includes all necessary STL files and a pre-configured 3MF file for quick and easy slicing.
-
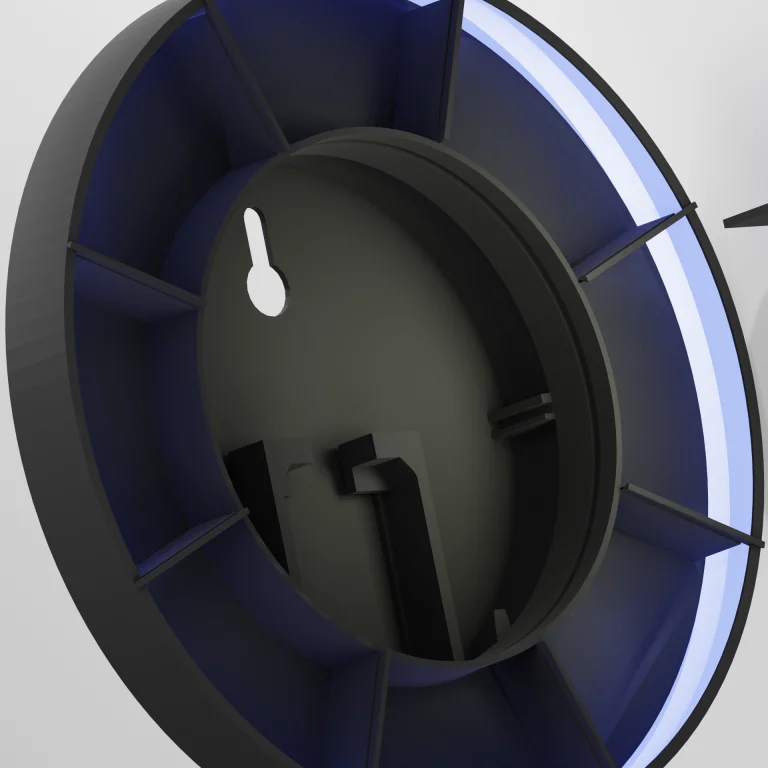
Authentic HUD Design: Features an overly-engineered wheel design for easy panel segmentation and a designated inner channel perfectly sized for your app-controlled RGB LED strip.
-
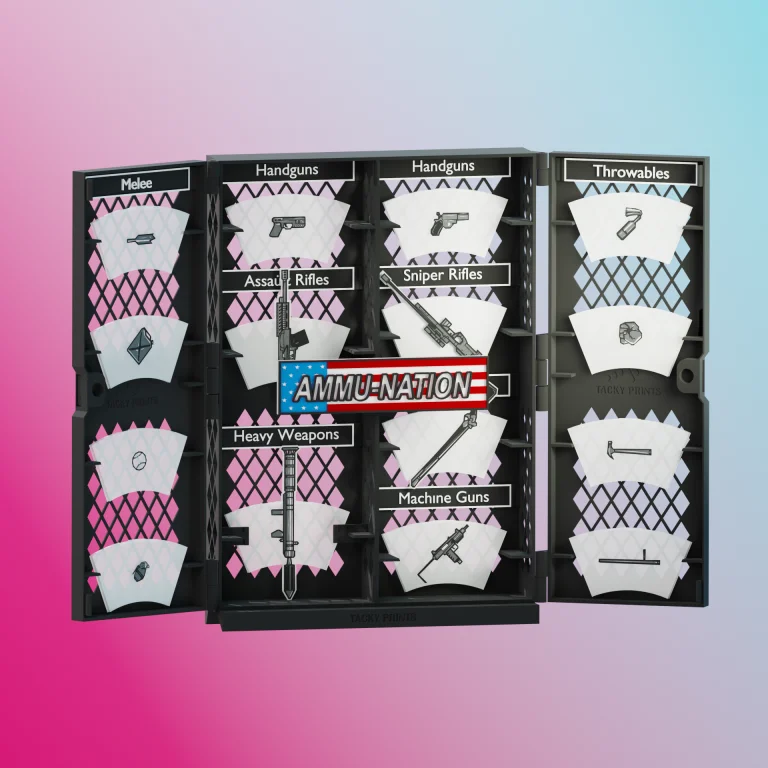
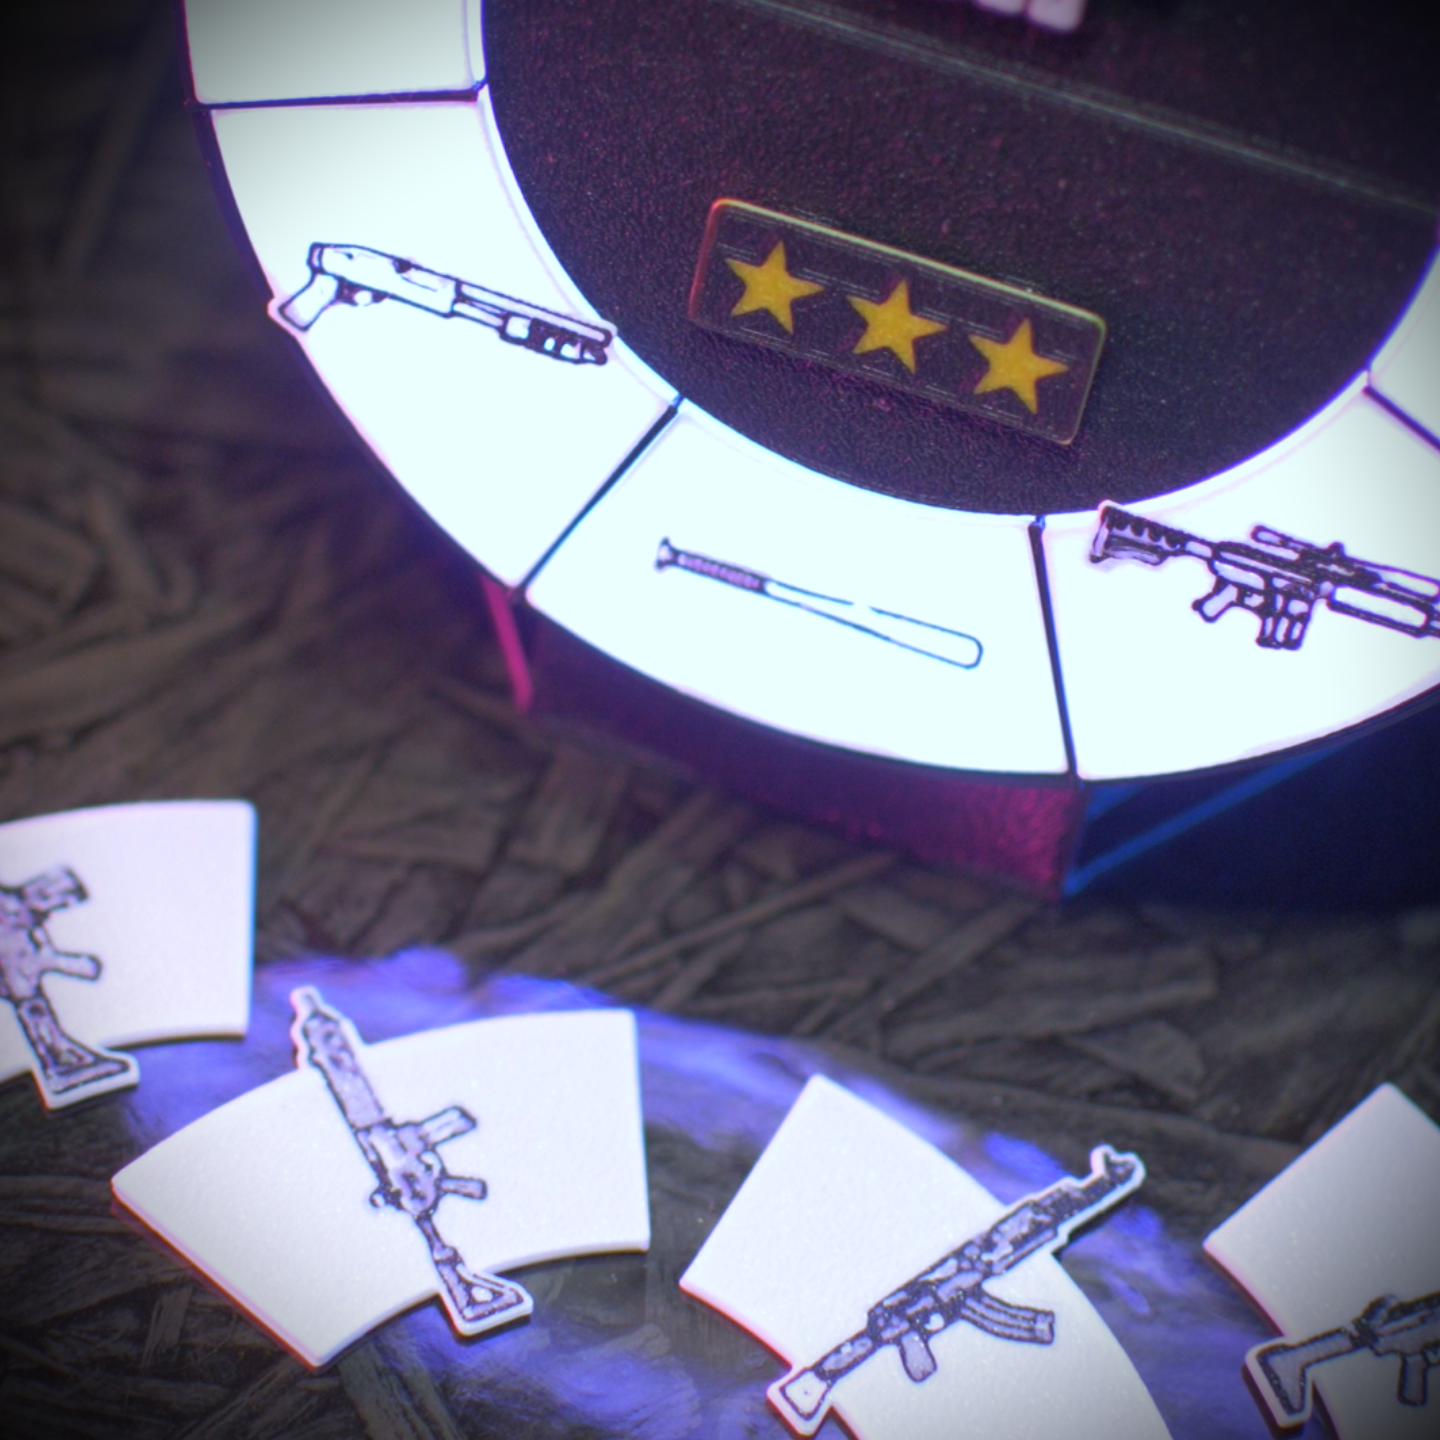
Massive Customization: Comes with 54 snap-in interchangeable weapon silhouette panel STLs.
-
Complete DIY Kit: Your download includes high-quality reference images and a step-by-step installation guide text file to help you assemble the clock and set up your ESP8266 lighting. (Note: This is a digital file only. You will need a 3D printer, filament, a standard clock mechanism, an ESP8266, an RGB LED strip, and basic wiring tools to complete the physical build.)
🖨️ Print Details
🎚️ Moderate

⚖️ 116 Grams

⏱️ 8 Hours

🍭 AMS Recommended but not required
🎨 Materials
These are the filaments and non-printable hardware used to complete this print:
Filaments:
Hardware:
* Contains affiliate links
🛠️ Installation Guide
Get seamless printing on any standard machine with these pre-tested STL files.
Overview
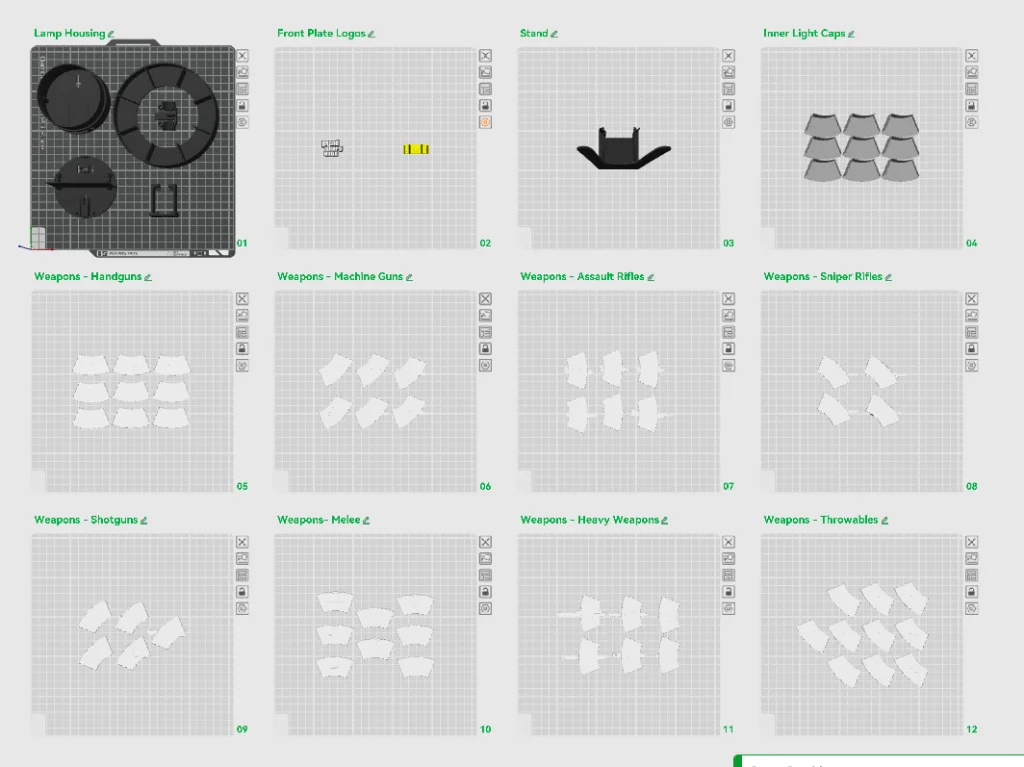
Keep the default orientation for a support-free print (only the display base and ESP8266 case will require supports), or use the 3MF file to easily customize your layout and filament Color. (STLs included for legacy slicers). The 3MF file is organized by print assembly order for simple guided installation.
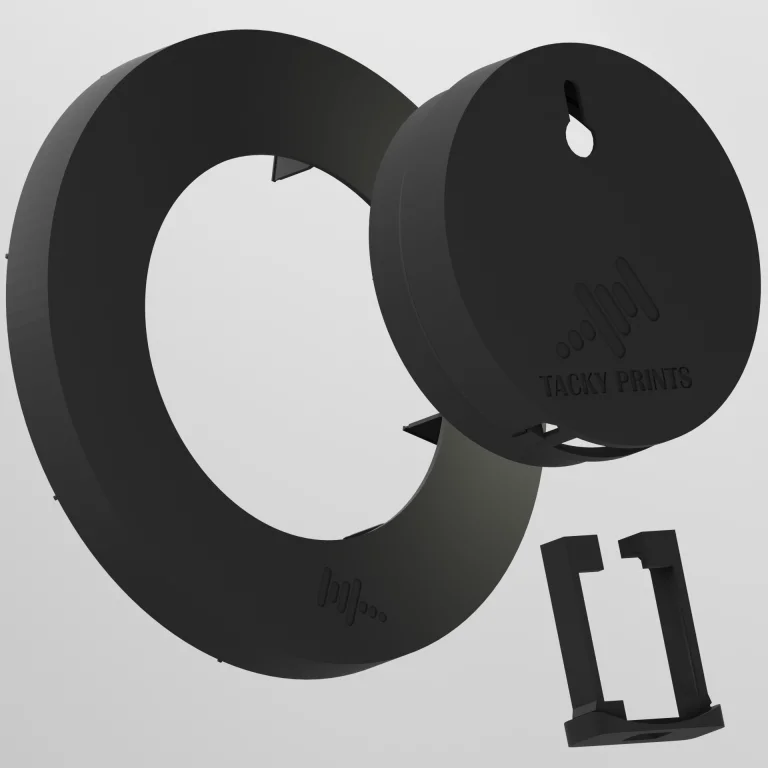
Lamp Base Assembly
- Snap the Center Base into the Display Base.
- Plug the ESP Board Tray into the Display Base.
- Ensure the Tacky Prints logo aligns perfectly with both the Center Base and the Display Base.
Note: These components friction-fit together, but you can add a drop of glue for a permanent, confident hold.
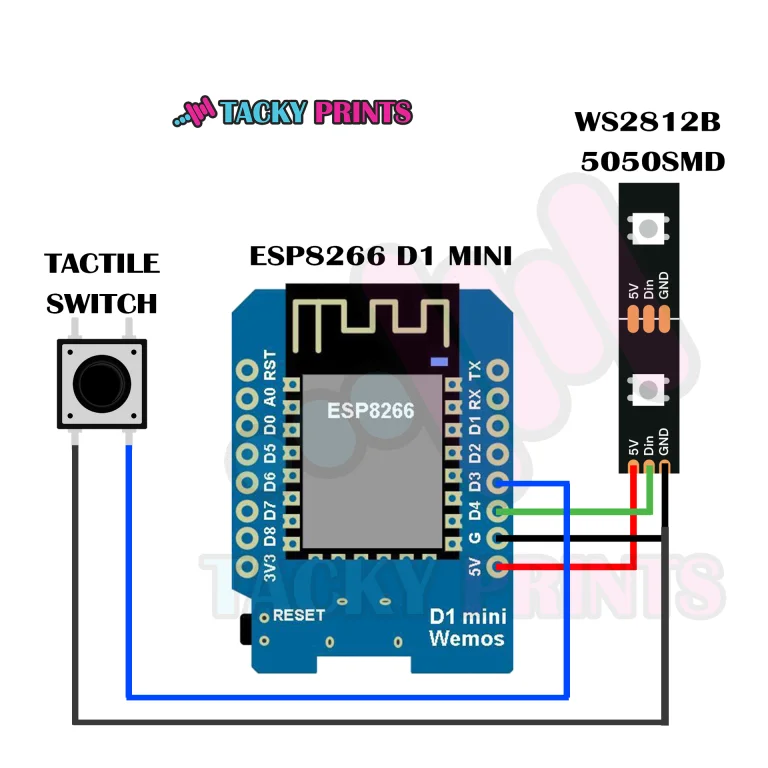
ESP8266 D1 MINI & WS2812B LED Lights
Before wiring everything into the tight housing, it’s easiest to set up the software.
- Connect your ESP8266 D1 MINI to your computer.
- Go to https://install.wled.me/ in your browser and follow the easy 3-step instructions to install WLED onto the board.
- Once flashed and connected to your Wi-Fi, open WLED (via the official app on iOS/Android or through your web browser) and upload the included `wled_presets GTA5 Weapons Wheel.json` file in the WLED config settings. This automatically configures your button functionality and segments!
Base Electrical Components Assembly
- Place your flashed ESP board securely into the tray.
- Carefully push the 24-LED strip into the inner lip of the Display Base.
- Solder the 3 wires from the WS2812B strip directly to the ESP board. *(See the included “2 – ESP8266 – Tactile Switch and WS2812B LED Diagram” for exact pinouts).*
- Important: Do NOT solder the tactile switch yet! Leave its wires loose for the next step.
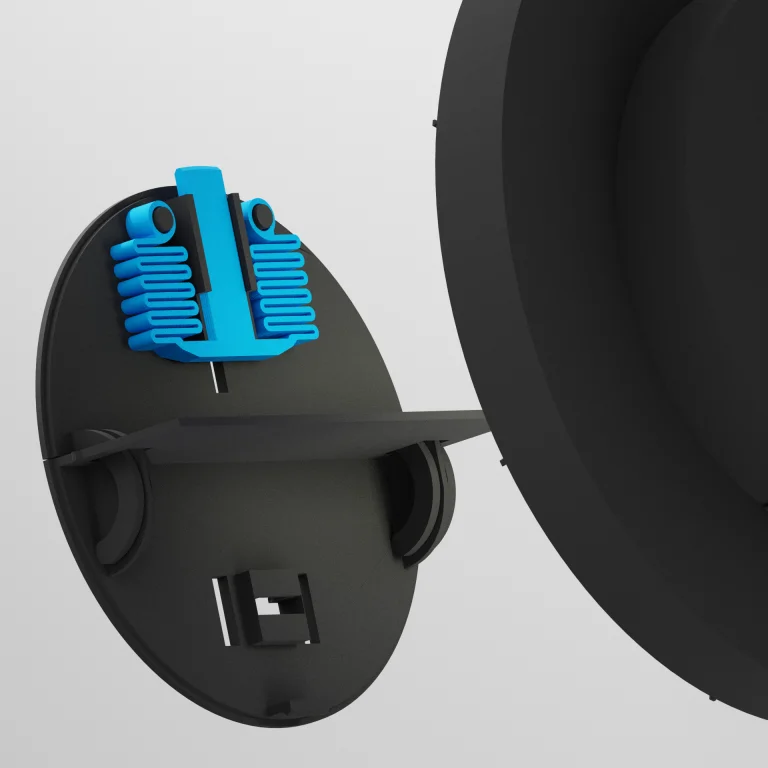
Center Cap & Spring Latch
- Attach the Spring Latch to the Center Cap.
- Run your loose tactile switch wires up through the button opening of the Center Cap.
- Snap the Center Cap into the Display Base.
- Now, solder the wires to the tactile switch and firmly push the switch down into its slot on the Center Cap.
Display Stand
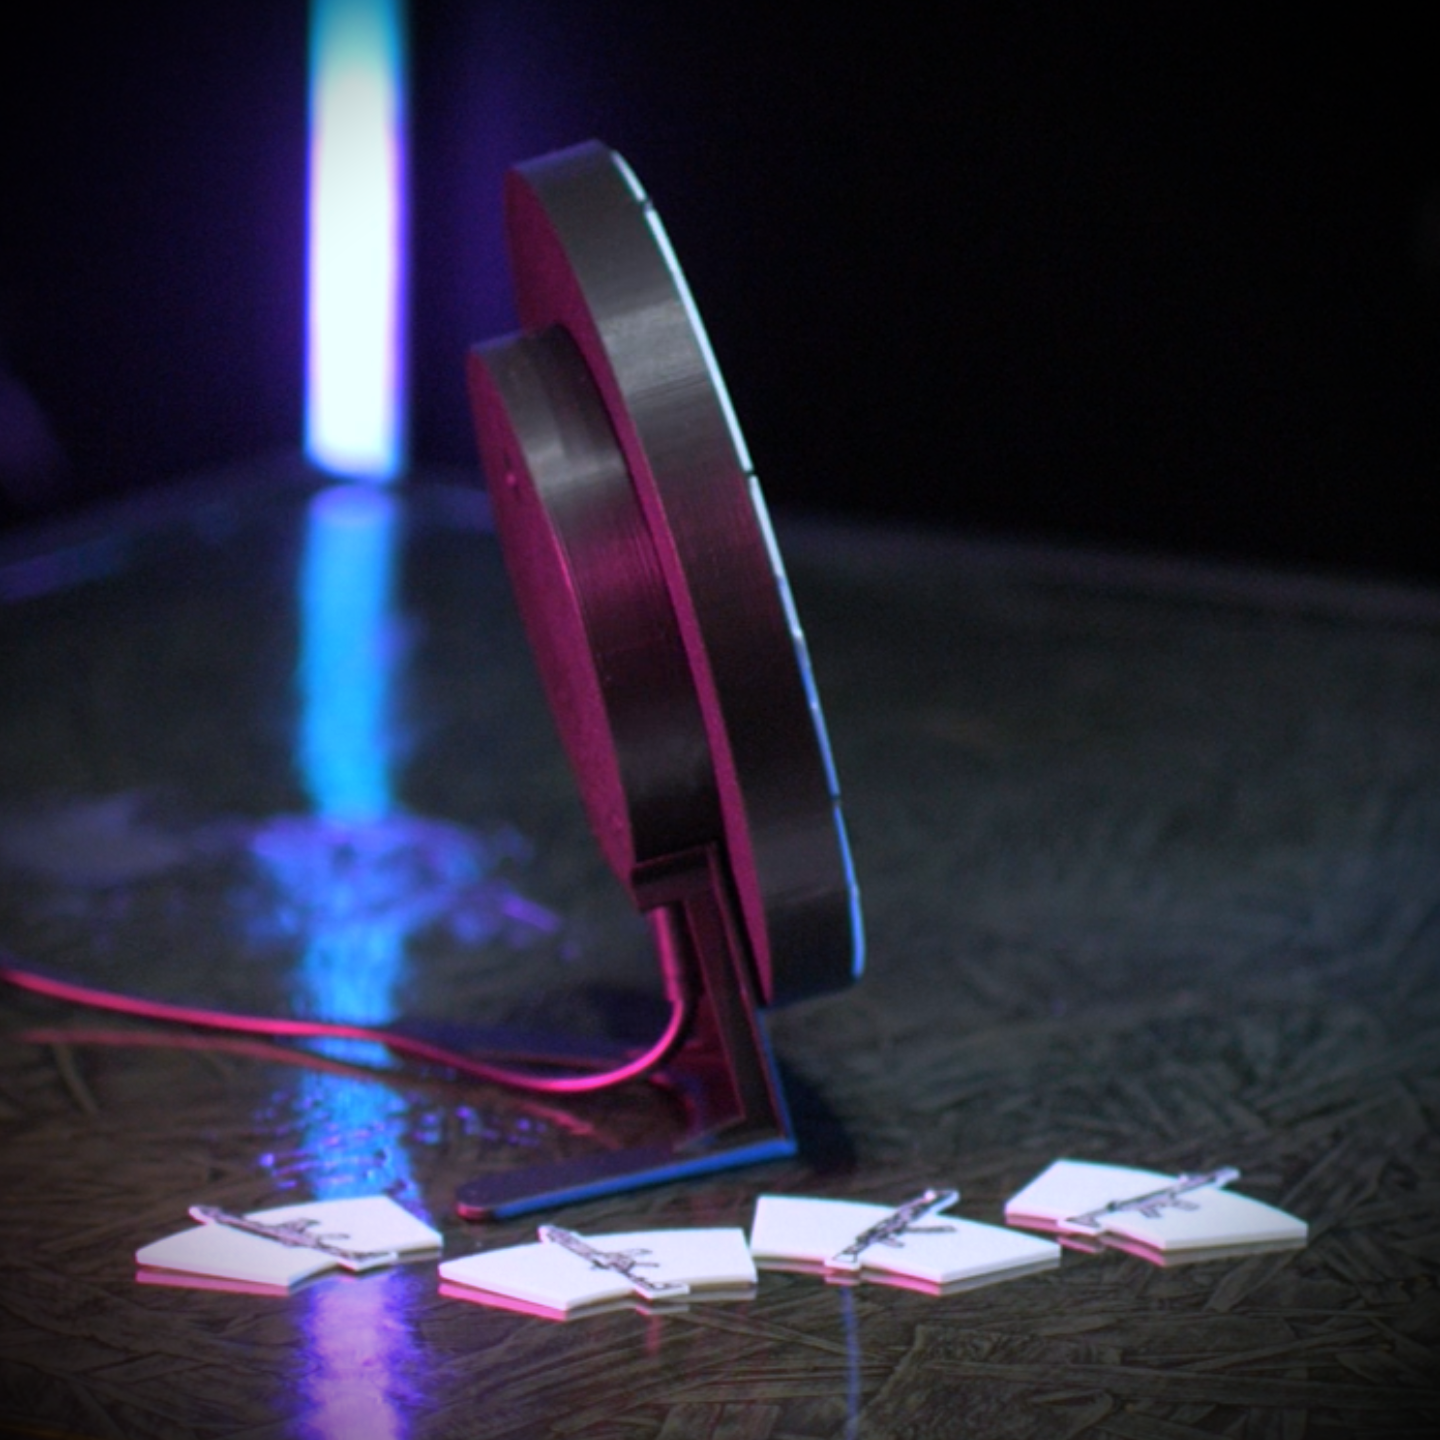
Insert the probes of the Display Stand into the designated spaces on the back of the lamp.
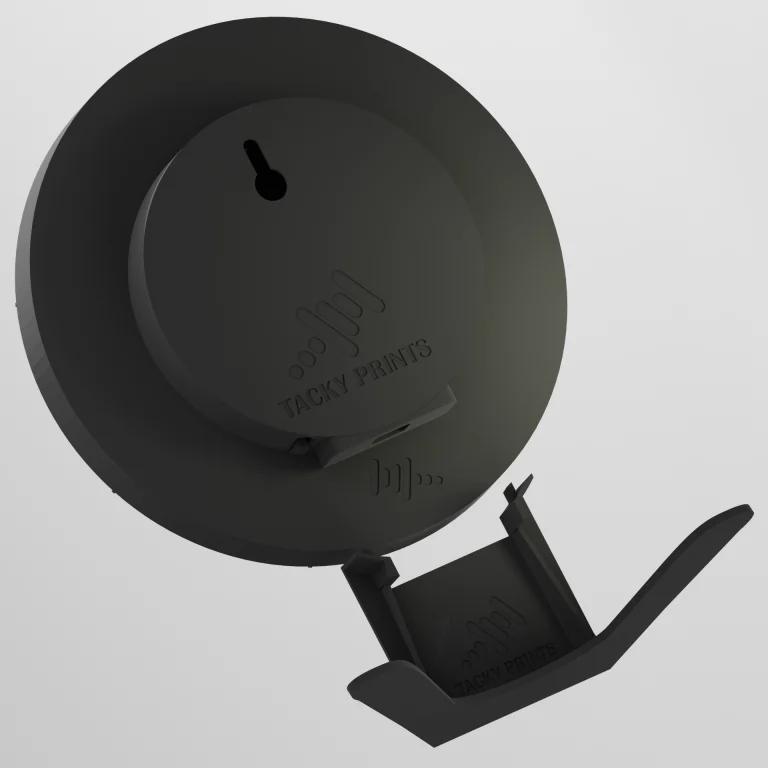
Front Logo Buttons
Apply the Front Plate Logos to your interactive parts. The Spring Latch Logo slides downward into place, and the Switch Button Logo simply presses on.
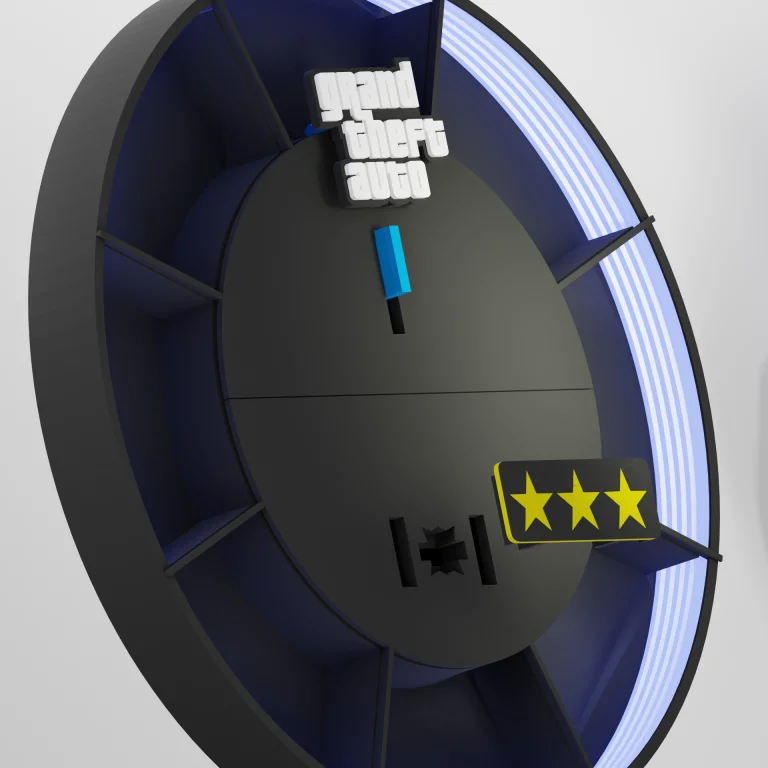
Inner Light Cap Covers
Push these down into the Display Base (in no particular order). These add a professional finish, hiding the internal LED electronics and perfectly diffusing the light when the Light Inserts aren’t in use.
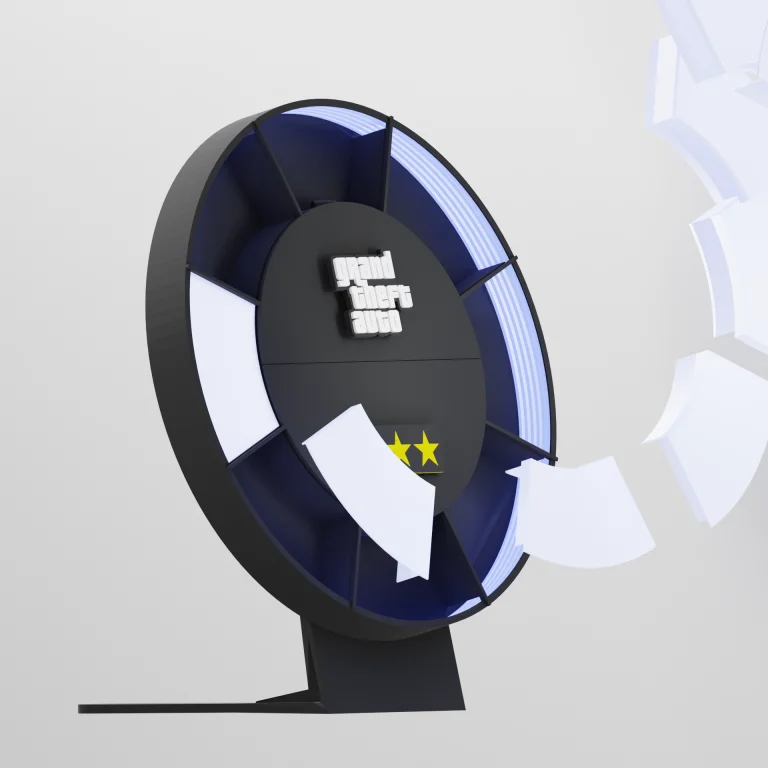
Interchangeable Light Inserts
Insert your interchangeable Light Insert Panels into your desired arrangement (ensure the artwork is facing the right direction).
Make it your own: Because this runs on WLED, you aren’t limited to the default look! Open the WLED app or web interface to customize the lamp further. You can instantly change the colors, adjust the brightness, or apply hundreds of live lighting effects to the weapon wheel.
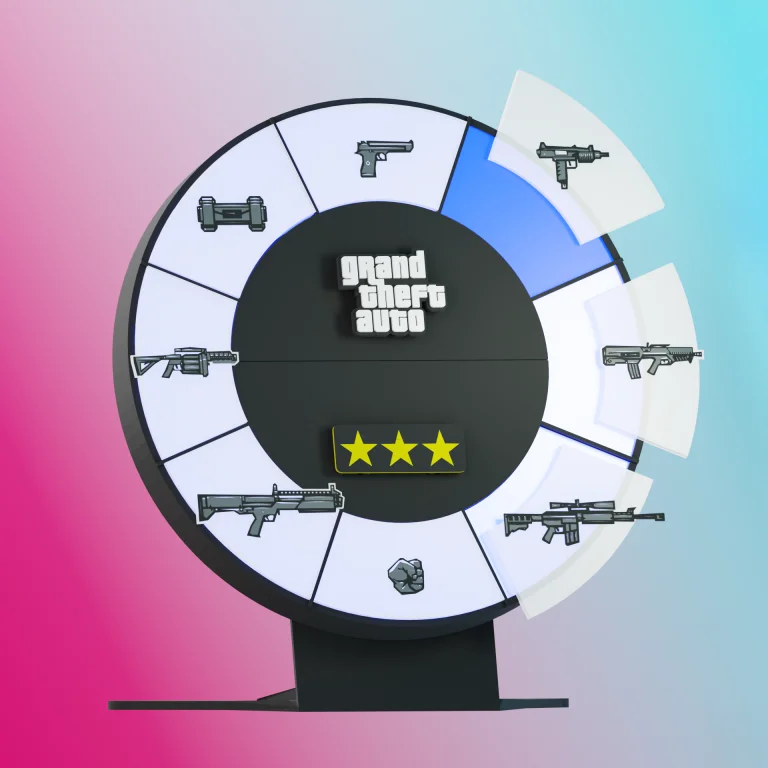
Mount & Enjoy
Congratulations, you’ve managed to recreate an iconic HUD display from one of the greatest games of all time.
How it works:
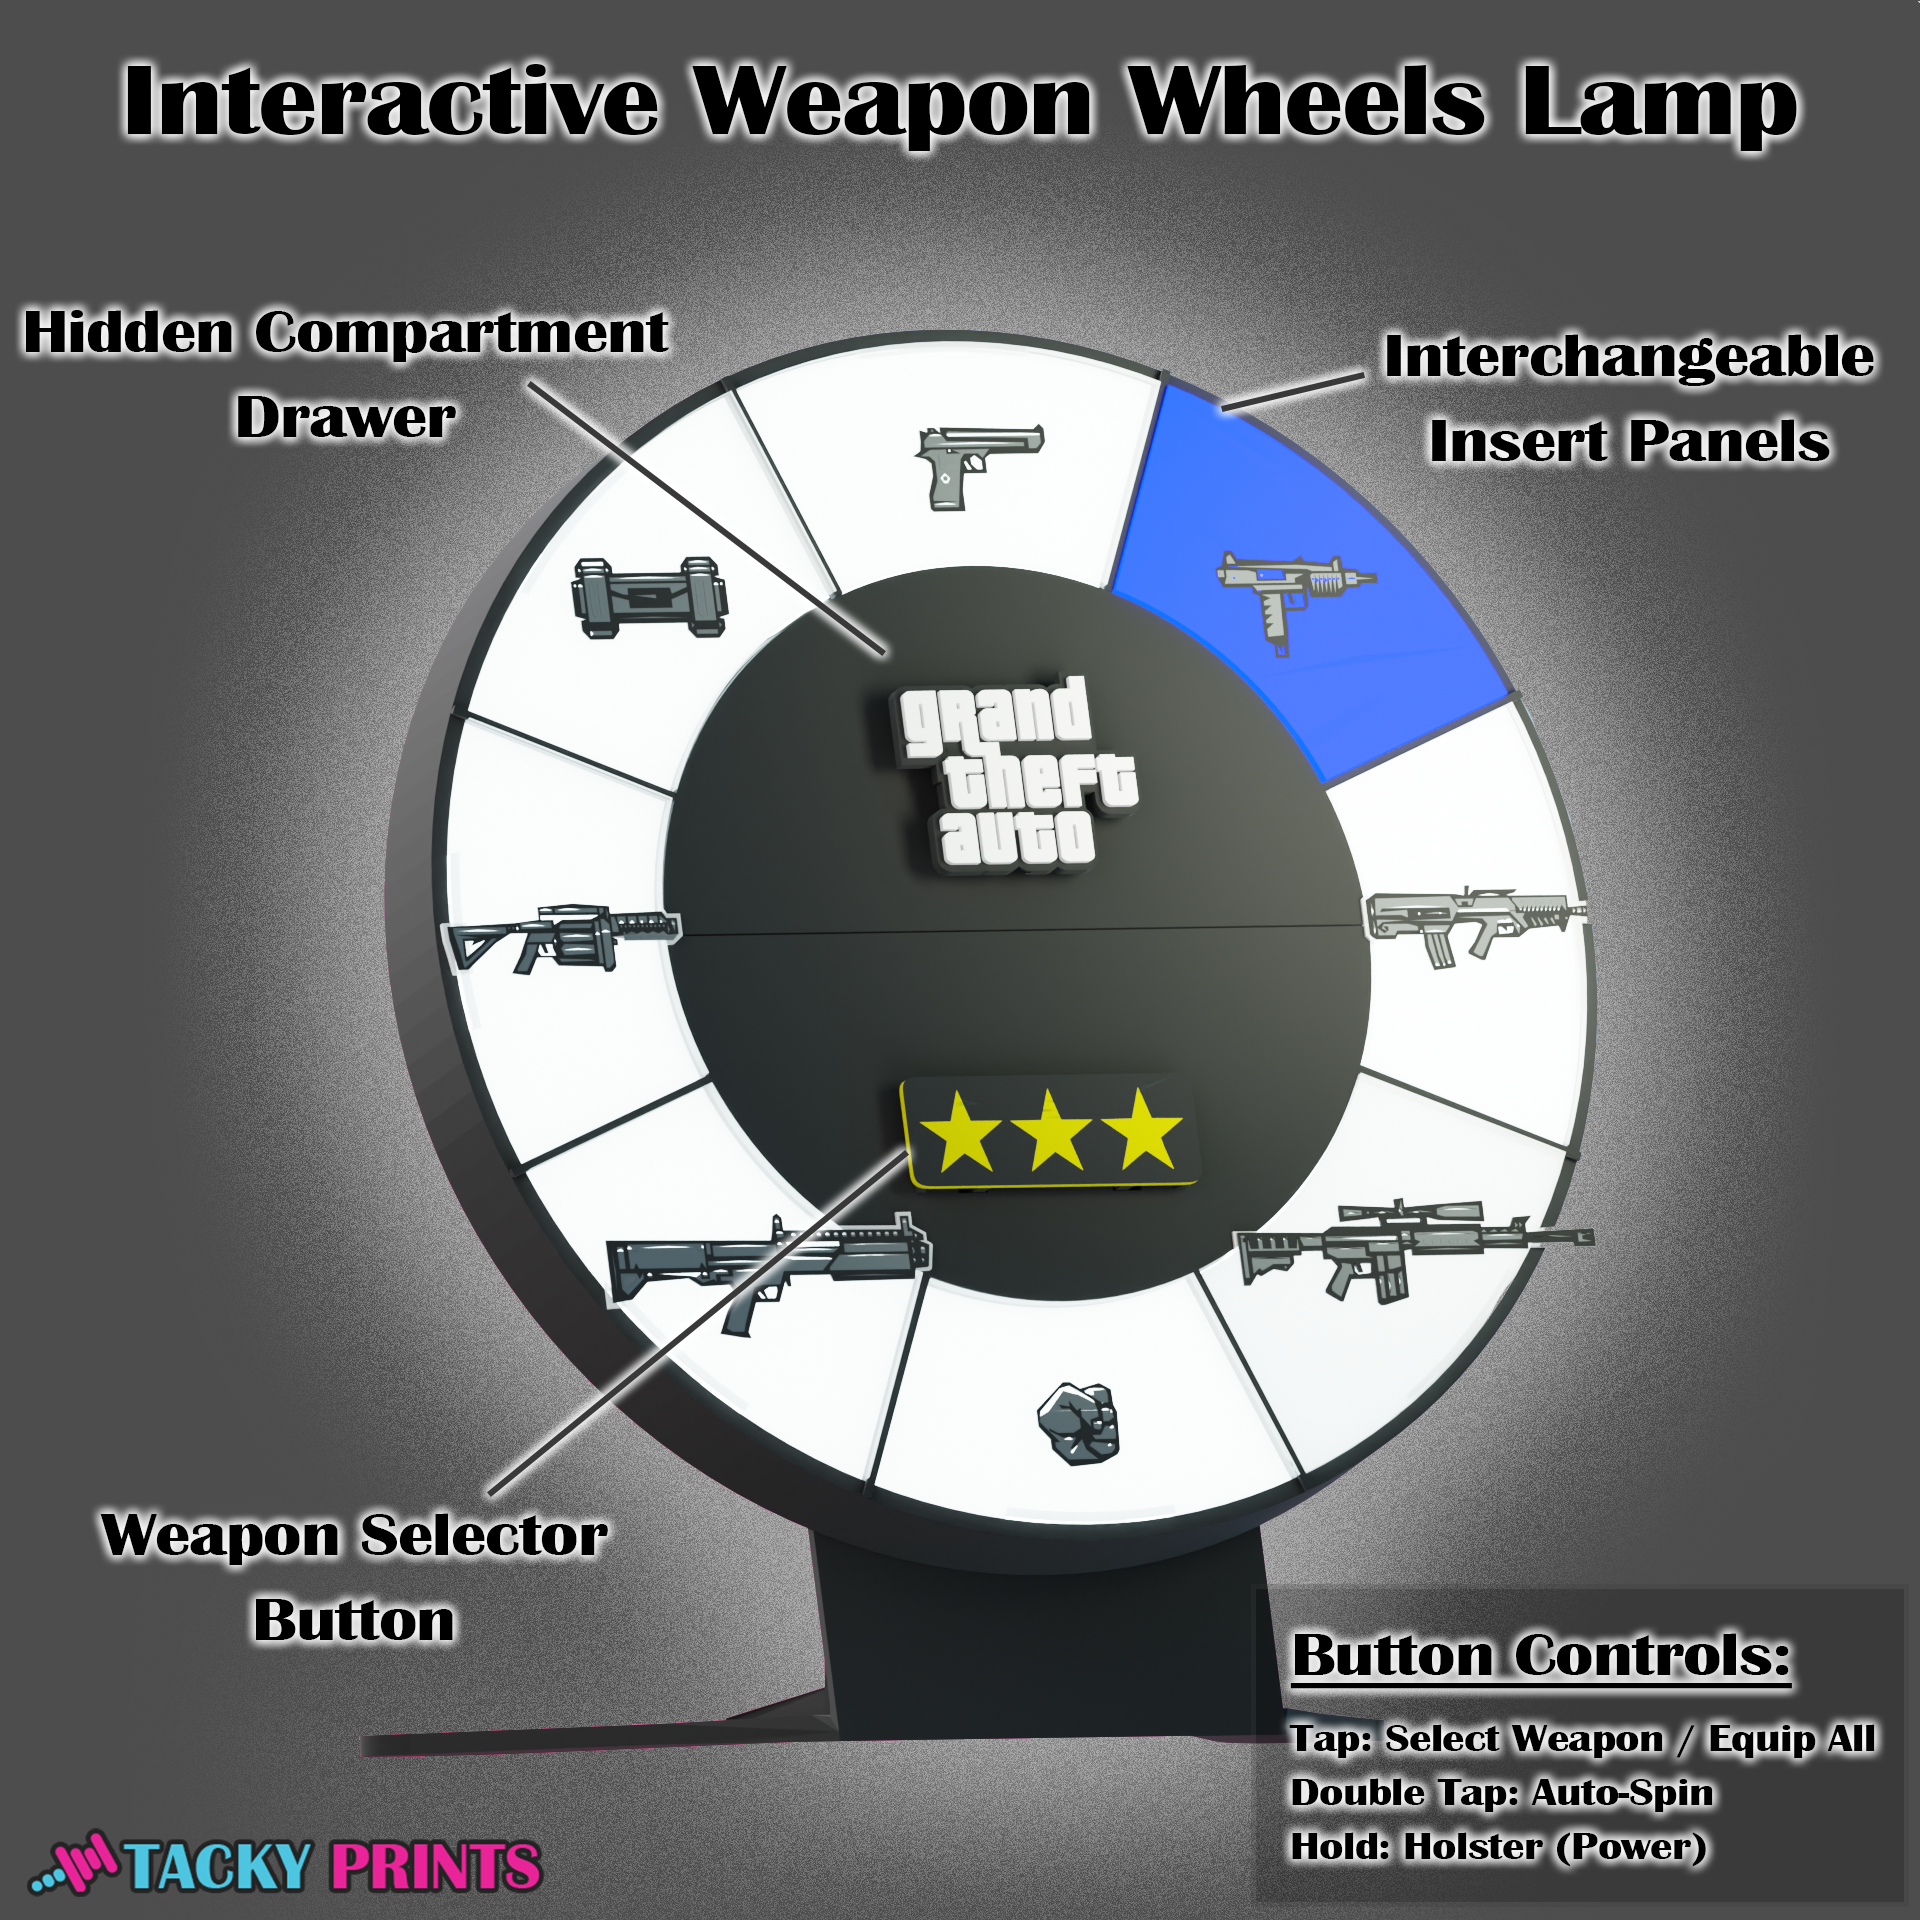
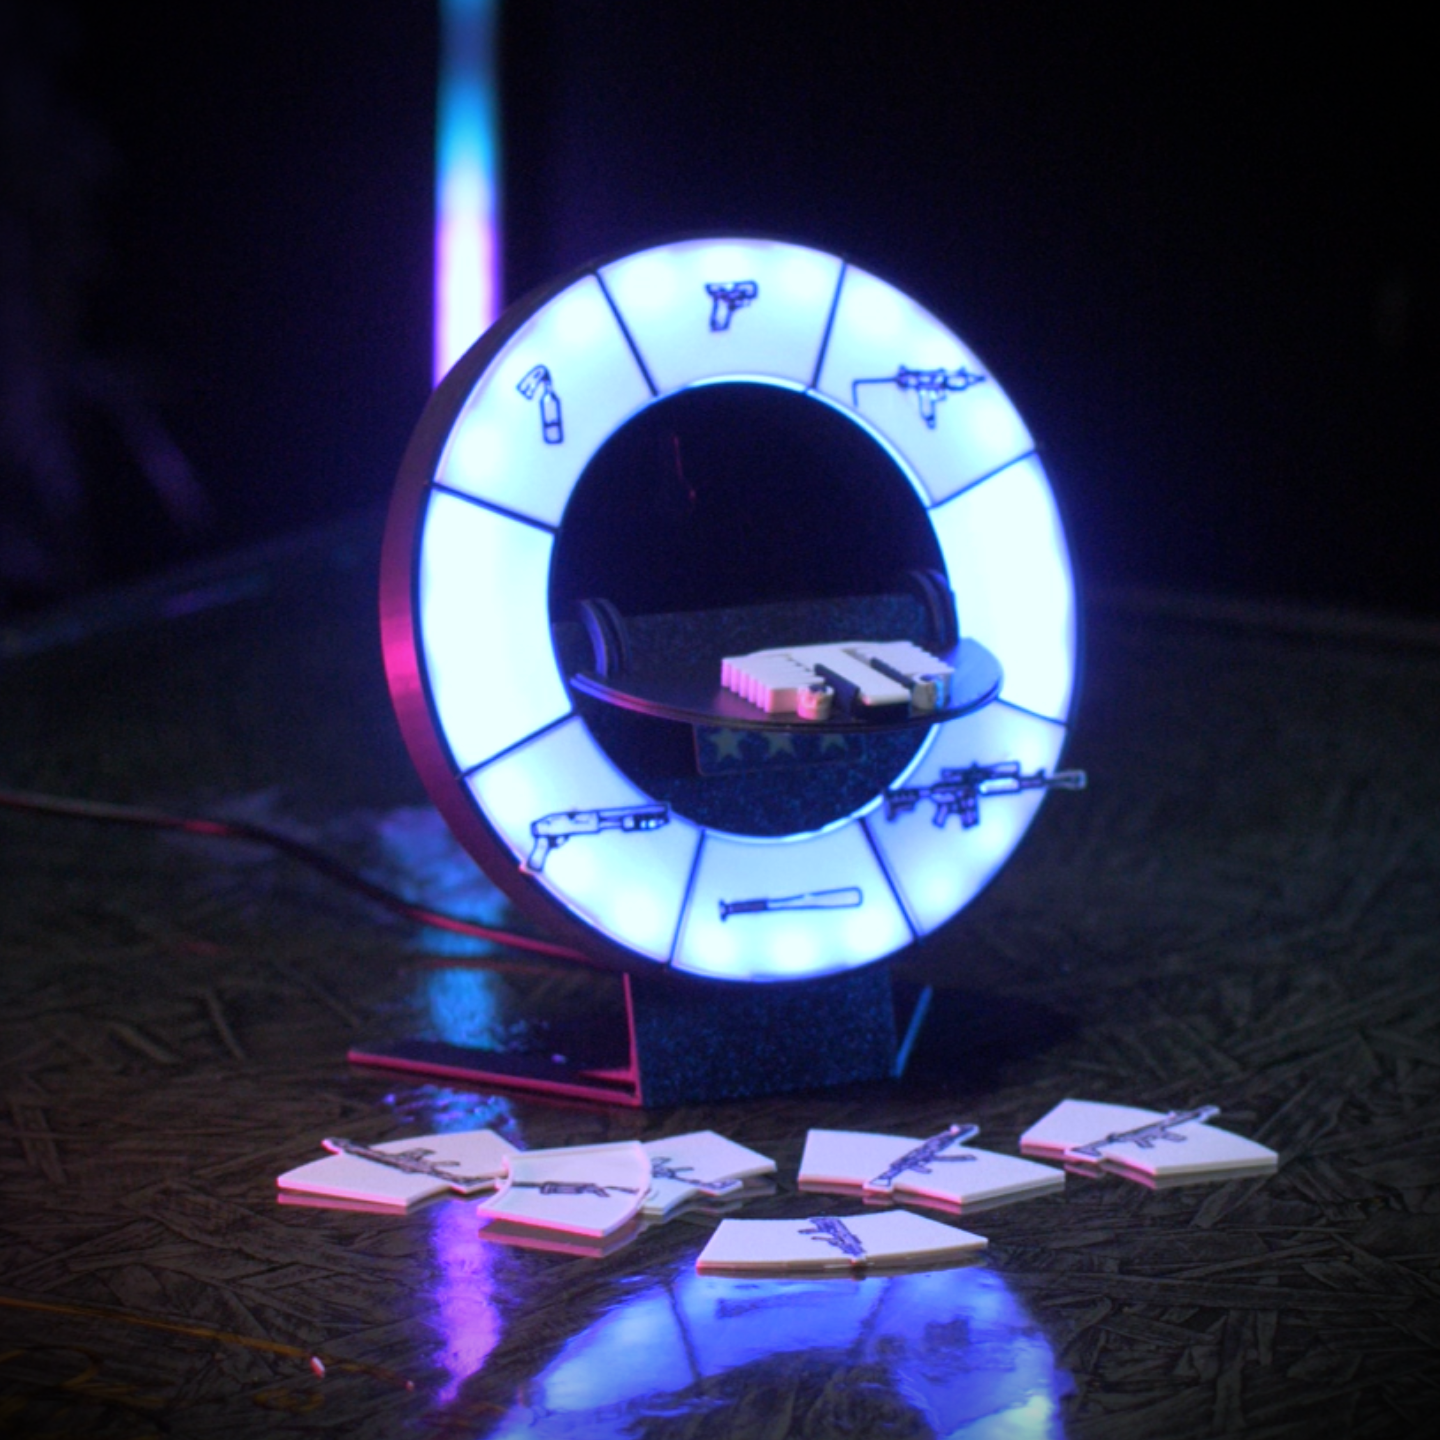
The Secret Stash: Pull the Spring Latch down to reveal a hidden compartment drawer in the center of the lamp!
The Controls: Your button is pre-programmed to act just like a weapon selector.
- Single Press: Cycle between individual weapon segments or turn all segments on.
- Double Press: Auto-browse/scroll between segments.
- Long Press: Turn the lamp On/Off.
If you have extra Light Insert panels, don’t forget to print the matching LED Wheel Insert Storage Organizer to display and safely store your interchangeable inserts!
Getting Connected…
Controlling your clock’s neon glow from your phone is simple. WLED runs on its own local hotspot out of the box so that you can link it to your home Wi-Fi in minutes:


-
Download the App: Search for WLED or WLED Native on the Apple App Store or Google Play Store and install it on your smartphone.
-
Connect to the Clock: Plug your clock into a power source. Open your phone’s Wi-Fi settings and look for the network named “GTA Weapon Wheel Lamp” (or “WLED-AP”). Connect to it using the default password:
wled1234. -
Link Your Home Wi-Fi: Once connected, a configuration page will automatically pop up on your screen. Tap WiFi Settings, enter your home Wi-Fi network name (SSID) and password, and click Save & Connect.
-
Launch & Control: Reconnect your smartphone to your normal home Wi-Fi and open the WLED app. Tap the + icon in the top right corner and hit Discover Lights—your LED clock will instantly appear, ready for you to customize its Color, brightness, and retro lighting effects!
📝 Changelog
Keeping our designs current and addressing user feedback are priorities. This tab will track all official updates to the STL files found in this download.
Version V1.0
-
Date: 8/24/2026
-
Notes: Initial Release. Clean STL & 3MF files provided. Optimized for FDM. No hollowing needed, minimal support setup required.