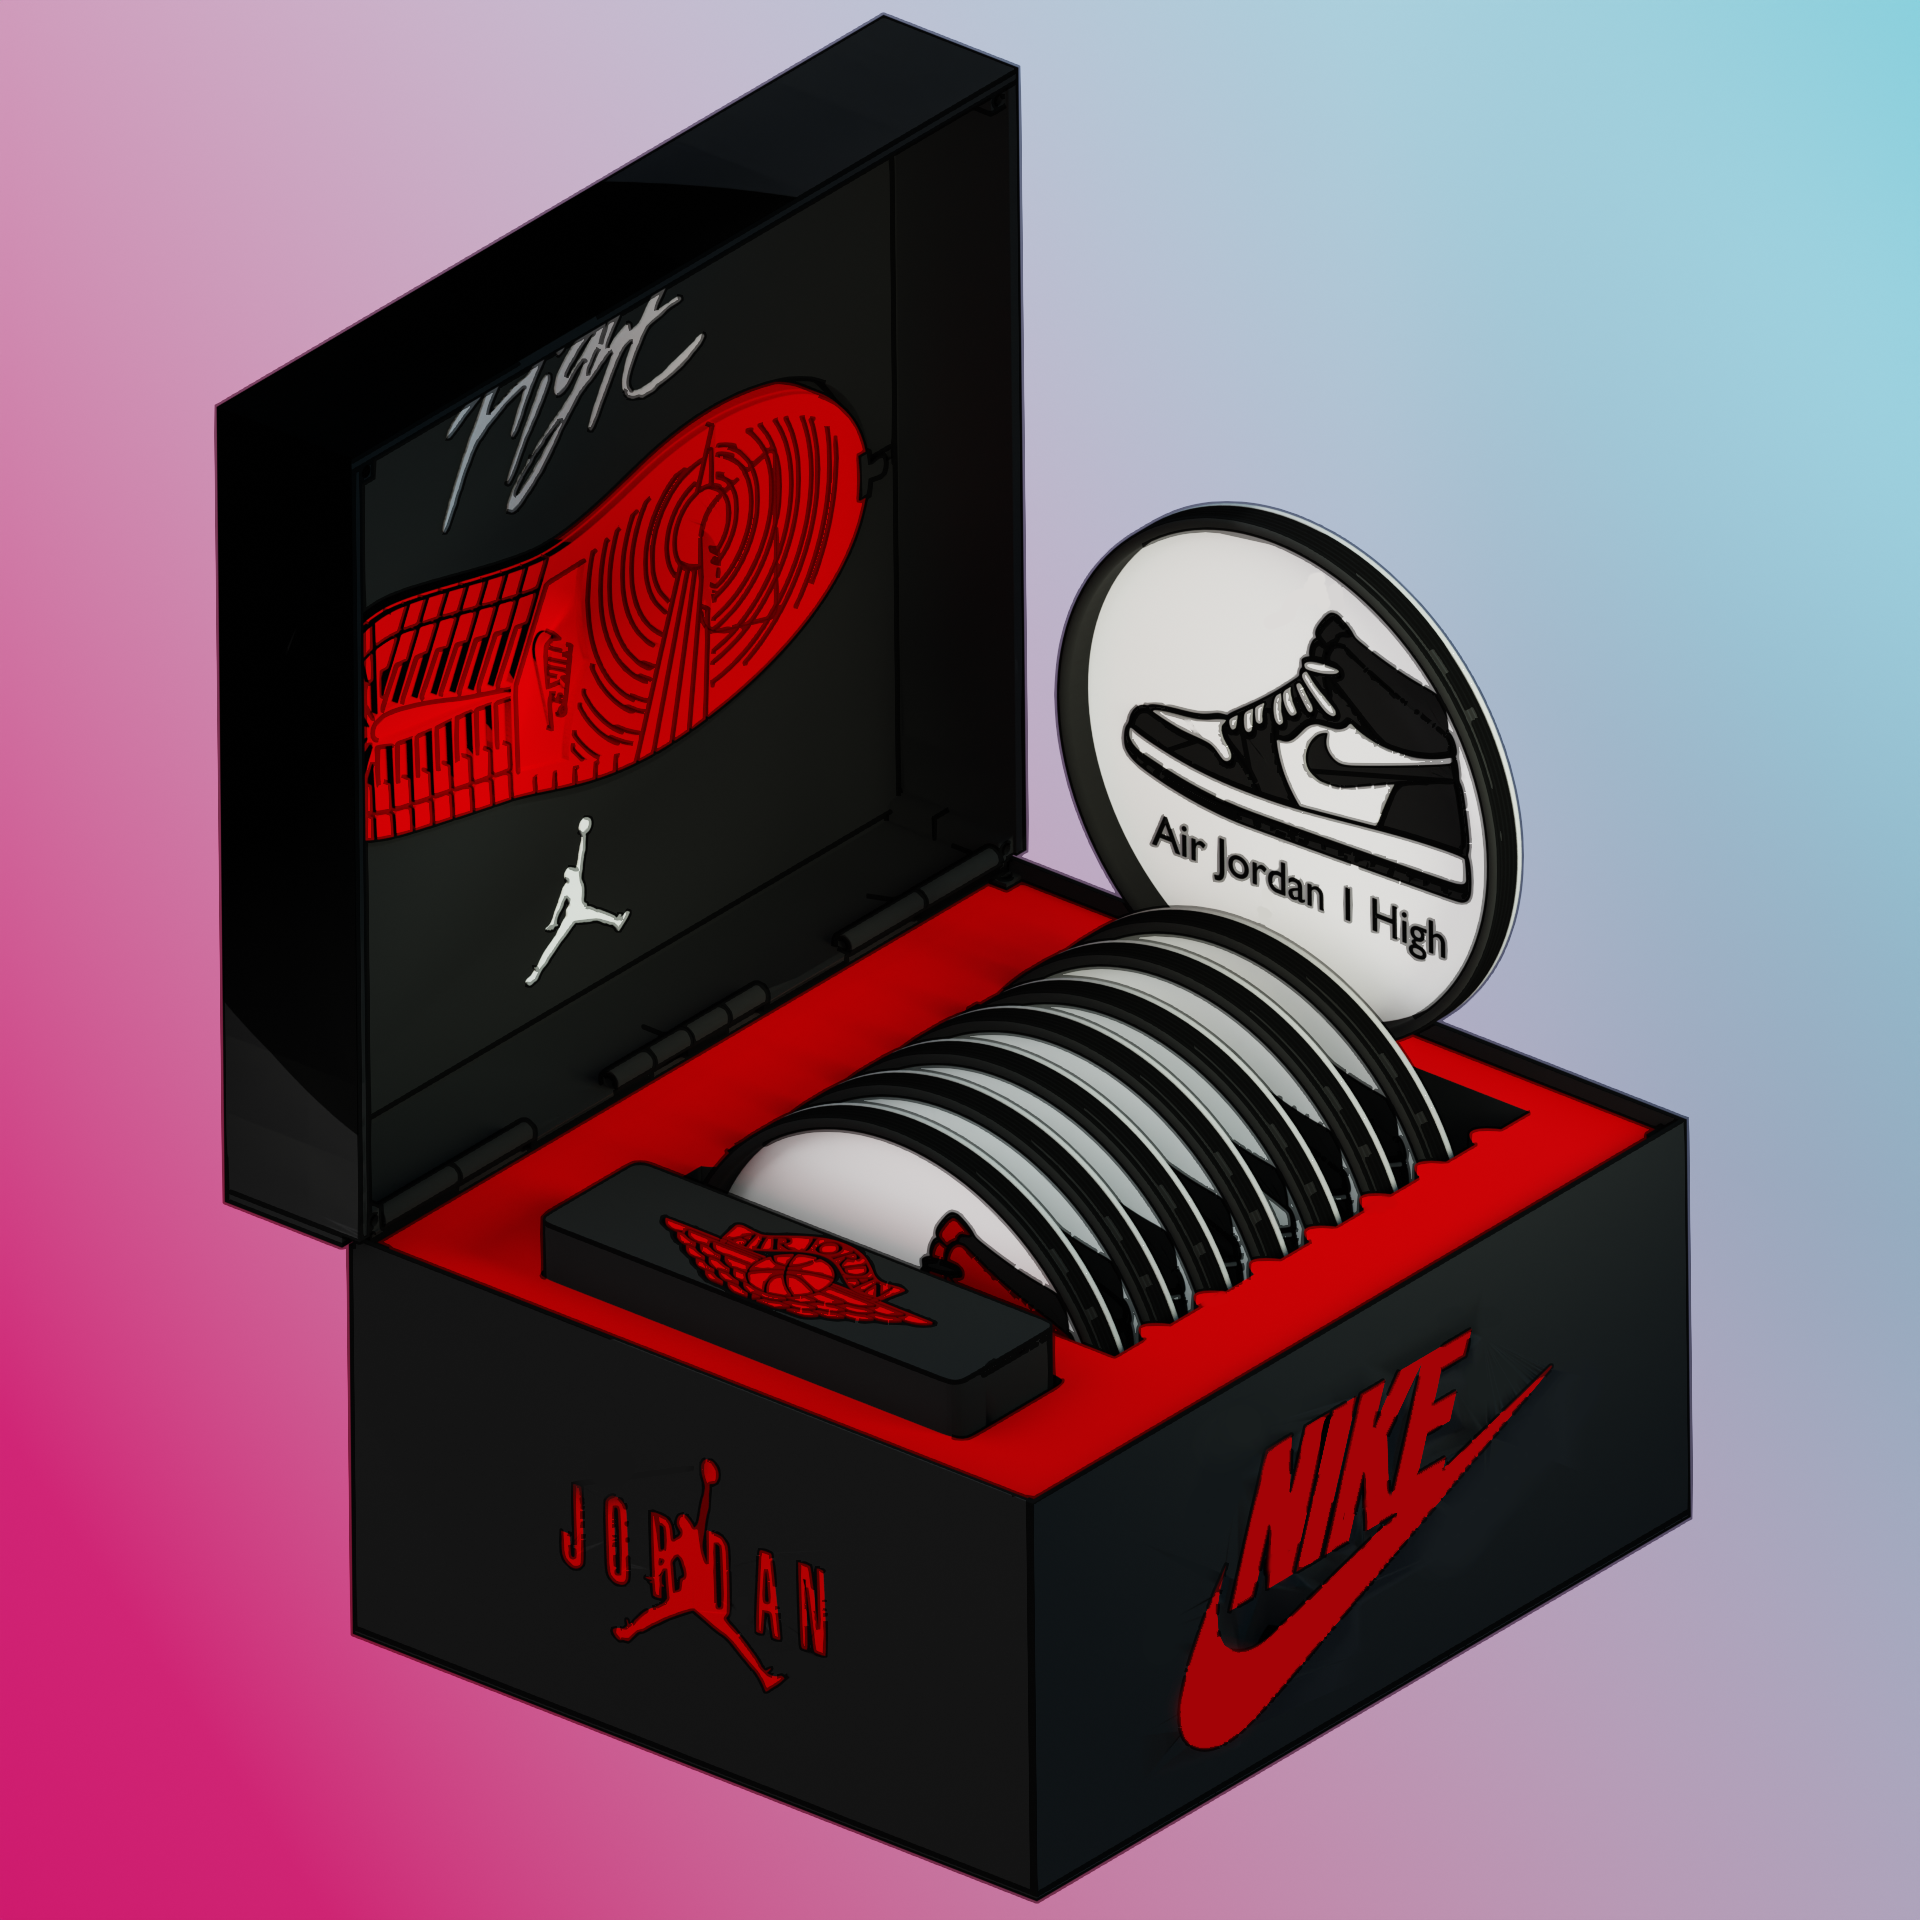
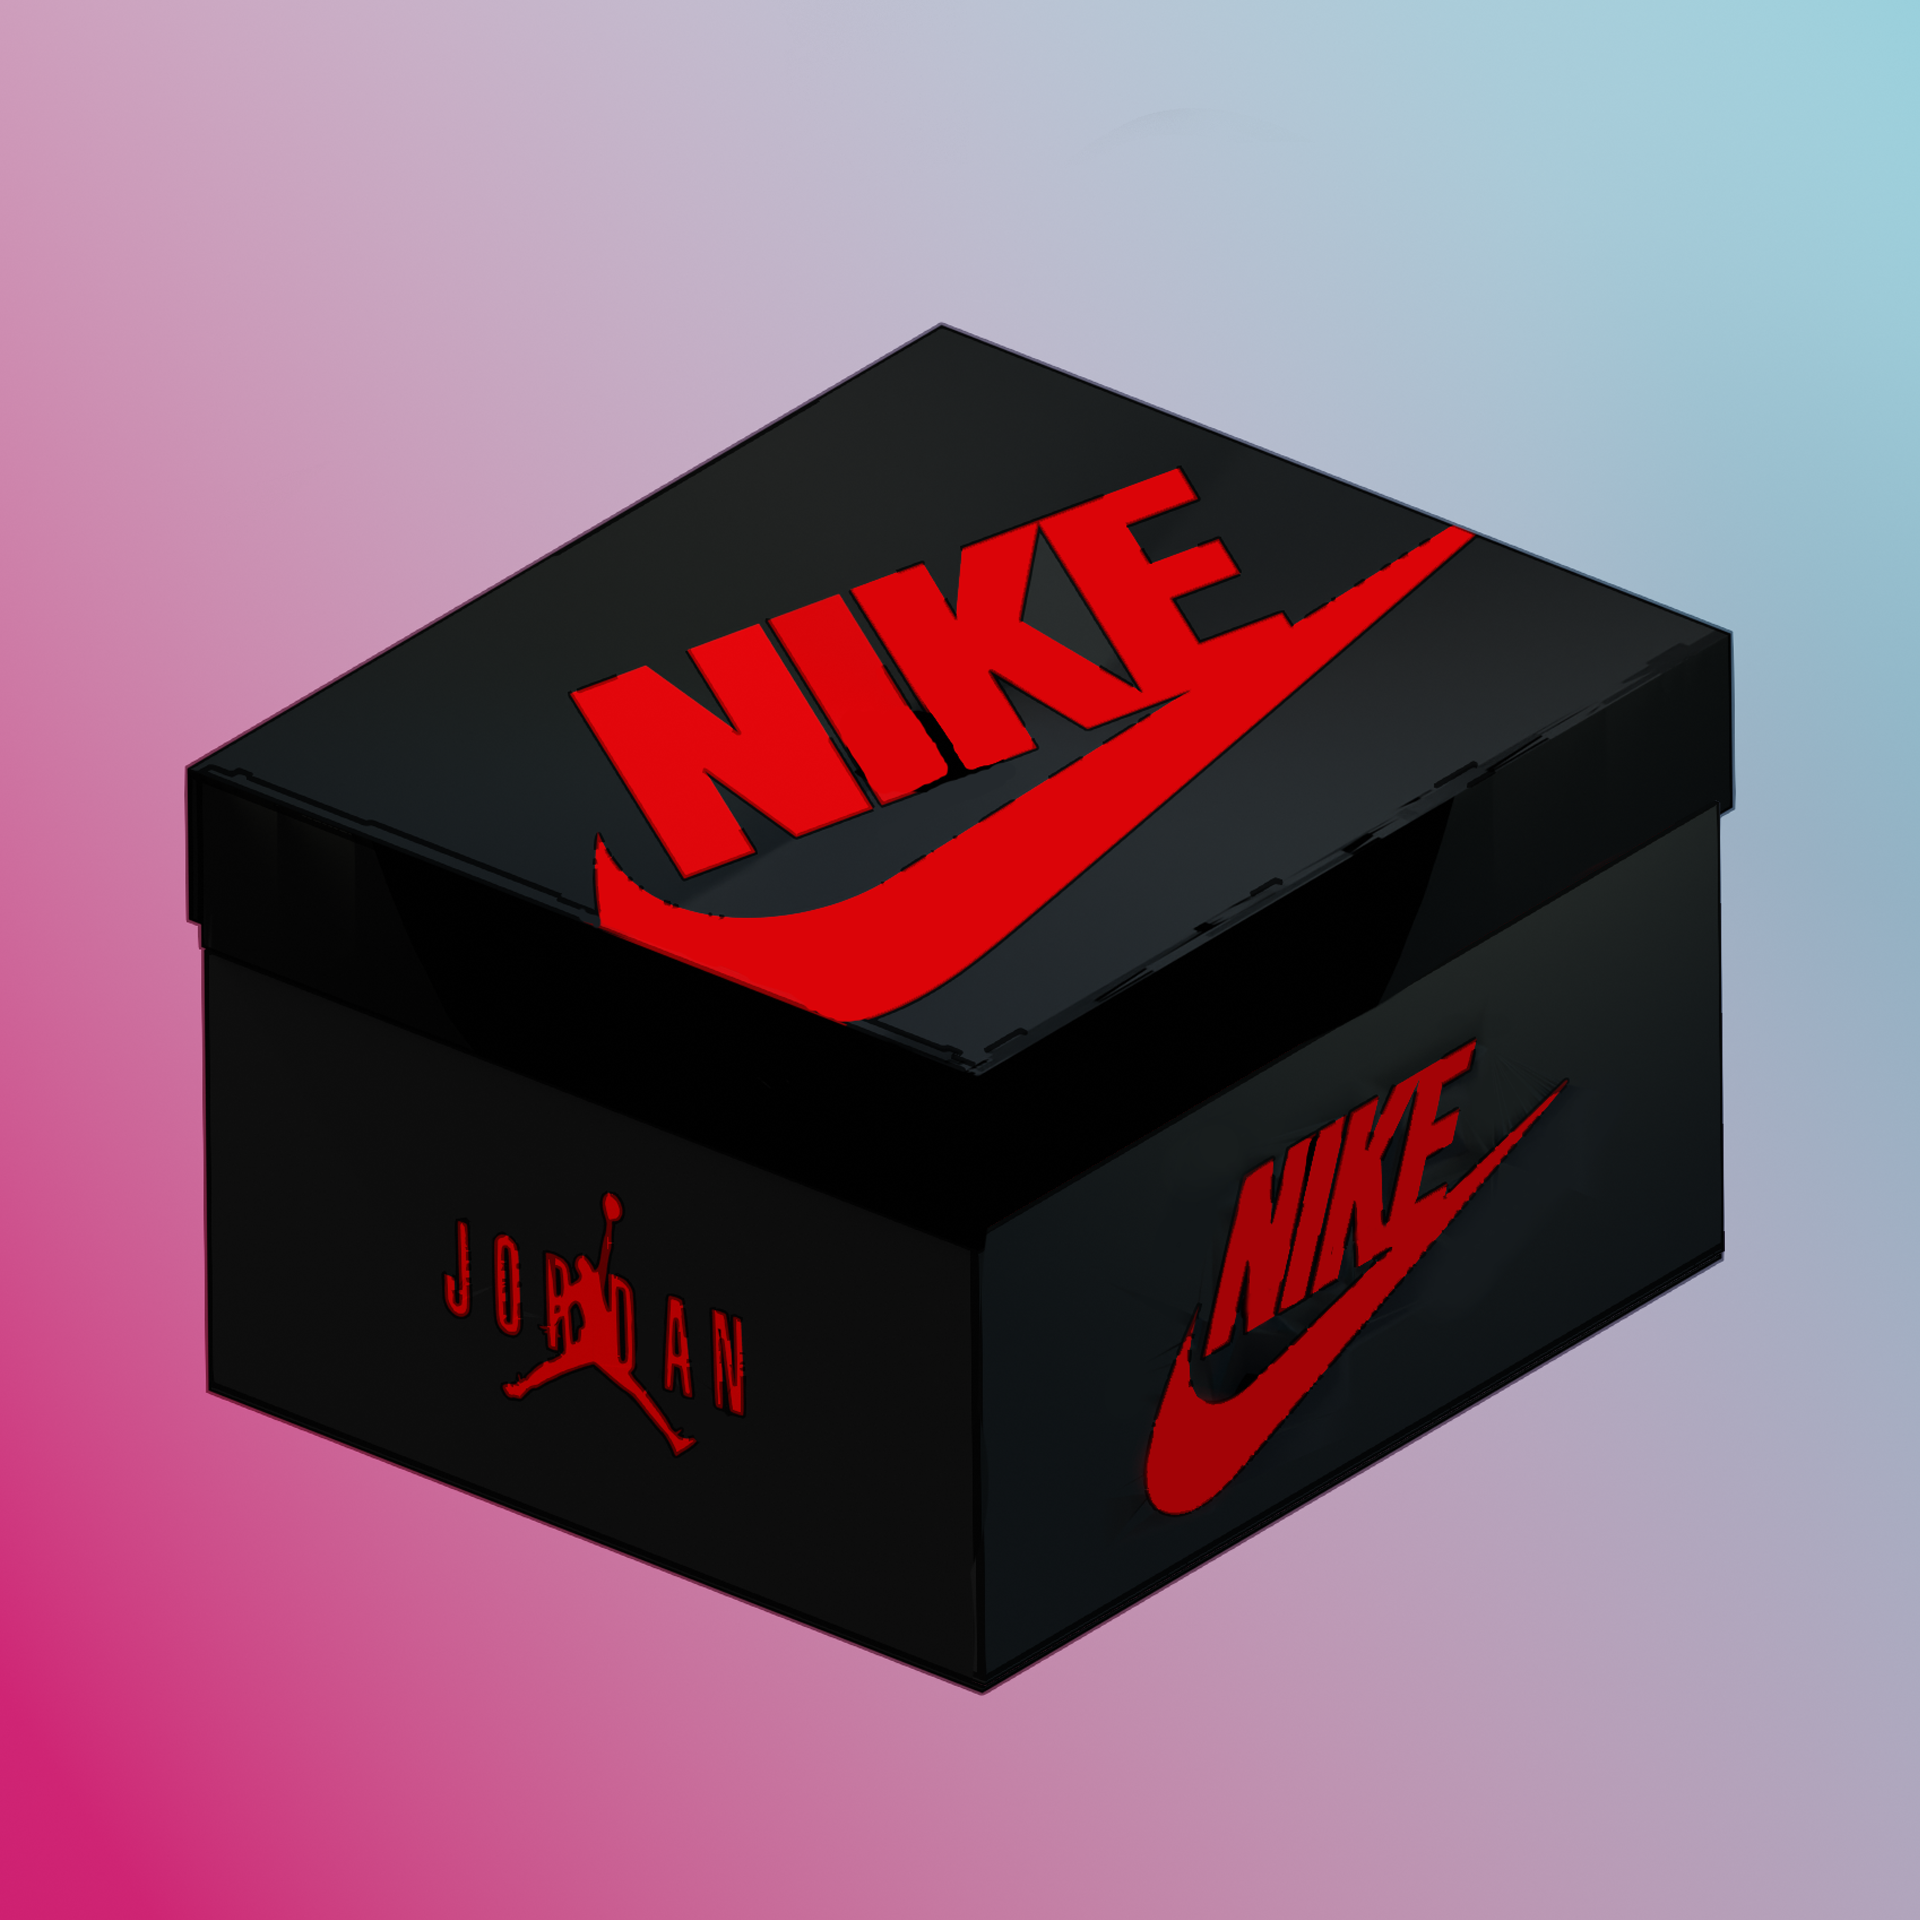
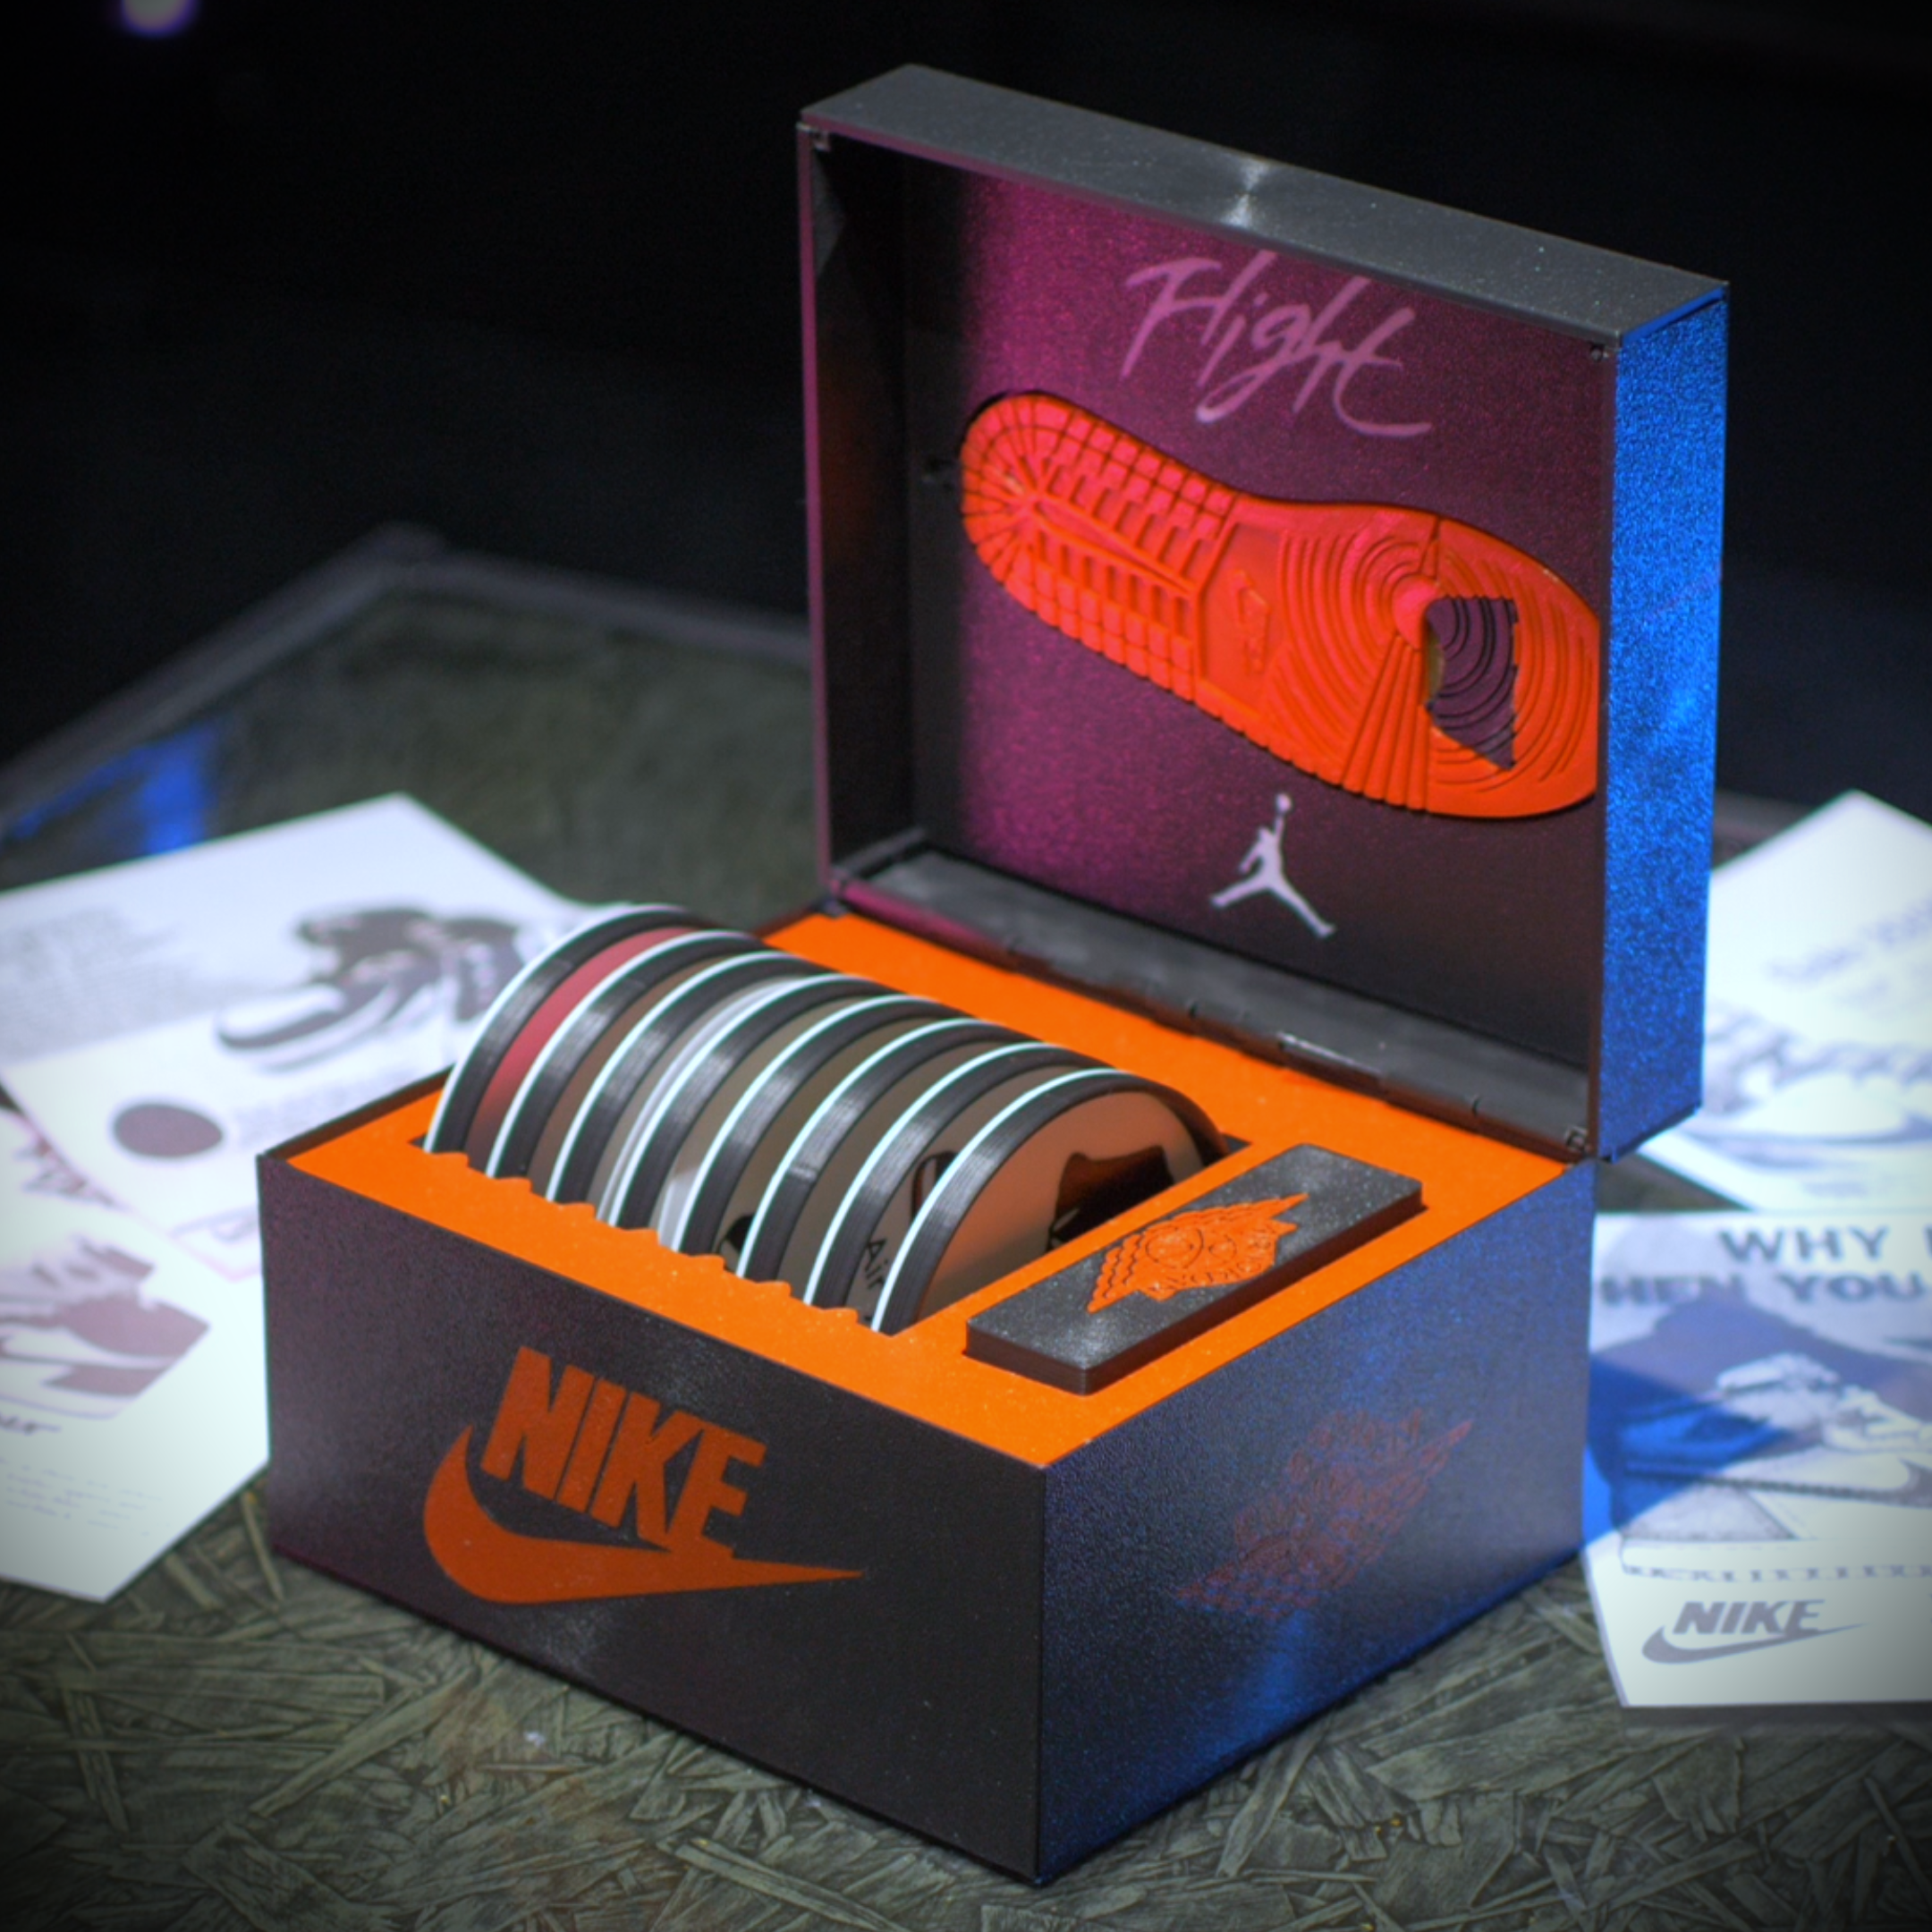
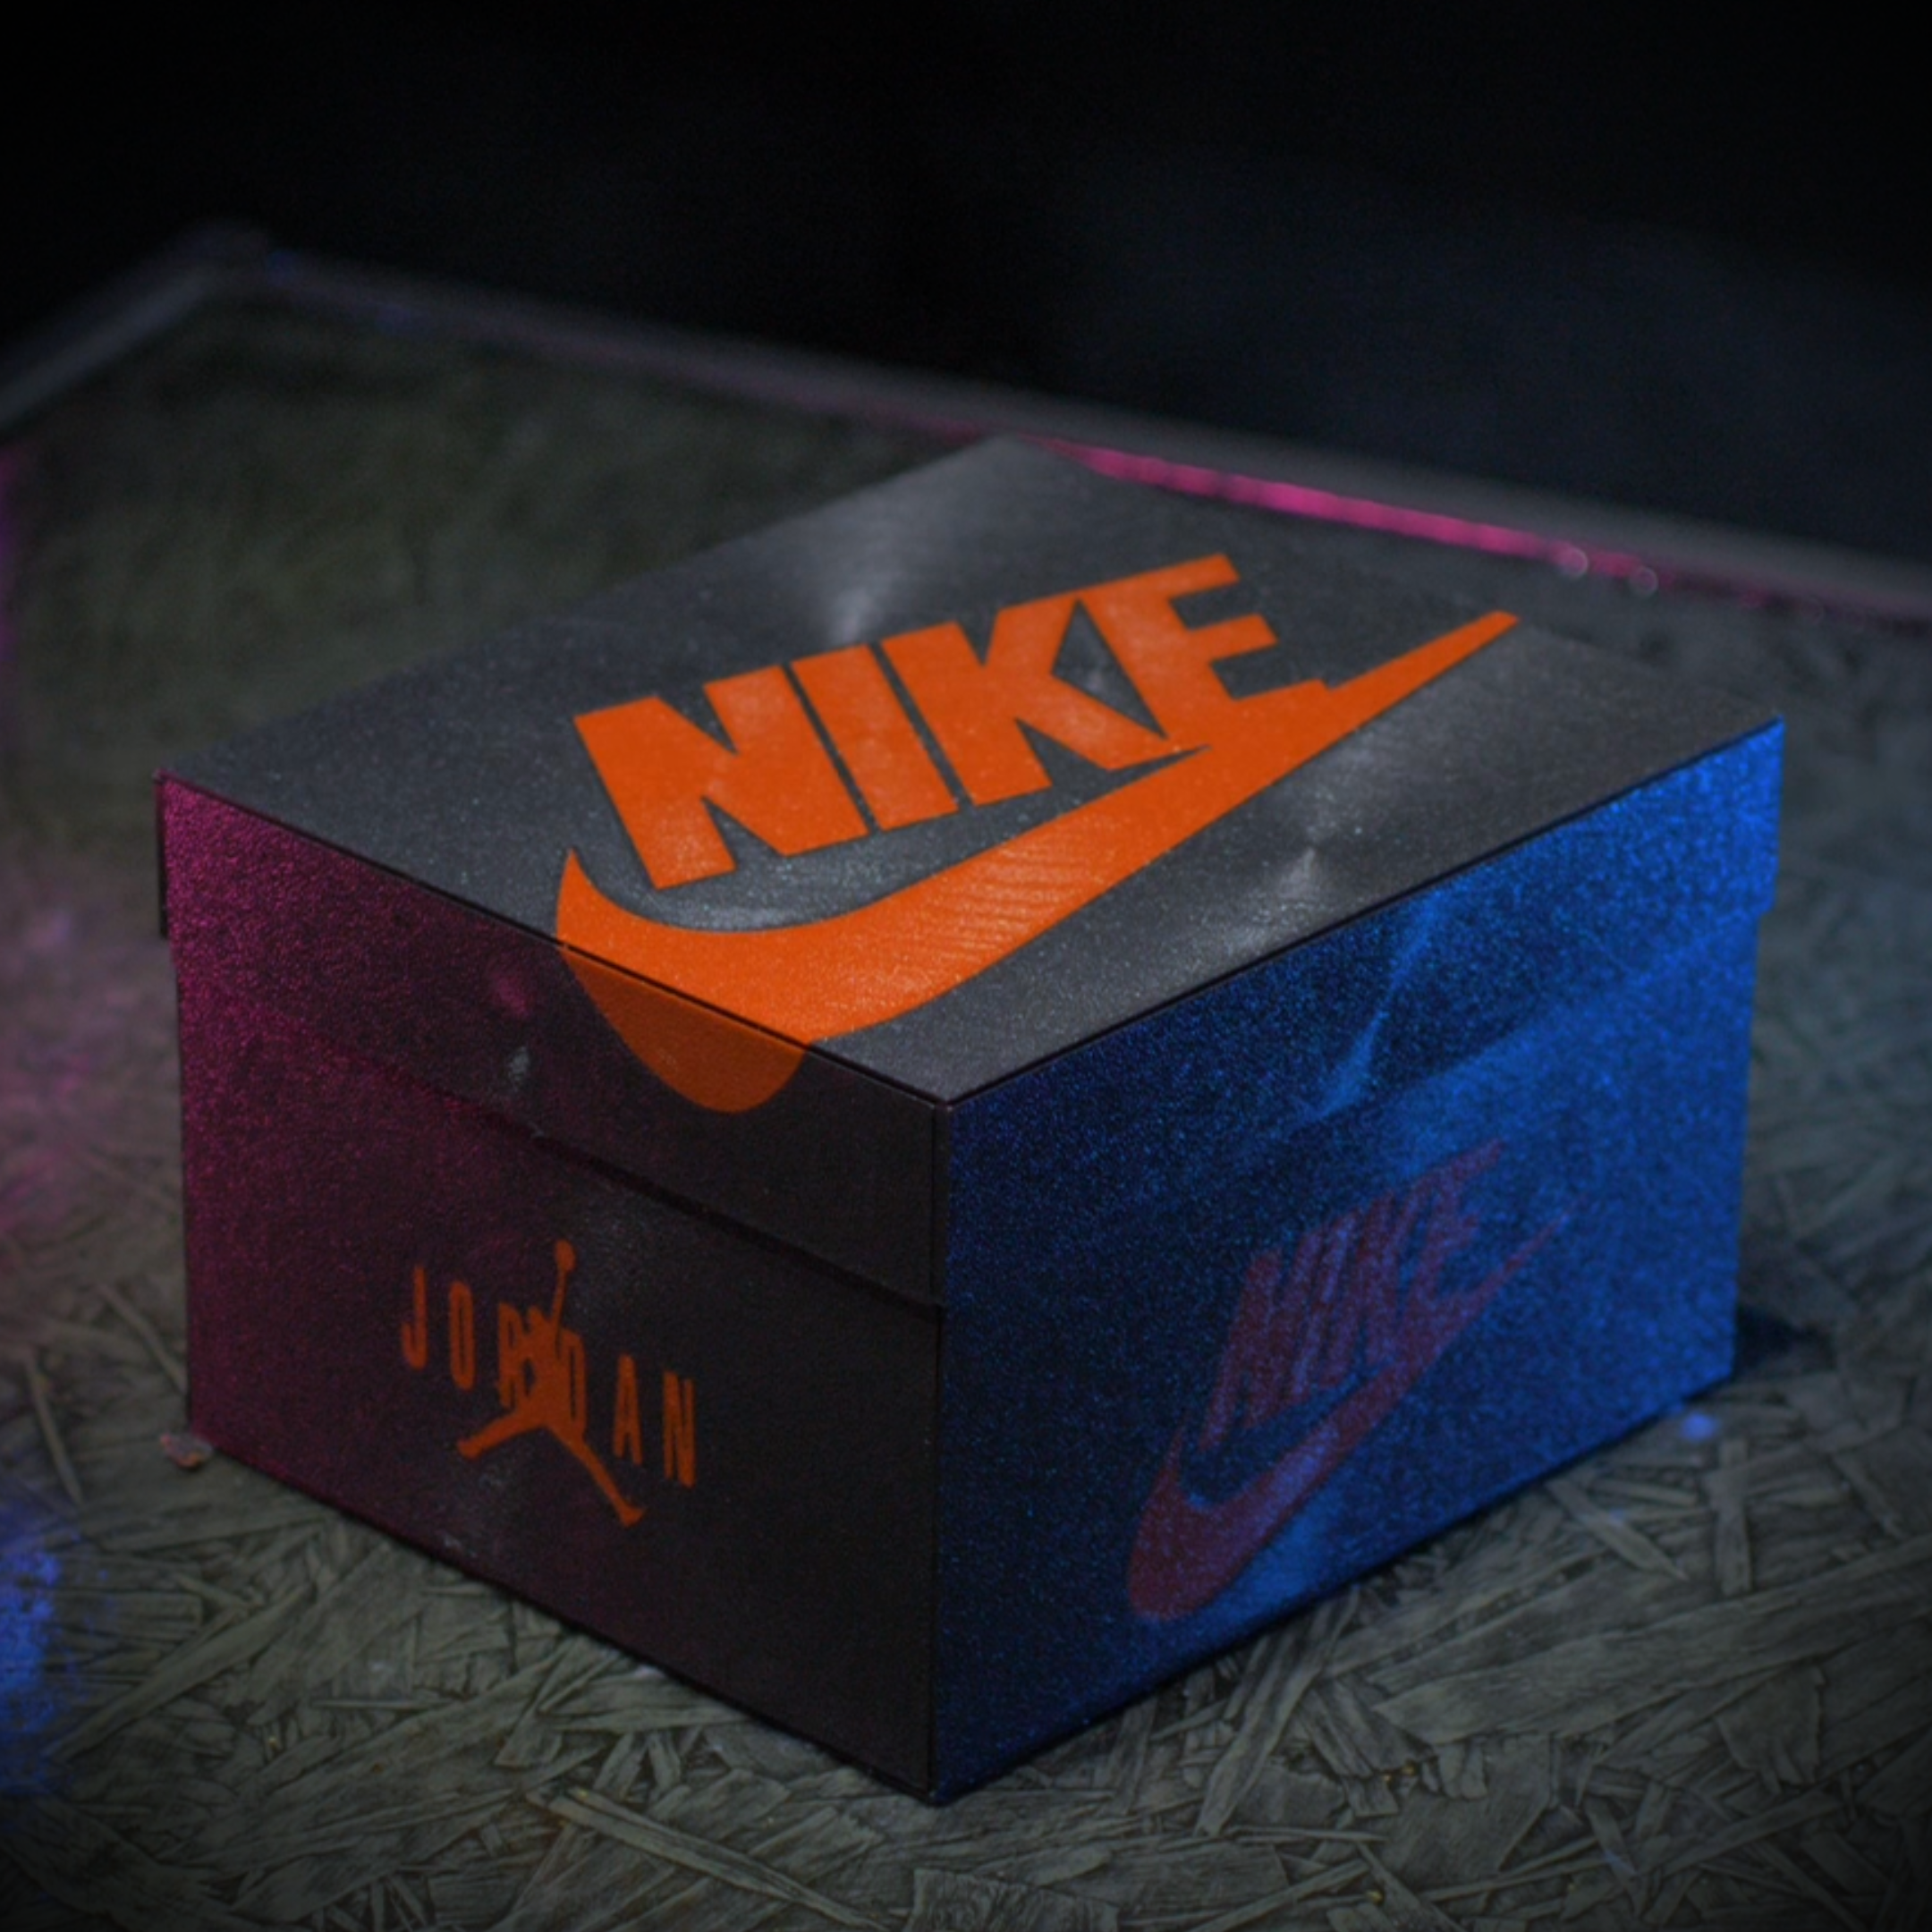
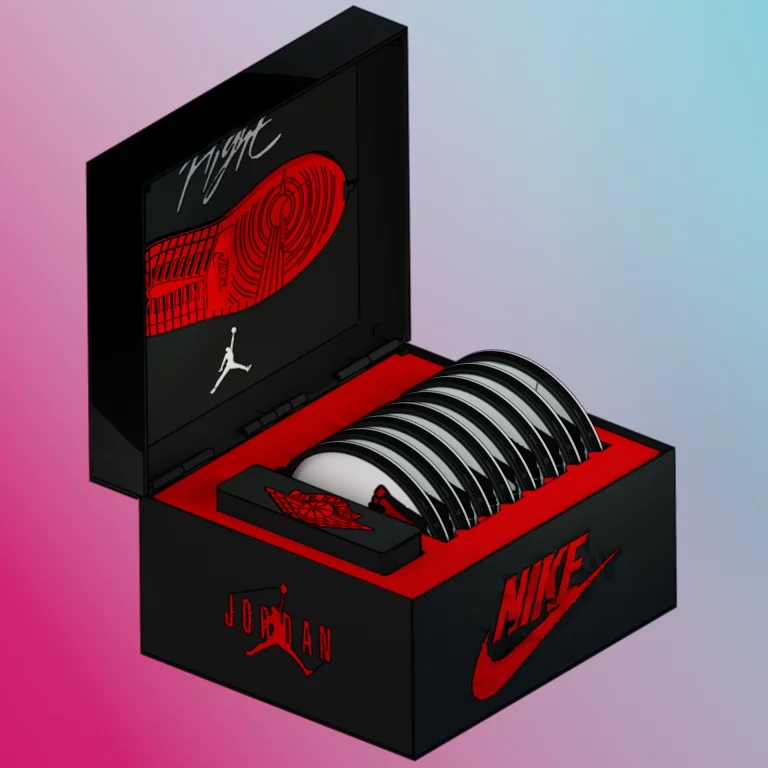
Bring legendary sneaker history to your coffee table with the AJ1 Retro Sneaker Box Coaster Set! This digital download provides everything you need to print and assemble the ultimate conversation piece for sneakerheads and streetwear fans.
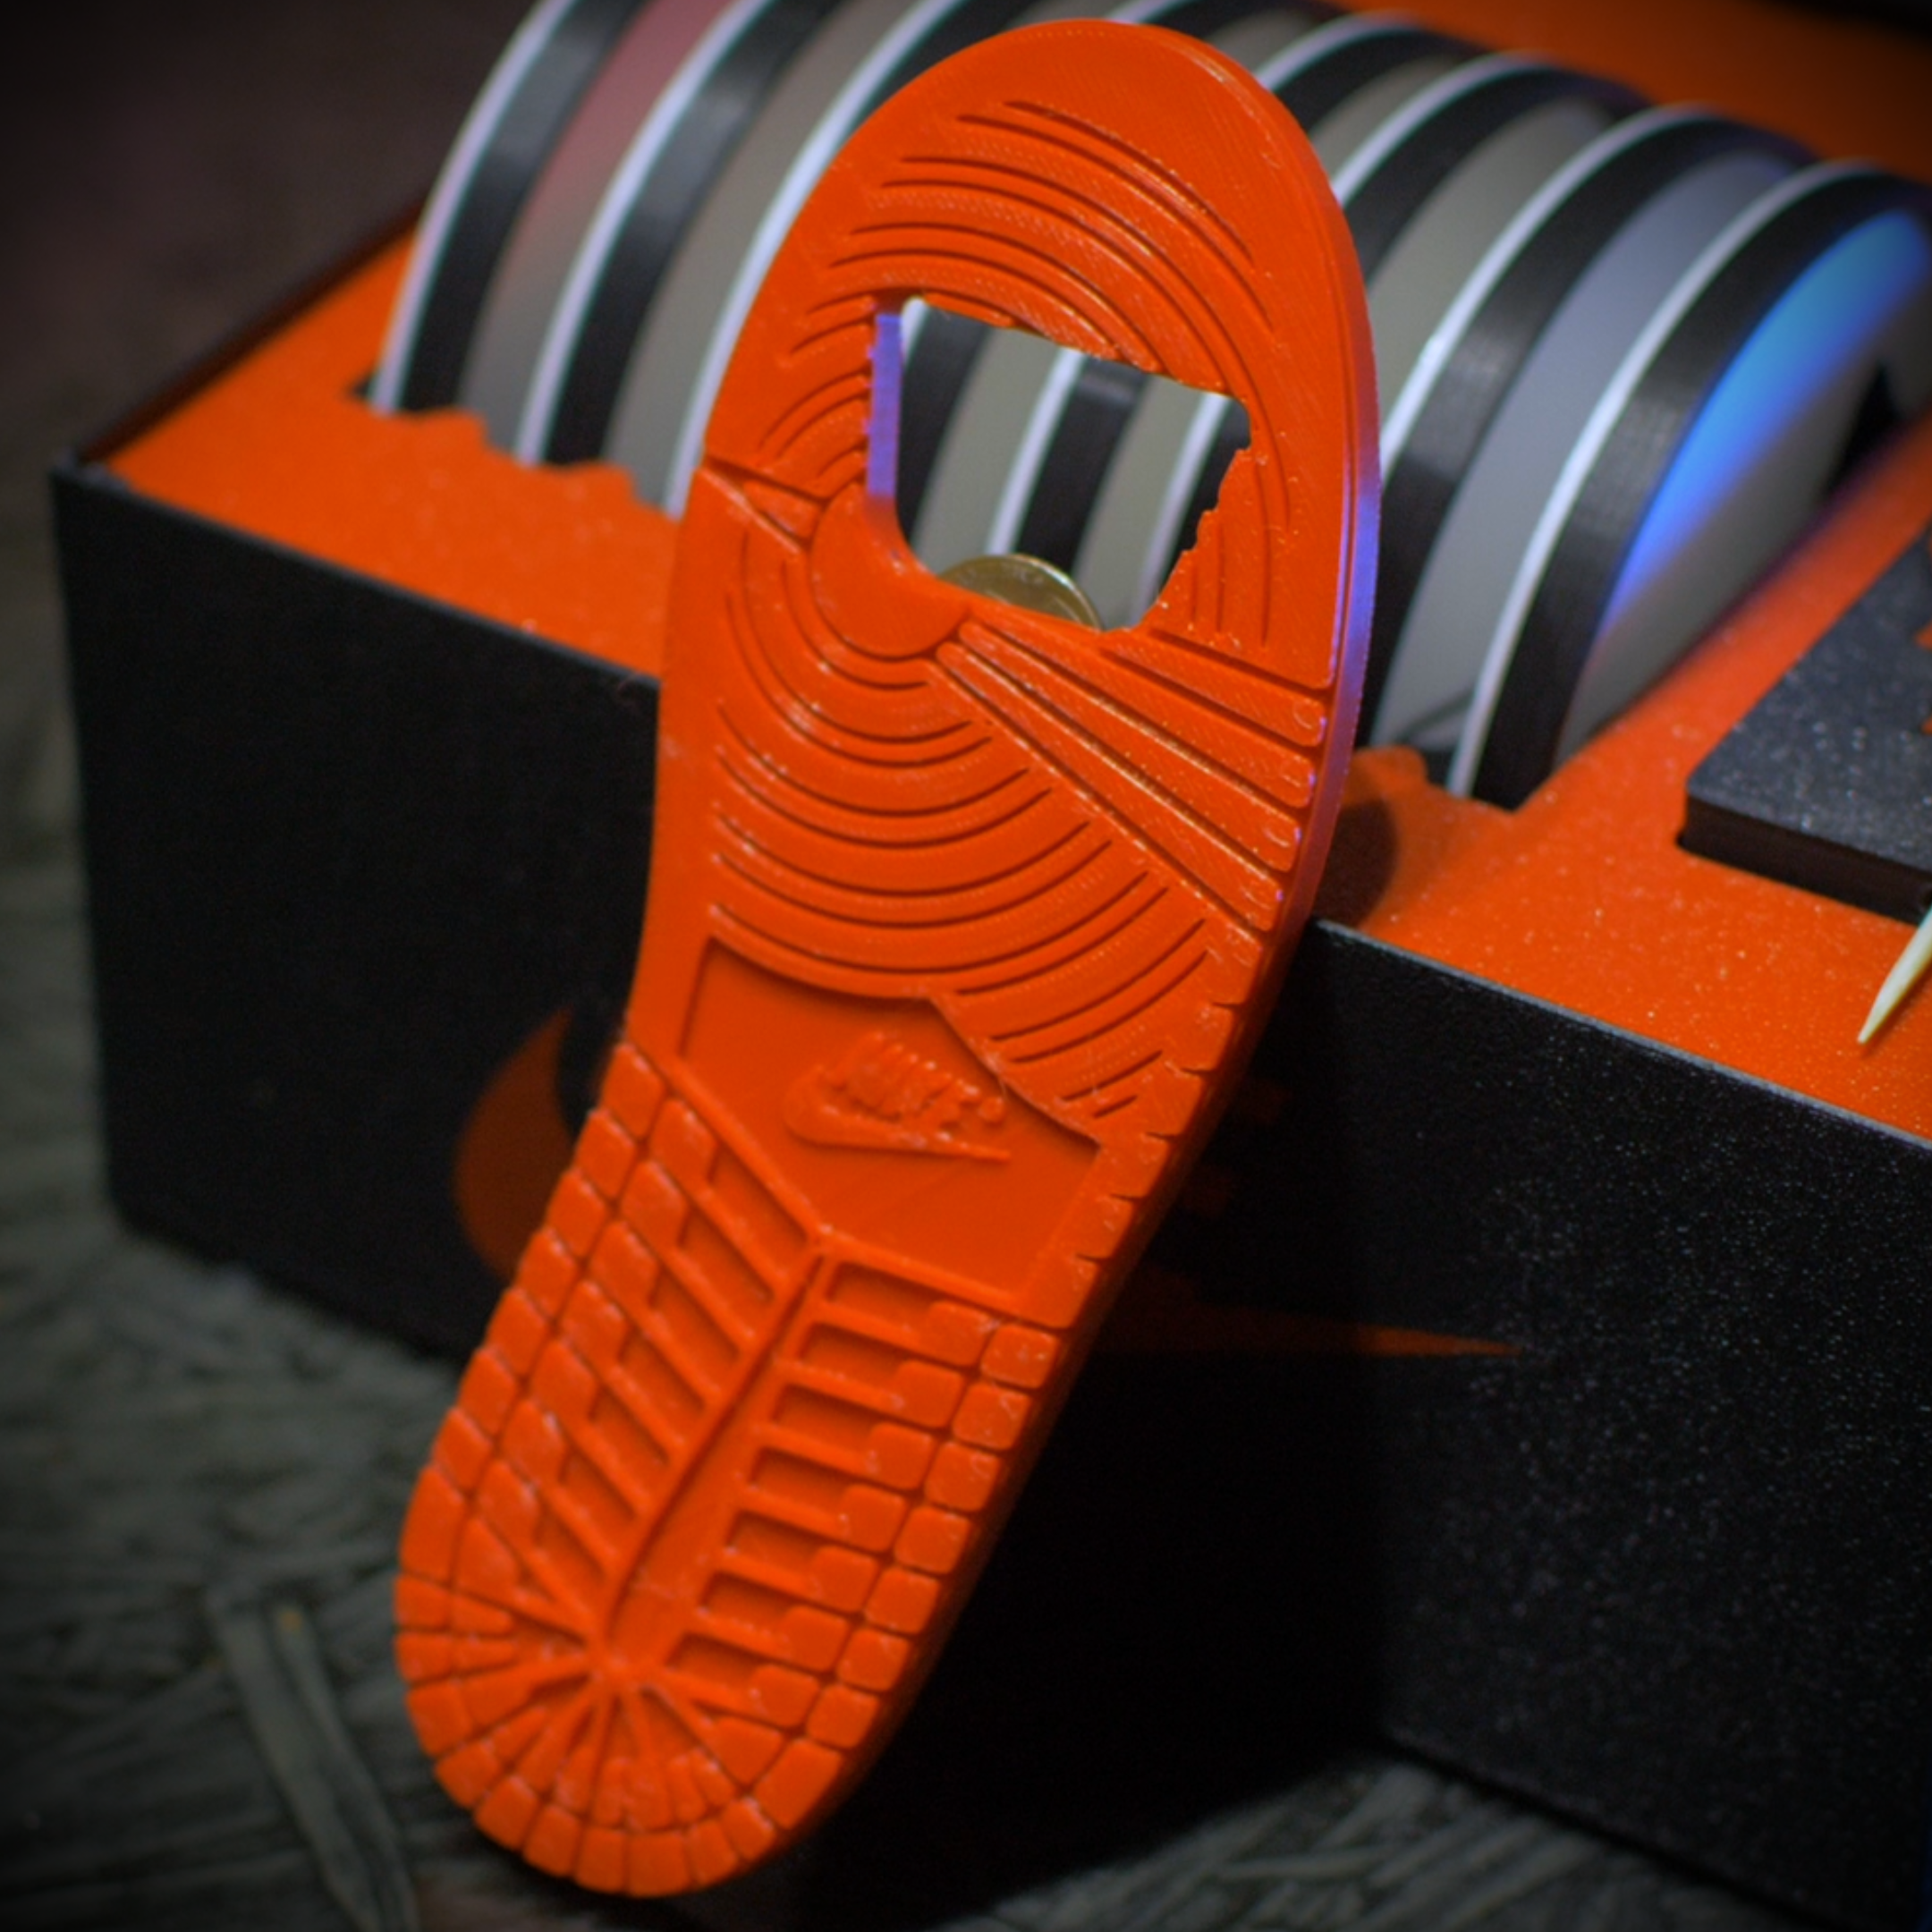
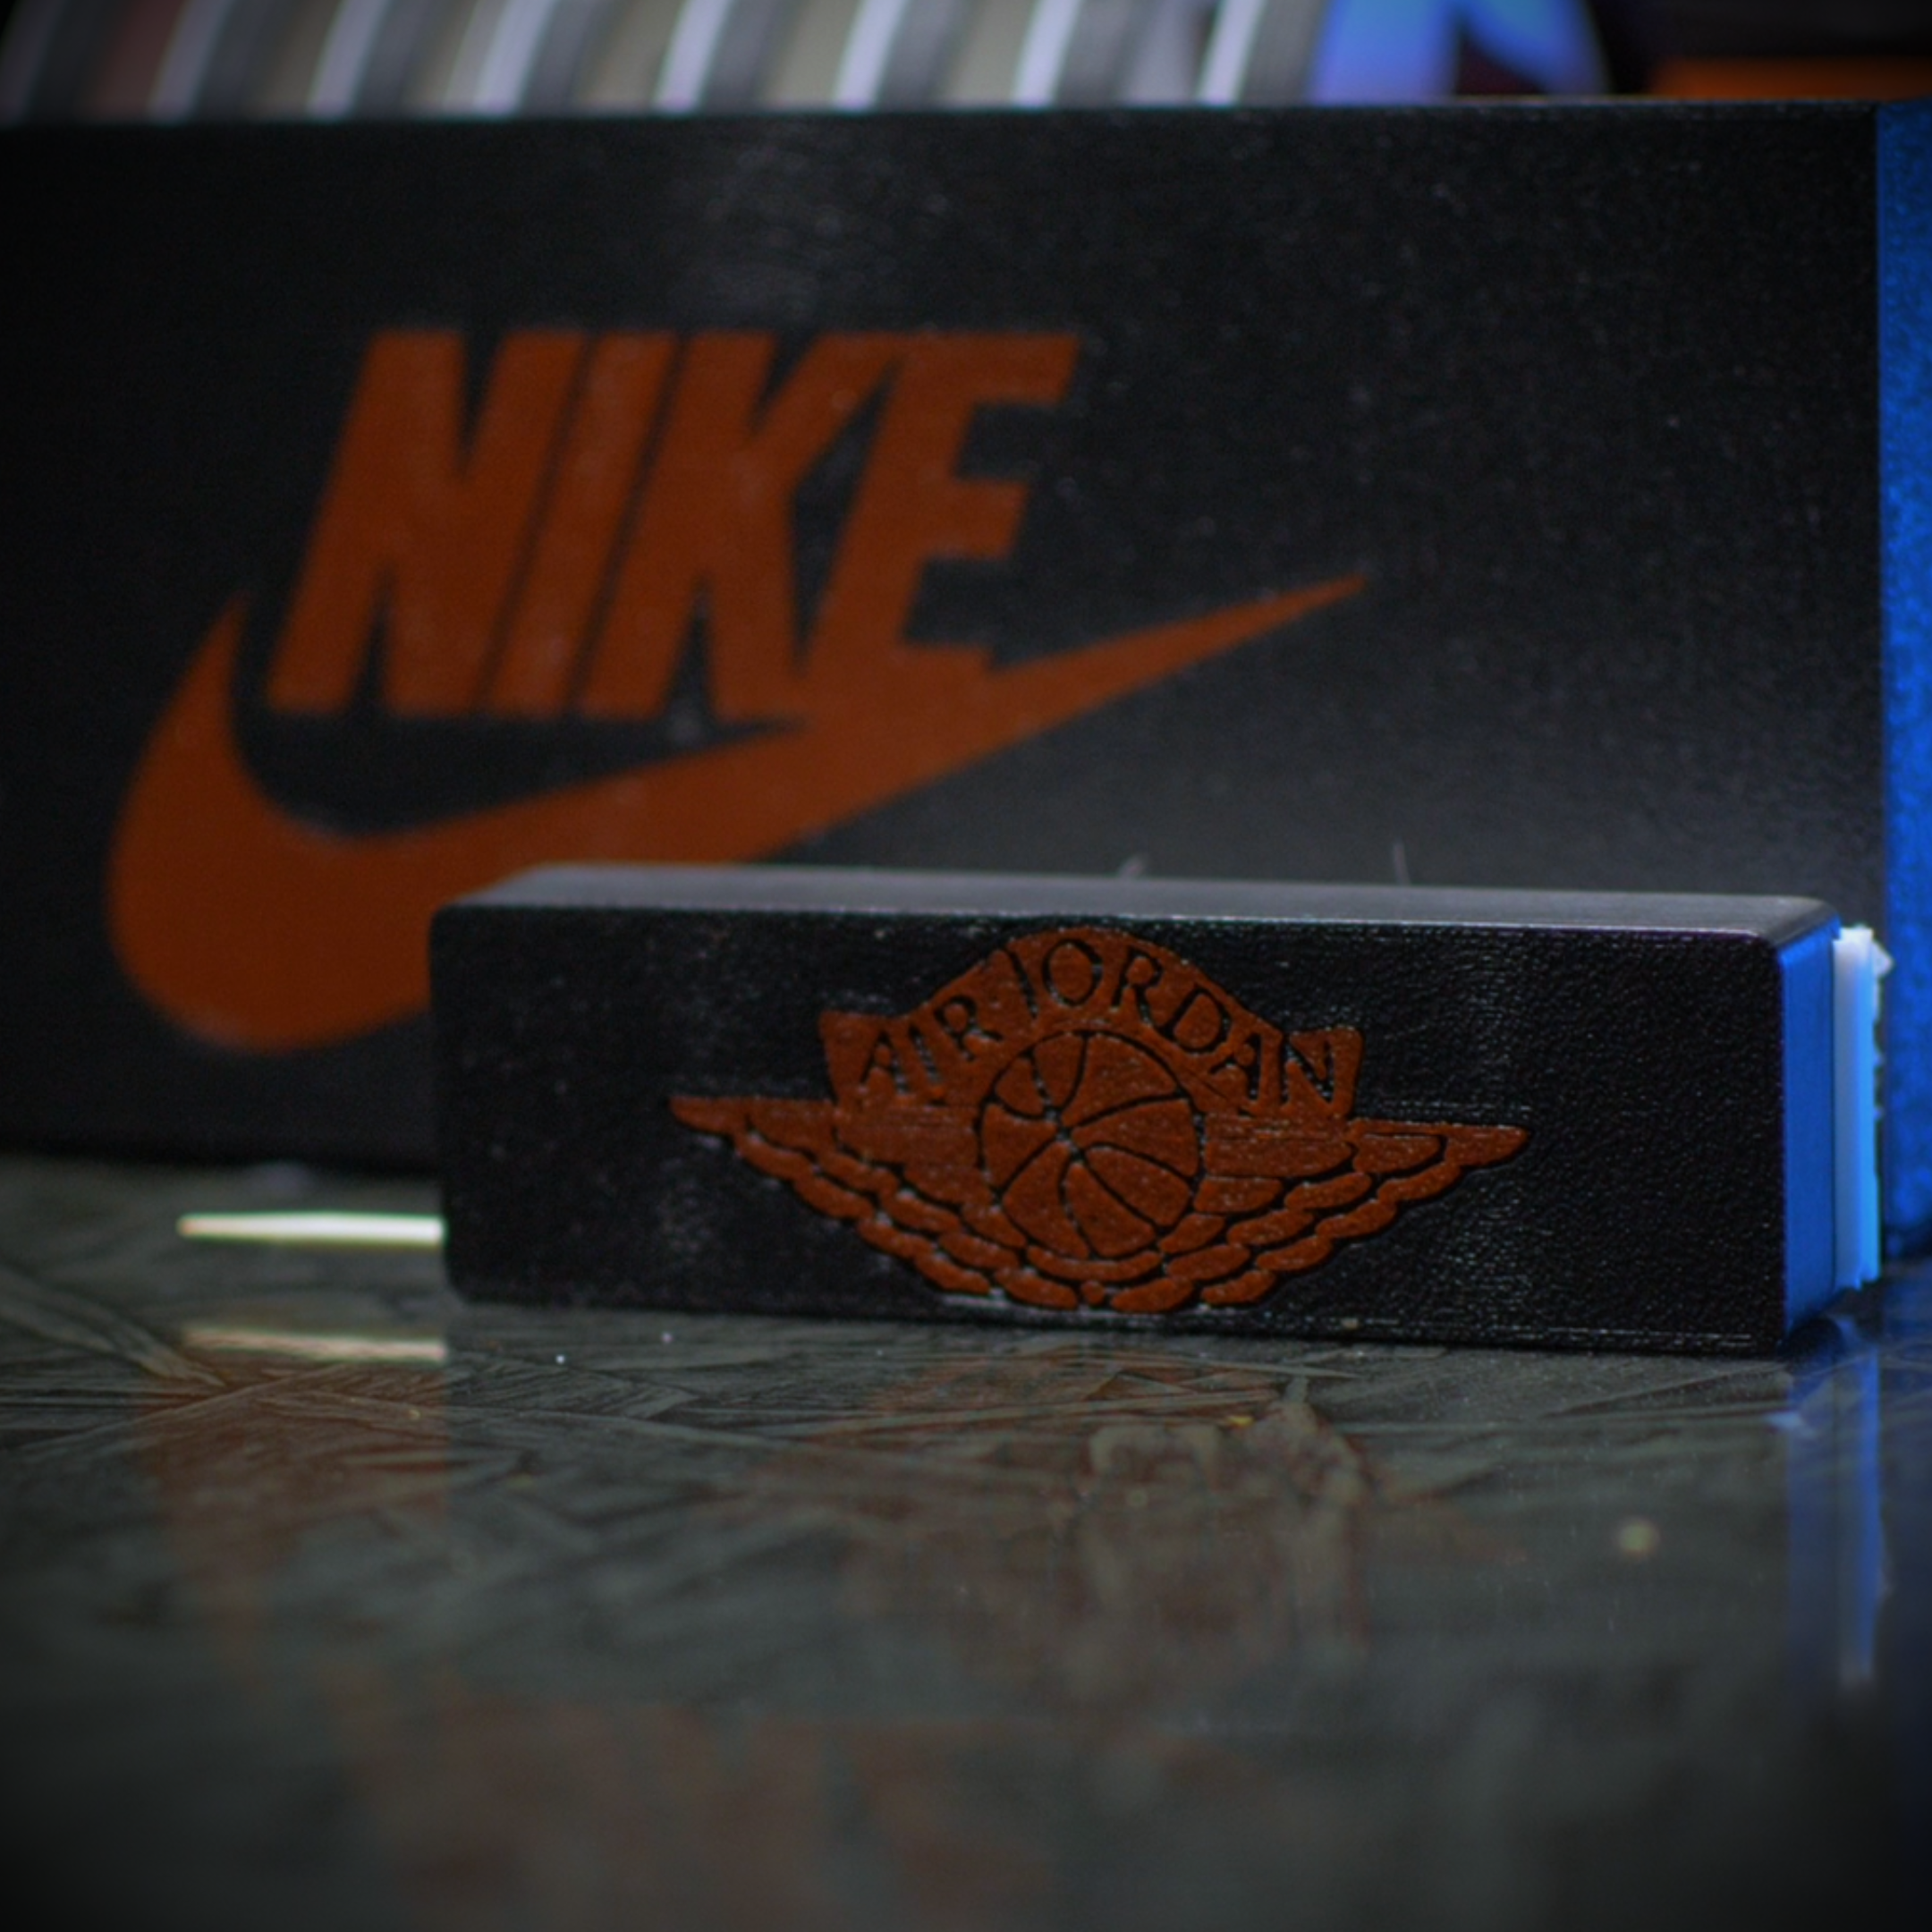
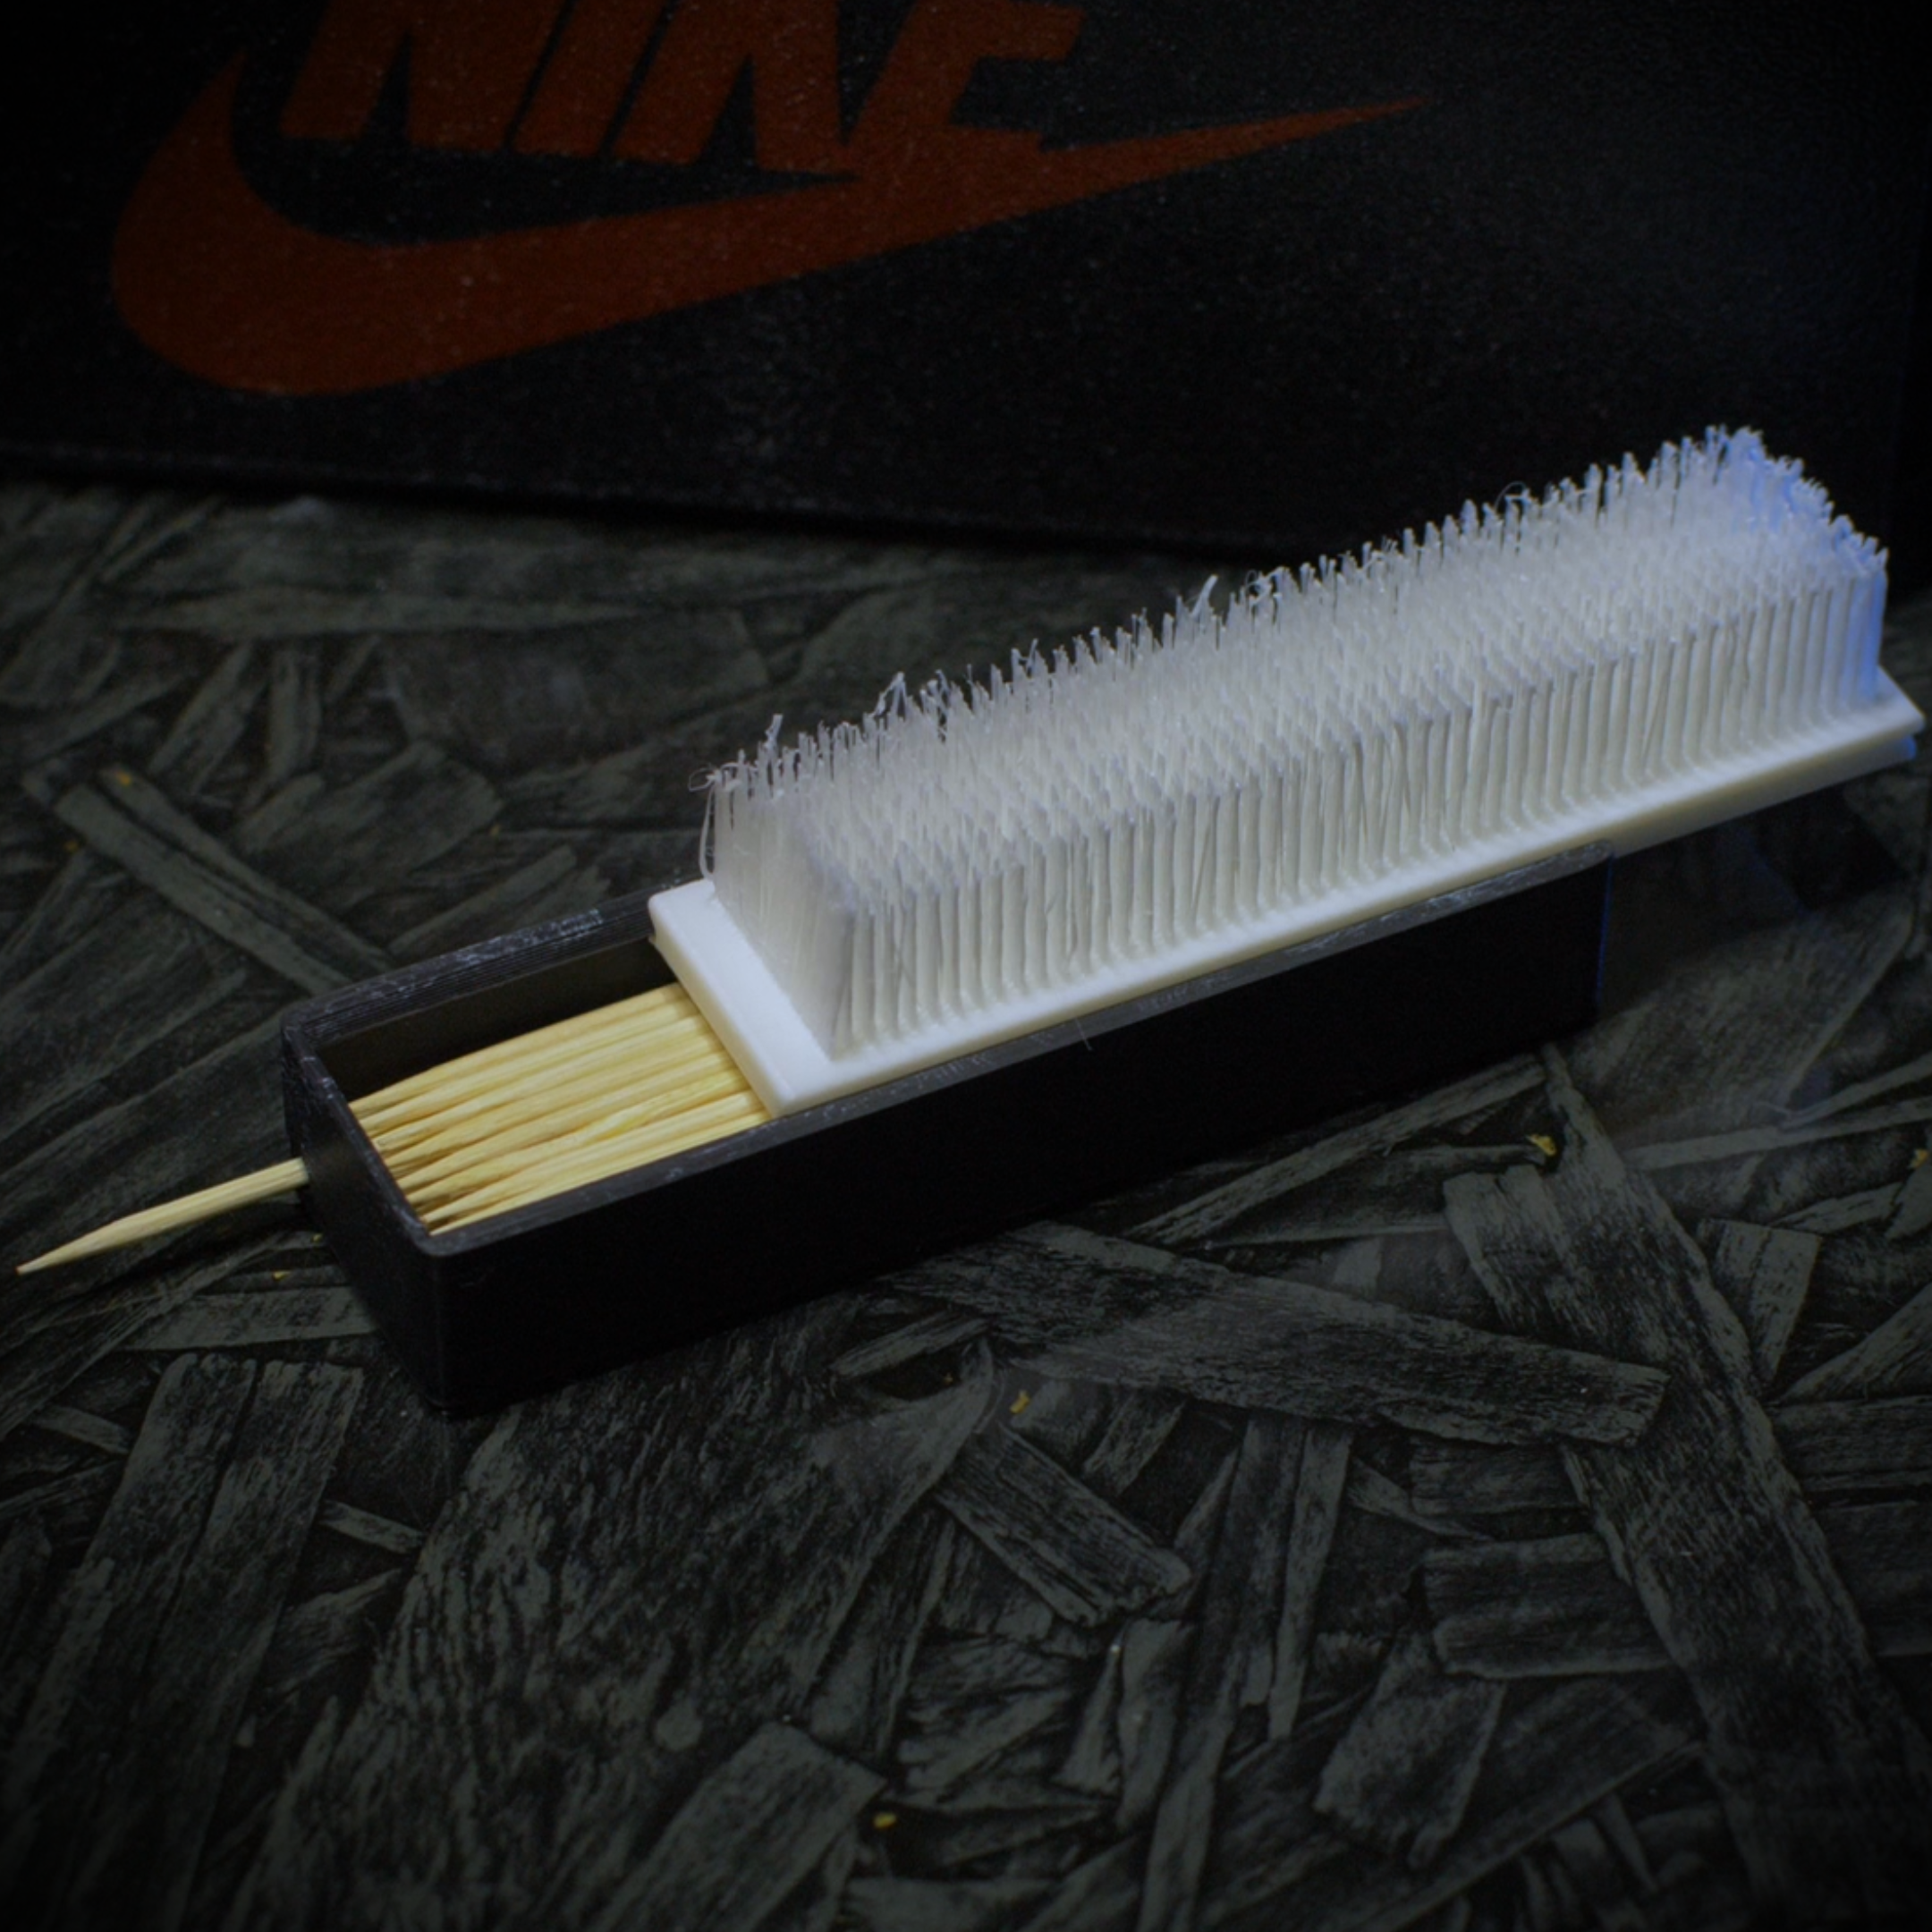
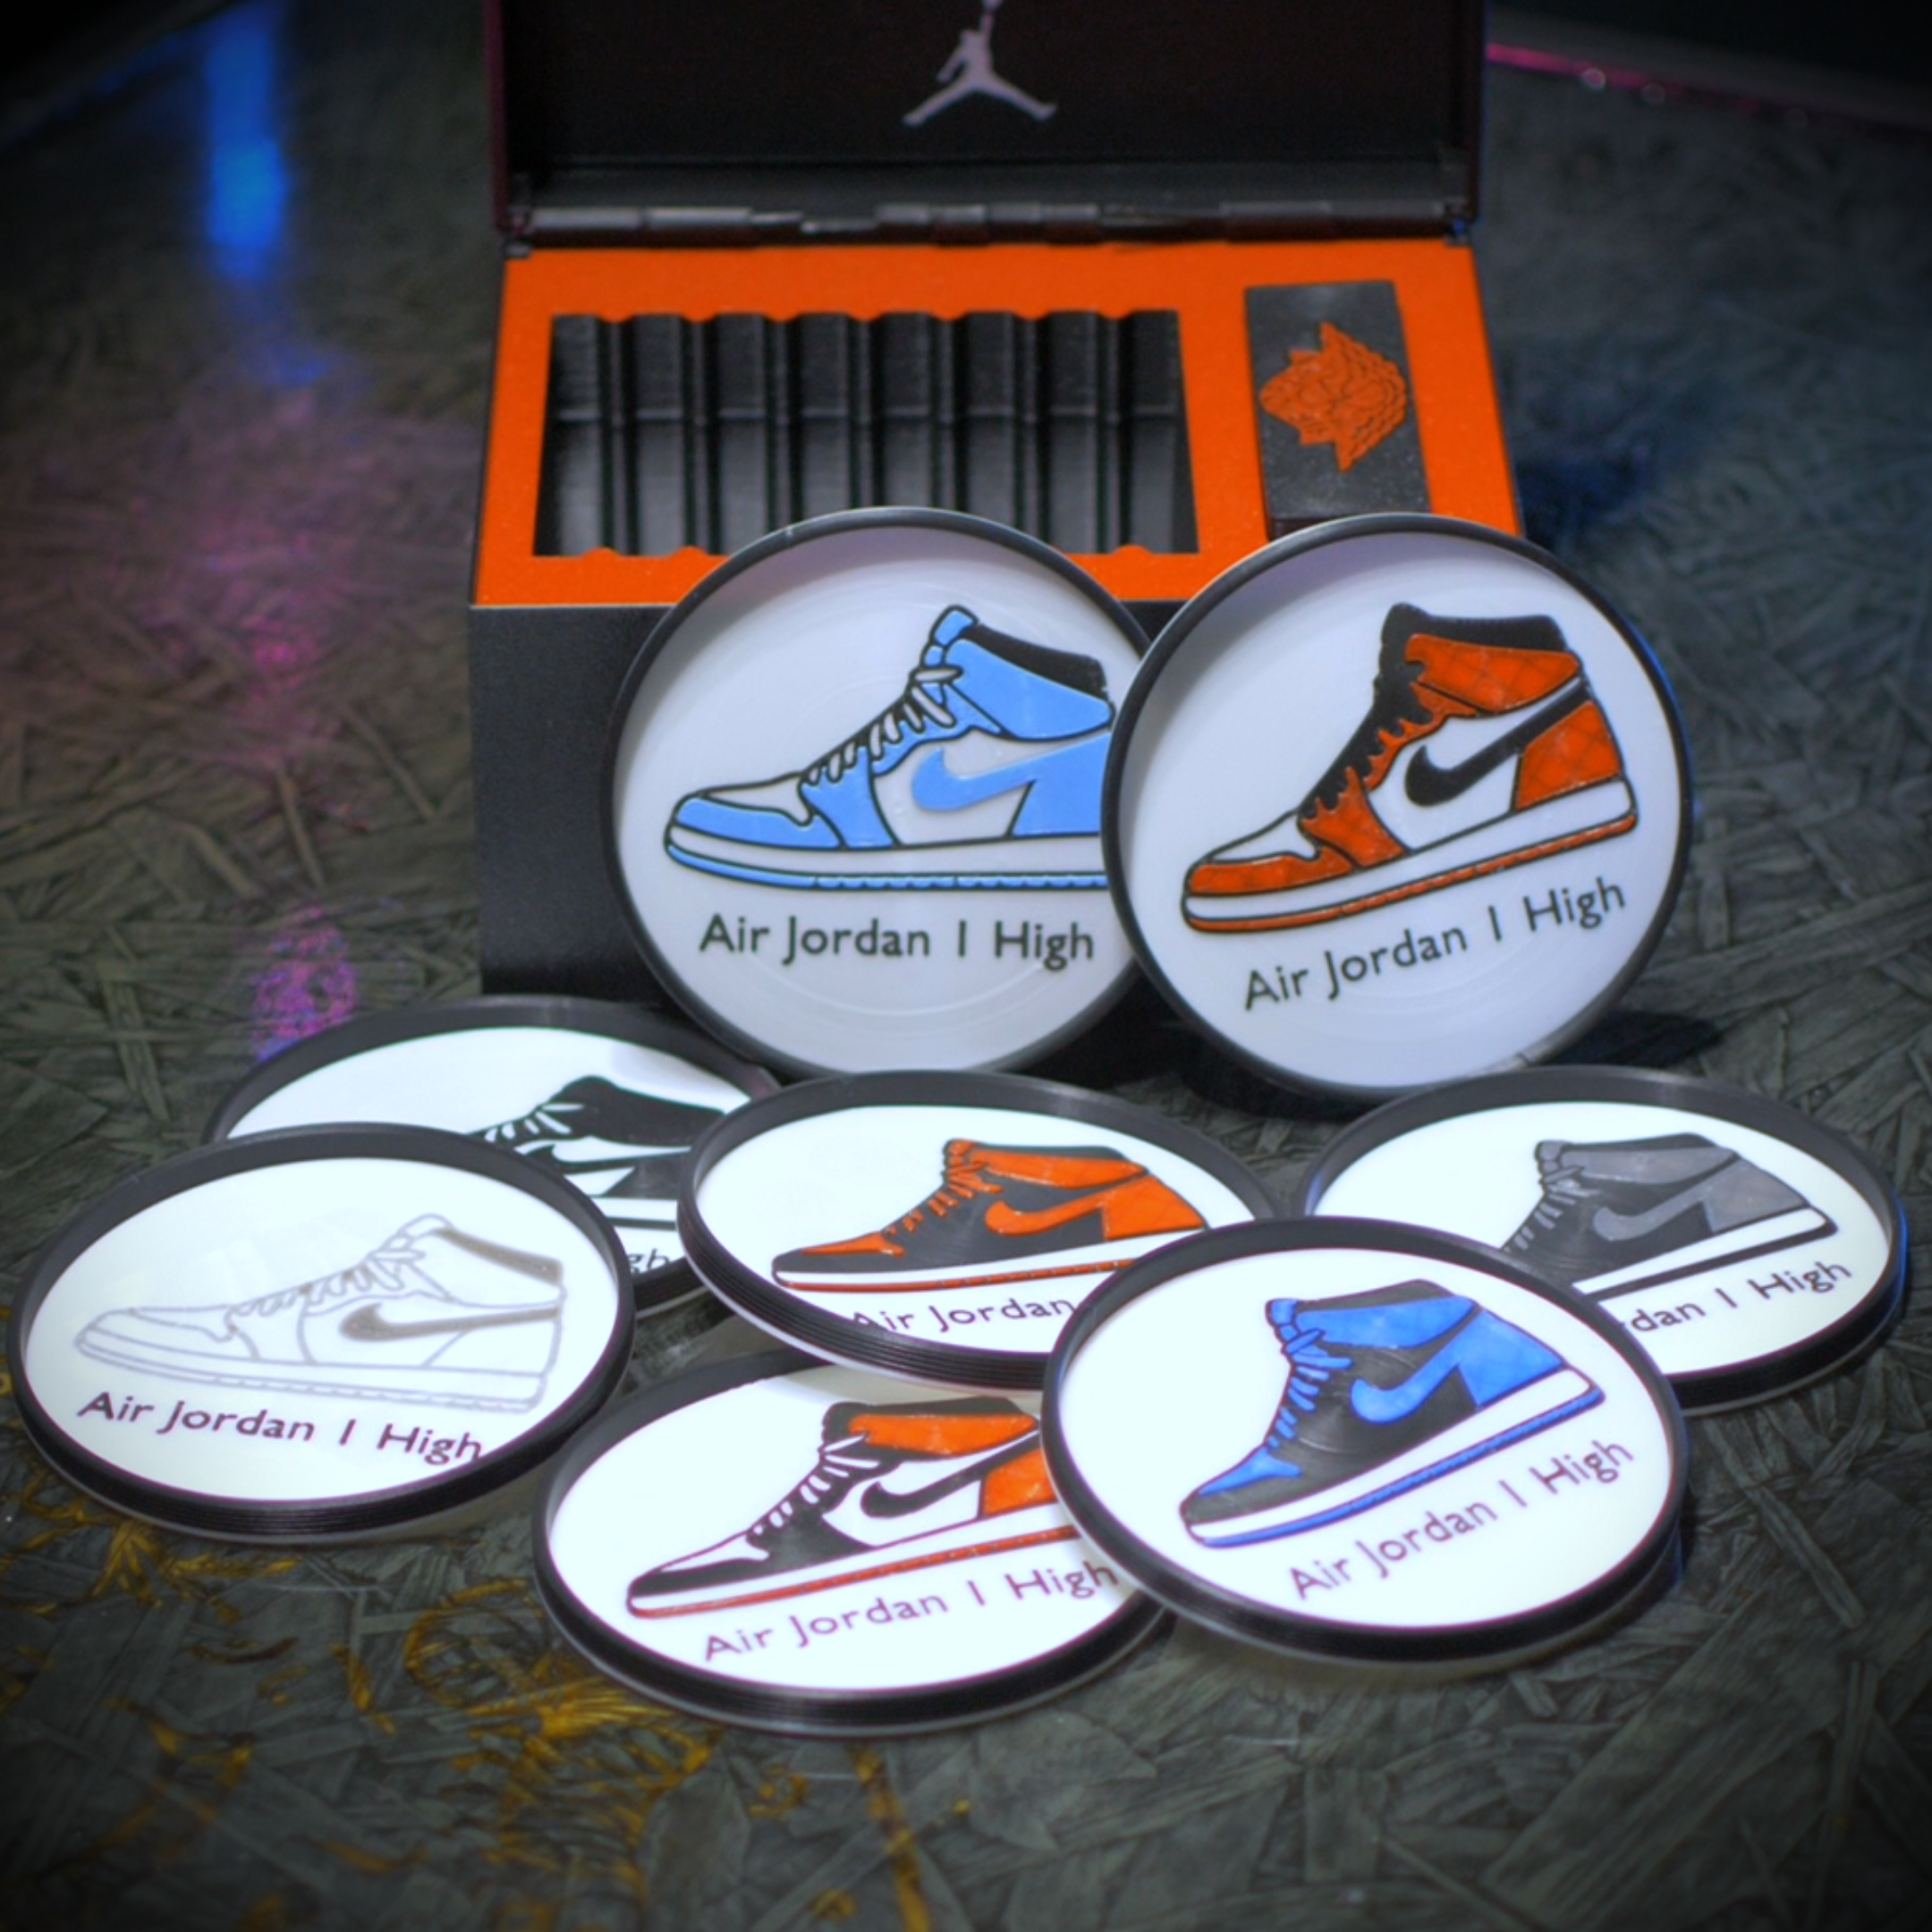
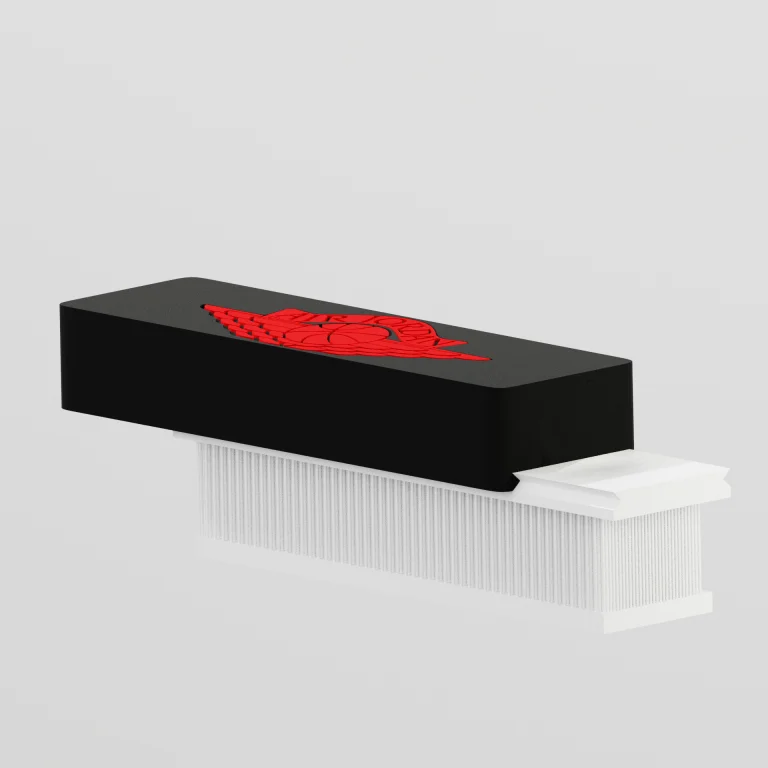
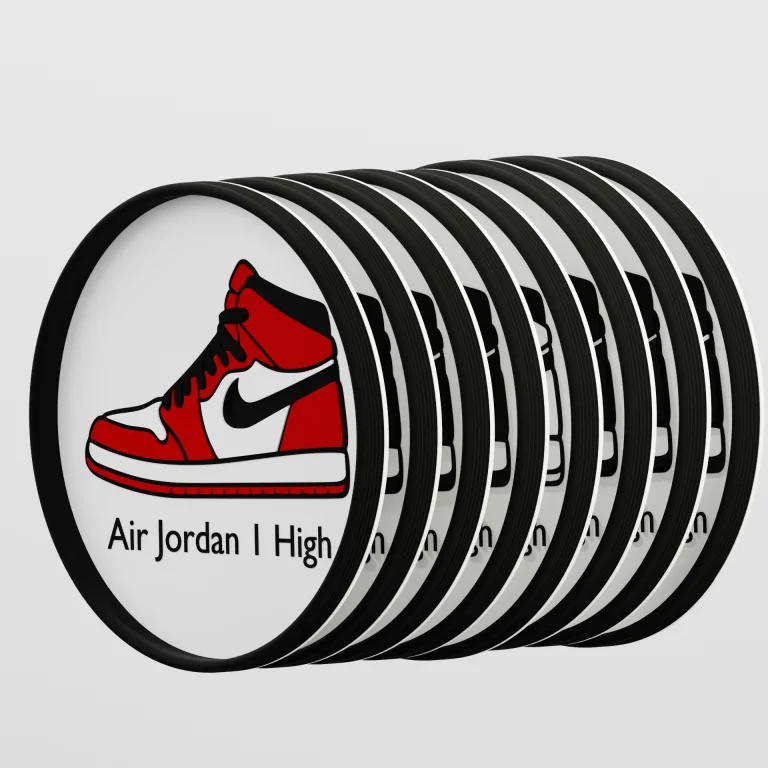
Designed to closely resemble the iconic black and red 1985 shoebox, this case pops open to reveal a neatly organized, fully custom barware set. Inside, you will find eight distinct coasters, each meticulously designed to represent the original eight legendary AJ1 release colorways. But the details don't stop there. The set includes a uniquely designed toothpick holder shaped like a shoe cleaning brush... where the stored toothpicks double as the bristles! You will also print a functional bottle opener shaped exactly like the iconic AJ1 midsole. Just slide a standard penny into the custom slot, and you have a durable, working beer bottle opener.
Want to match your personal grails? The included files make it incredibly easy to swap filament colors so you can print the shoebox and coasters in modern colorways or custom combinations.
-
Instant Digital Download: Includes all individual STL files and a pre-configured 3MF file for quick, perfectly oriented slicing.
-
The Ultimate Sneaker Set: Prints an interactive replica shoebox that houses 8 coasters, a bottle opener, and a toothpick holder.
-
Clever Functional Tools: Features a midsole bottle opener (powered by a single penny) and a shoe-brush toothpick holder.
-
Complete DIY Kit: Comes with a detailed text guide for easy, step-by-step assembly.
-
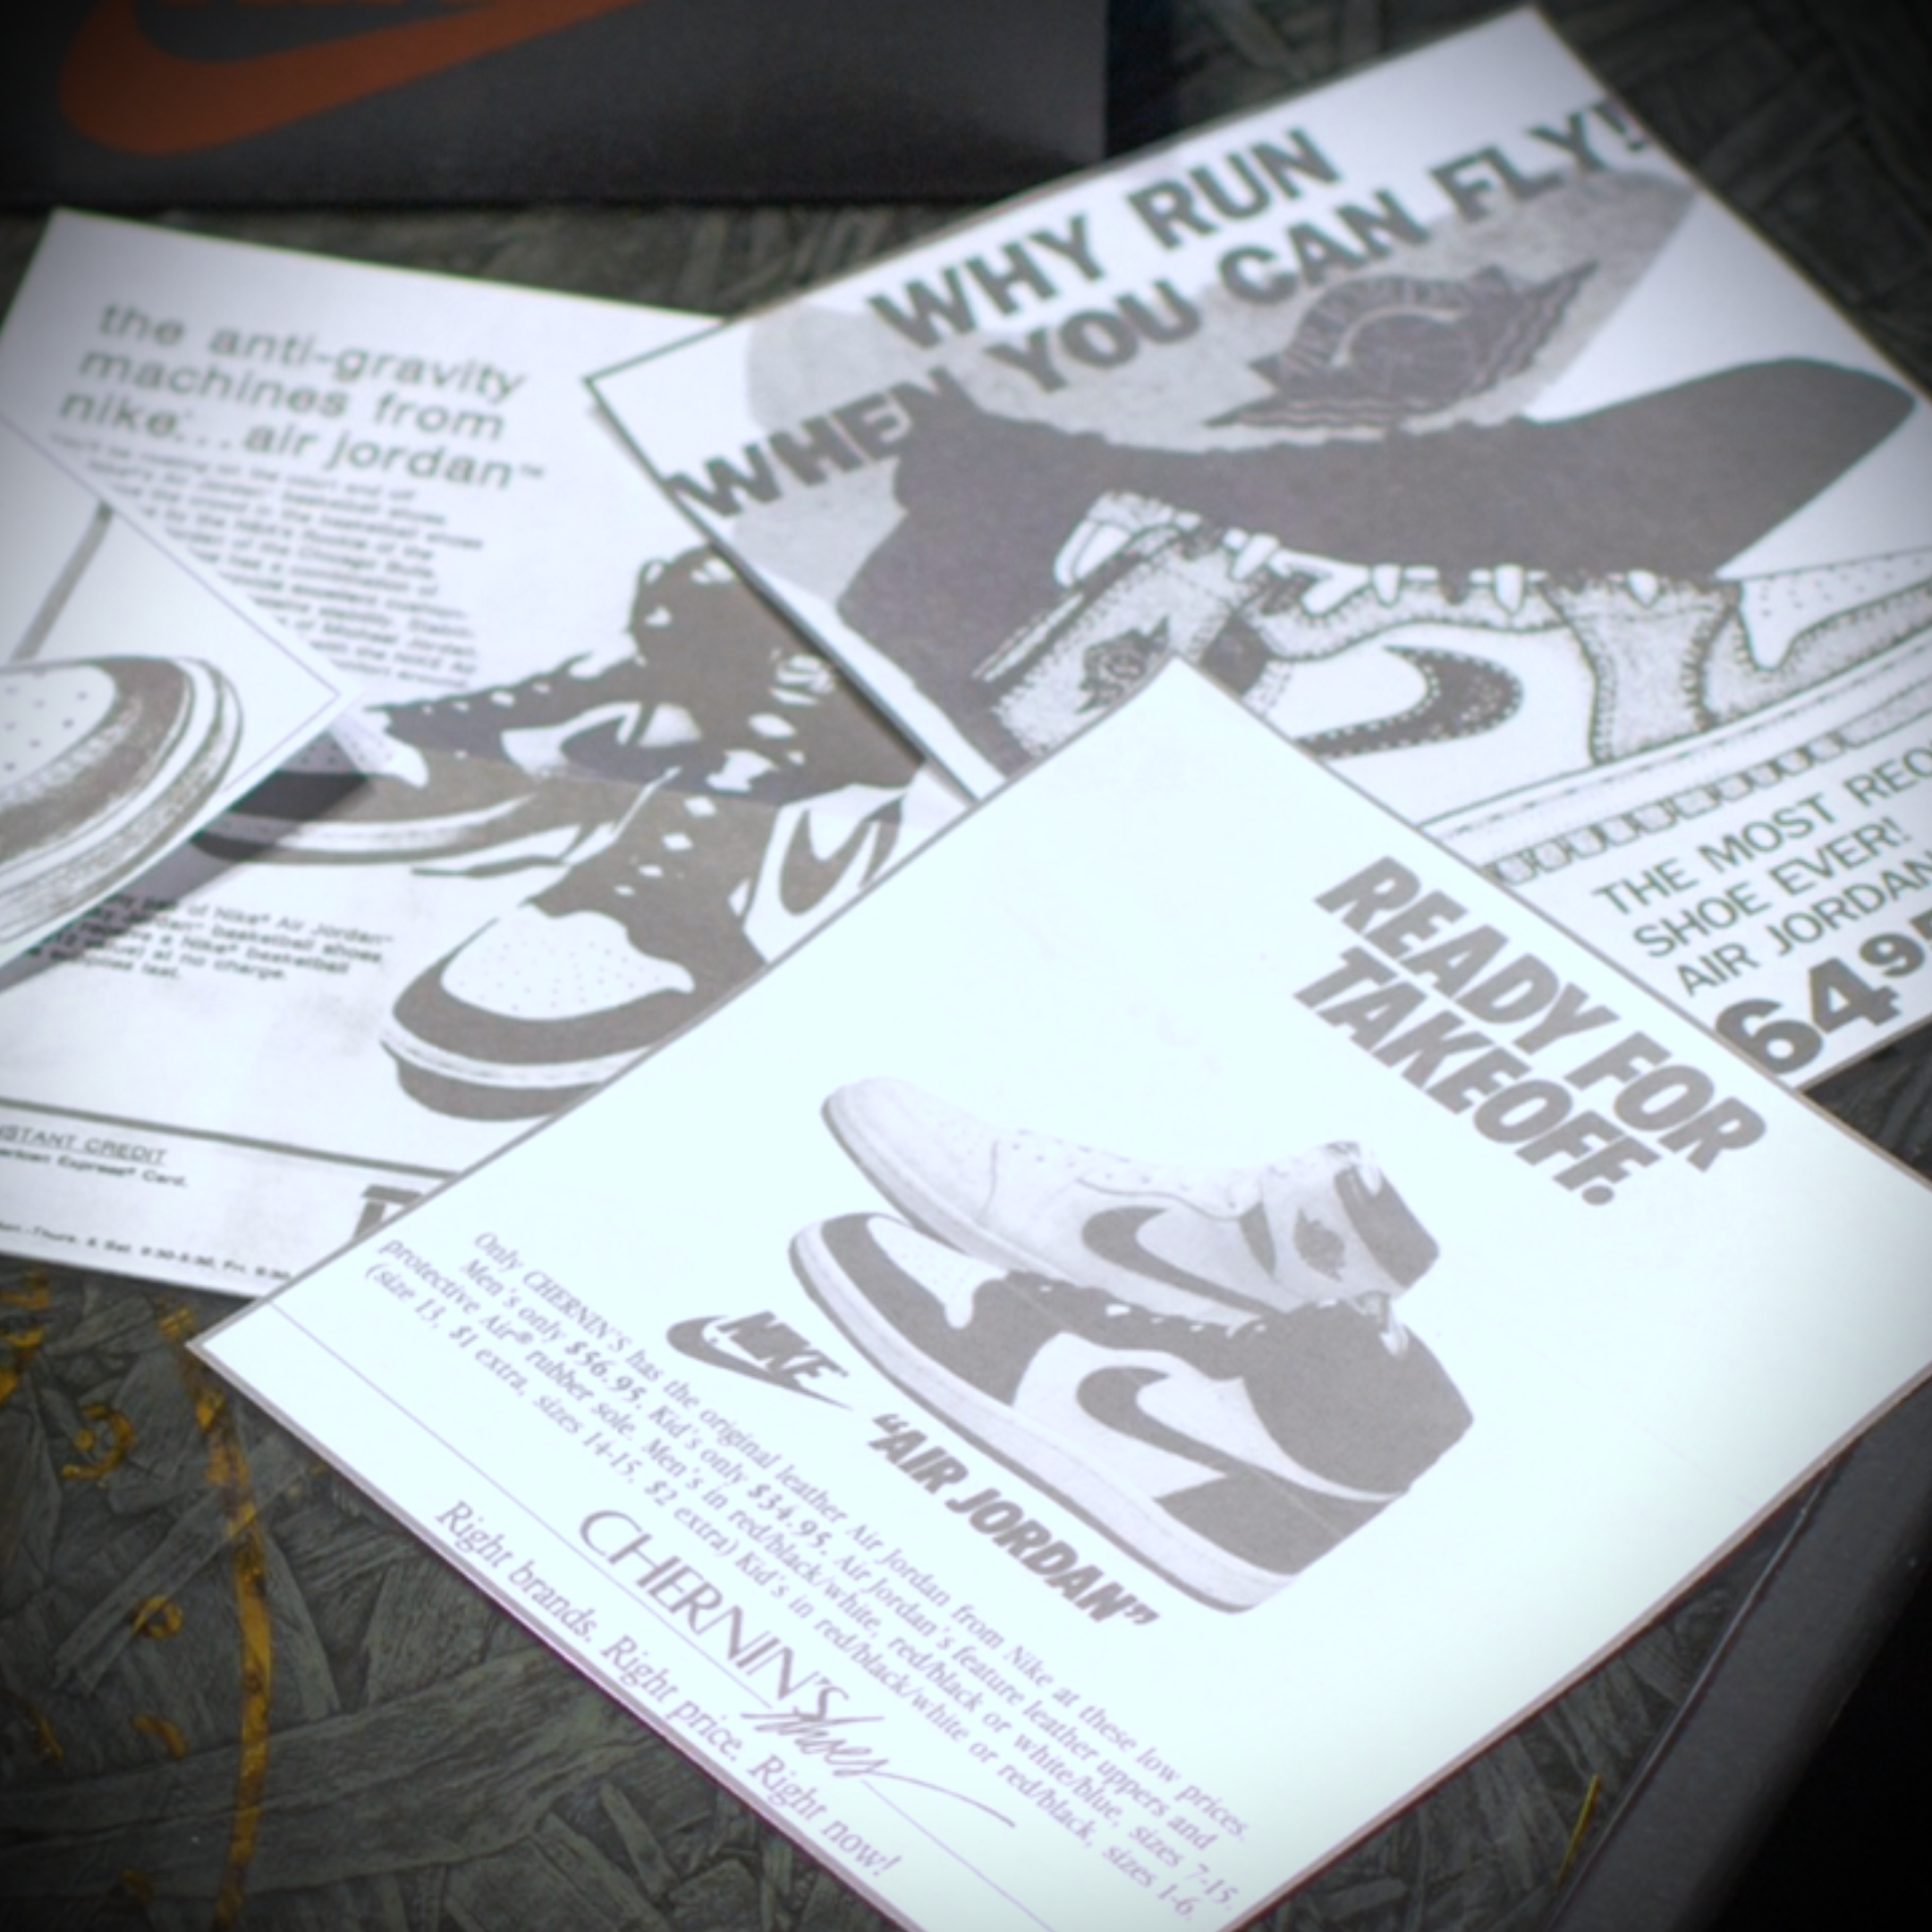
Bonus Retro Ads: Your download includes high-quality PNG files of original 80s sneaker advertisements, perfect for printing out and displaying alongside your box for maximum aesthetic appeal. (Note: This is a digital file only. You will need a 3D printer, filament, and a standard penny to complete the physical build.)
🖨️ Print Details
🎚️ Easy
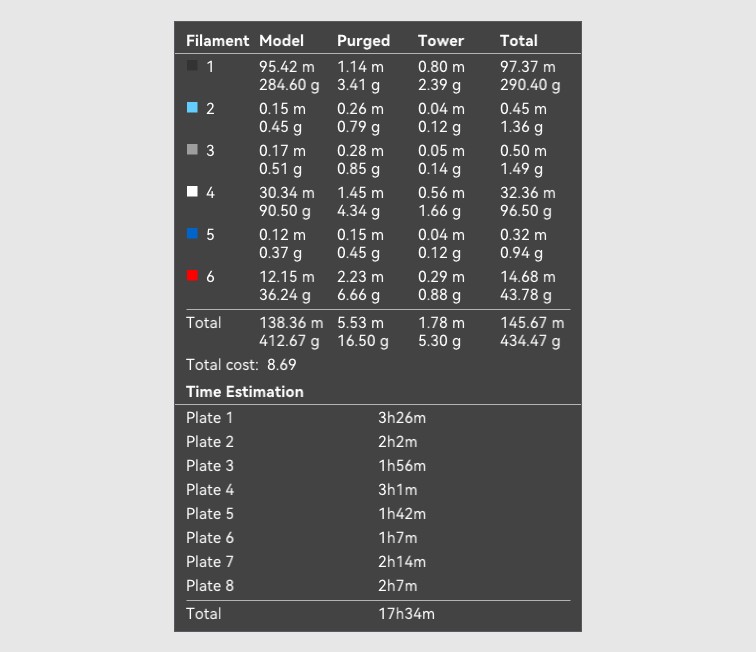
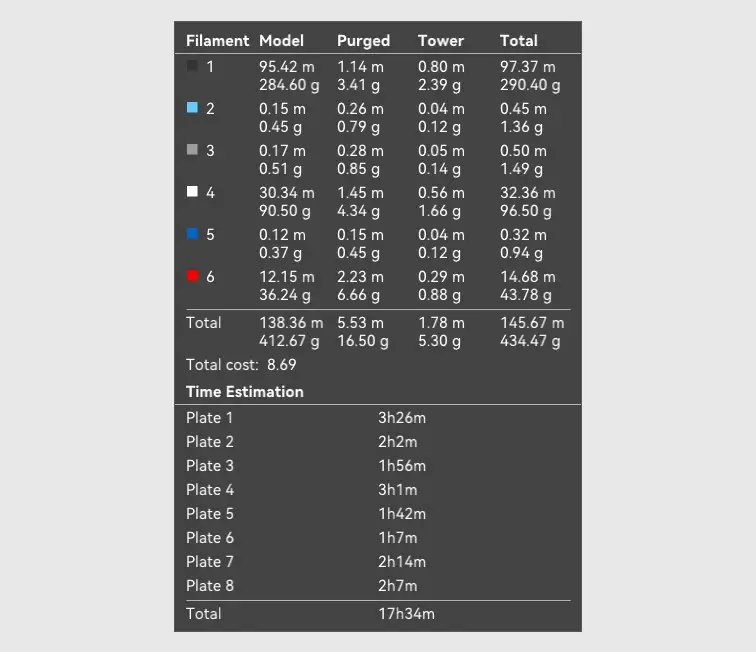
⚖️ 343 Grams
⏱️ 17+ Hours
🍭 AMS Recommended
🎨 Materials
These are the filaments and non-printable hardware used to complete this print:
Filaments:
Hardware:
No hardware is needed for this print!
* Contains affiliate links
🛠️ Installation Guide
Get seamless printing on any standard machine with these pre-tested STL files.
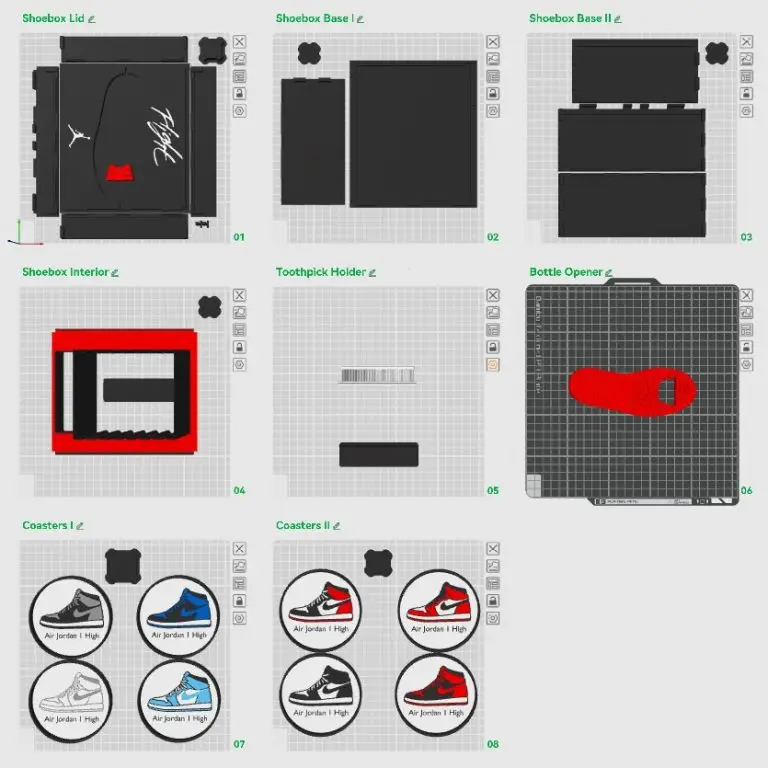
Overview
Welcome to the build! This project is designed for a simple, guided installation.
- Print Settings: Keep the default orientation for a support-free print.
- Files: Use the included 3MF file to customize your layout and filament colors easily. It is already organized by print assembly order! (Standard STL files are also included for legacy slicers.)
- Pro-Tip for a Premium Feel: This build is entirely snap-fit and requires no glue or supports to assemble. However, if you want a solid, heavyweight item that feels like it belongs in a collector’s shop, I highly recommend using a small amount of super glue when assembling the side panels and inserting the interior tray.
Shoebox Lid
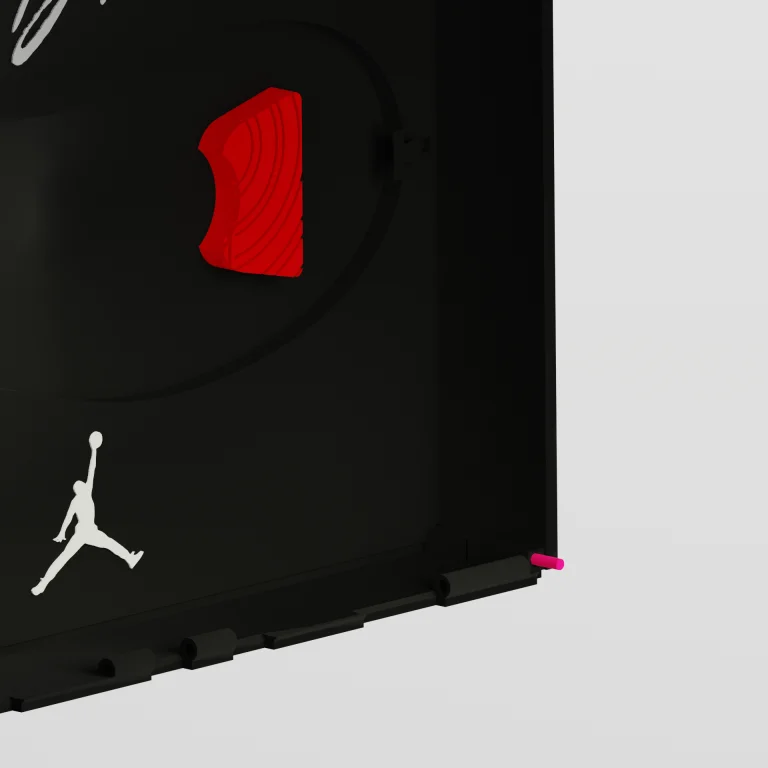
Assembling the lid is straightforward. Instead of metal screws, we will use small pieces of raw 3D printer filament as hinge pins to lock the parts together.
- Start by connecting three of the outer side panels by sliding small pieces of filament into the adjoining holes.
- Wrap these three connected sides around the main top lid piece.
- Attach the fourth and final side, using filament to lock all the pieces together and secure the top lid in place.
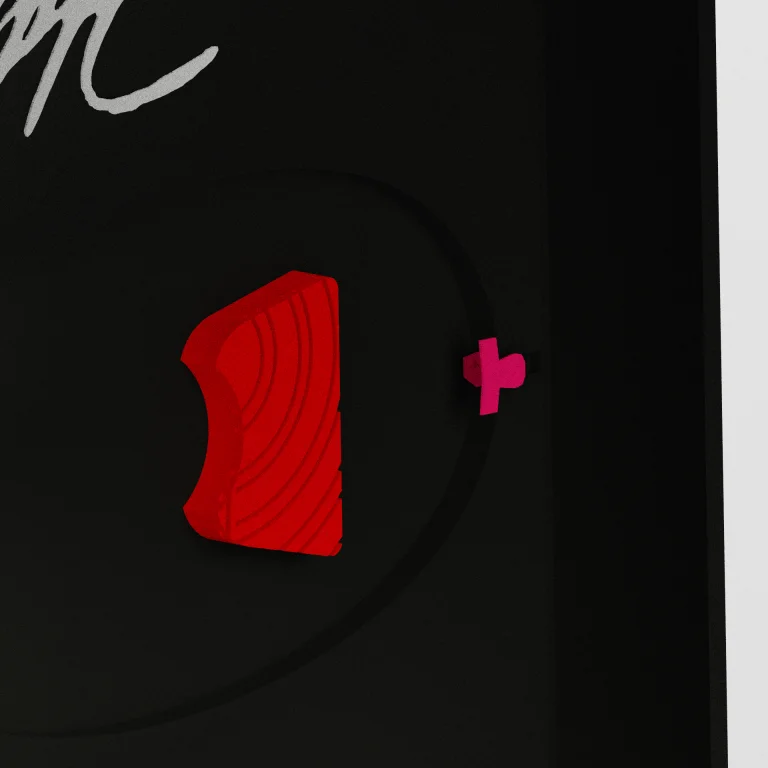
Bottle Opener Latches
Before moving on to the shoebox base, you’ll need to install the latches. Slide the bottle opener latches directly into the lid top. These are crucial, as they will securely hold the bottle opener to the roof of the shoebox’s interior later on.
Shoebox Base
The base assembly uses the same technique as the lid.
- Connect three of the bottom-side panels using short pieces of filament.
- Wrap them around the edges of the bottom base piece.
- Attach the final side panel and lock it all together with filament.
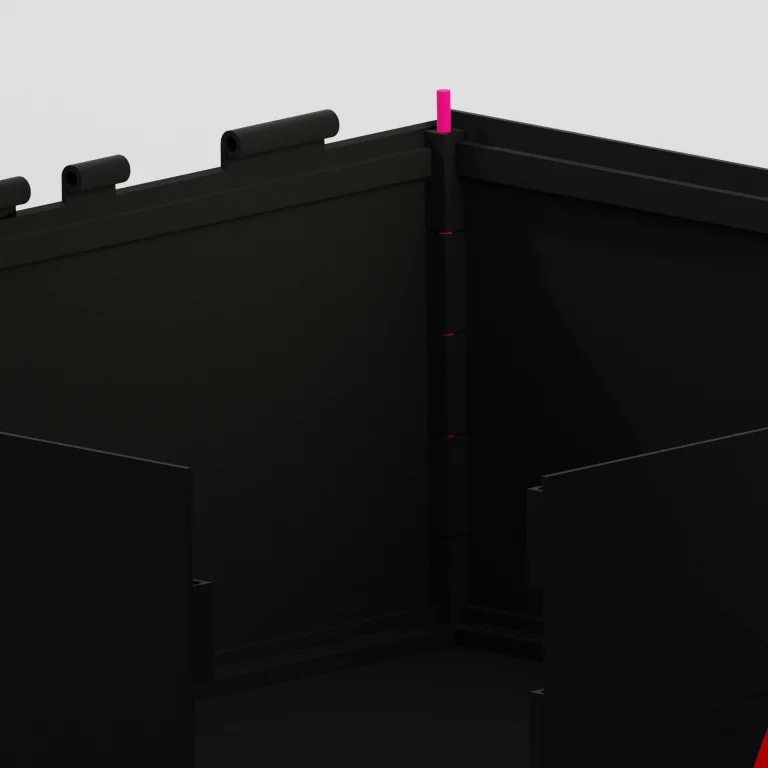
Shoebox Base Interior Tray
- Slide the tray cap into the smaller compartment of the tray to create a neat false bottom.
- Once the cap is seated, simply slide the entire interior tray down into your assembled Shoebox Base.
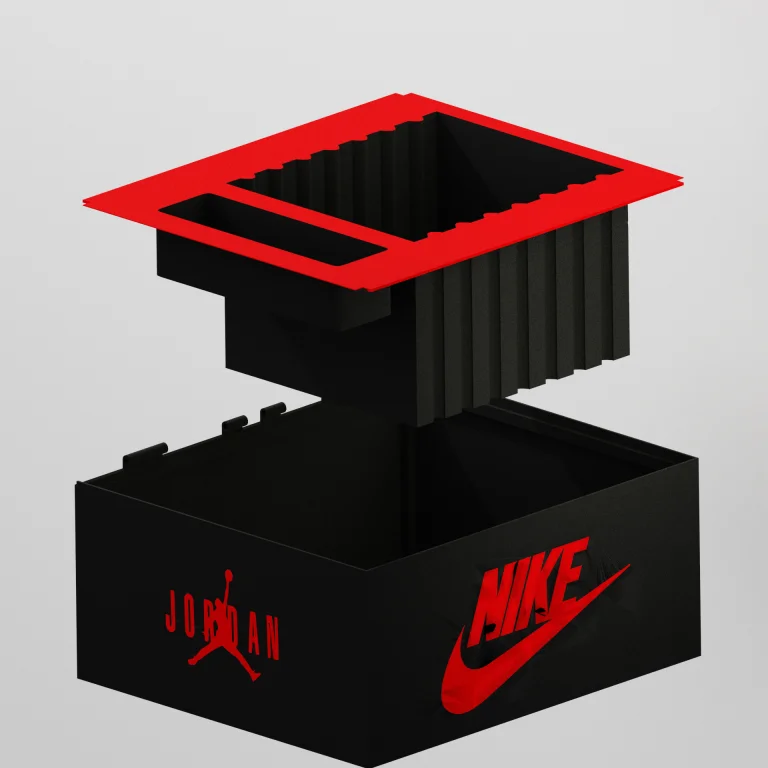
Combining Lid & Base
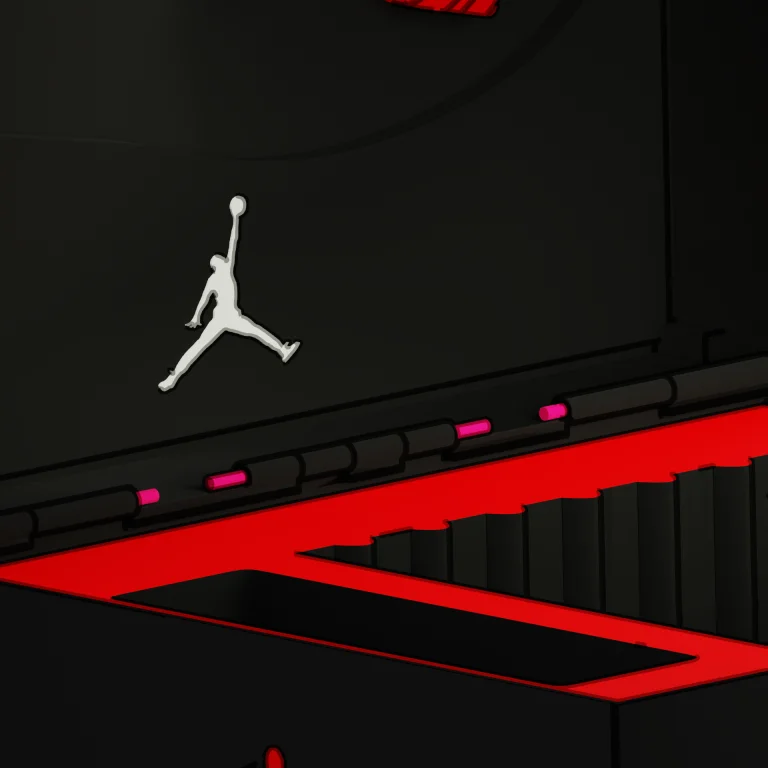
Connecting the top and bottom works just like the side panels. Align the hinge holes on the back of the Lid and the Base, and slide a piece of loose filament all the way through the combined holes. This acts as a standard, fully functional hinge.
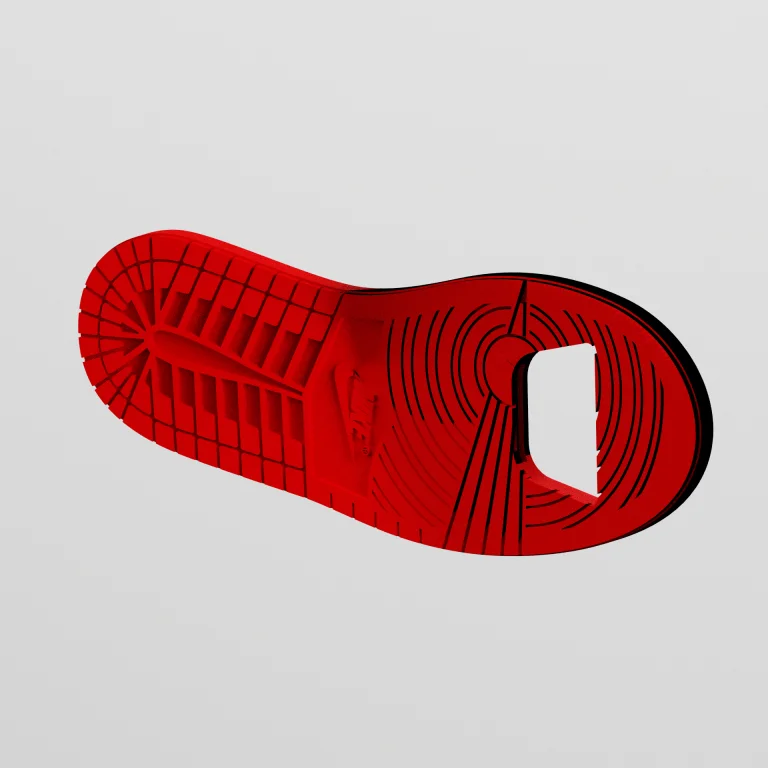
Bottle Opener
This print-in-place opener is remarkably reliable and solid. To make it functional, simply press a standard coin (like a US penny) firmly into the designated slot.
Toothpick Holder
This holder is perfect for toothpicks or hiding small items. It prints in two separate pieces that slide together smoothly.
- Note: You will need to carefully cut the brush portion of the print away from the support tray that the bristles print against with a sharp razor.
Coasters
These coasters print in place and require absolutely zero assembly. Simply pull them off your build plate and slide them directly into the interior tray.
Display & Enjoy
Congratulations, you’ve just made a highly unique piece of functional art that any sneakerhead or hypebeast will appreciate!
I put a massive amount of detail into every little aspect of this collector’s item. It was very important to me that the final product didn’t look 3D-printed, which is exactly why I opted to break the box down into individual side panels rather than printing it as one giant, solid block.
If you’ve completed this build and want to share it, I’d love for you to post your make on the download page where you found the files. Please tag us on social media if you post photos… I absolutely cannot wait to see how yours turned out!
📝 Changelog
Keeping our designs current and addressing user feedback are priorities. This tab will track all official updates to the STL files found in this download.
Version V1.0
-
Date: 6/30/2026
-
Notes: Initial Release. Clean STL & 3MF files provided. Optimized for FDM. No hollowing needed, minimal support setup required.