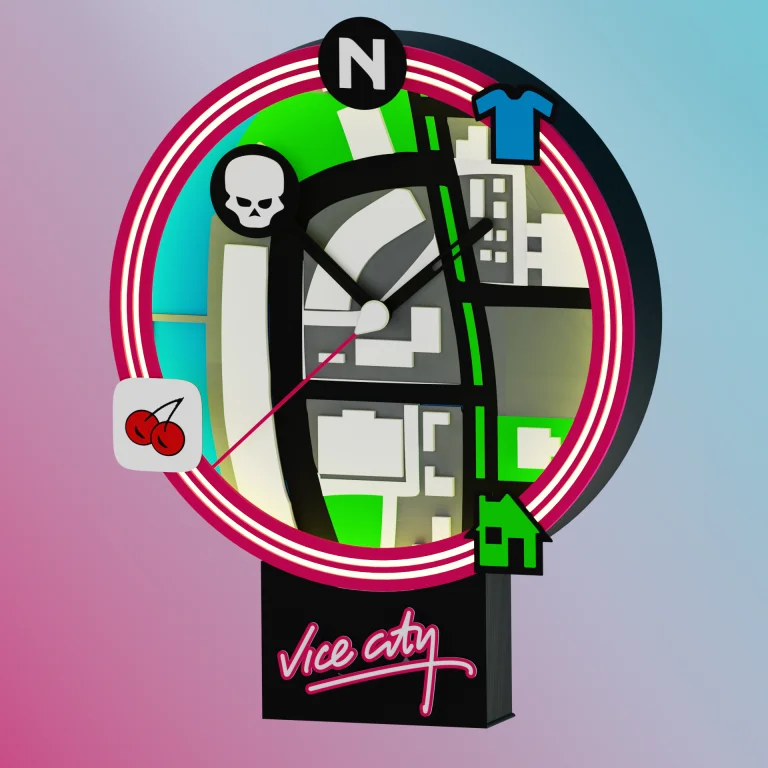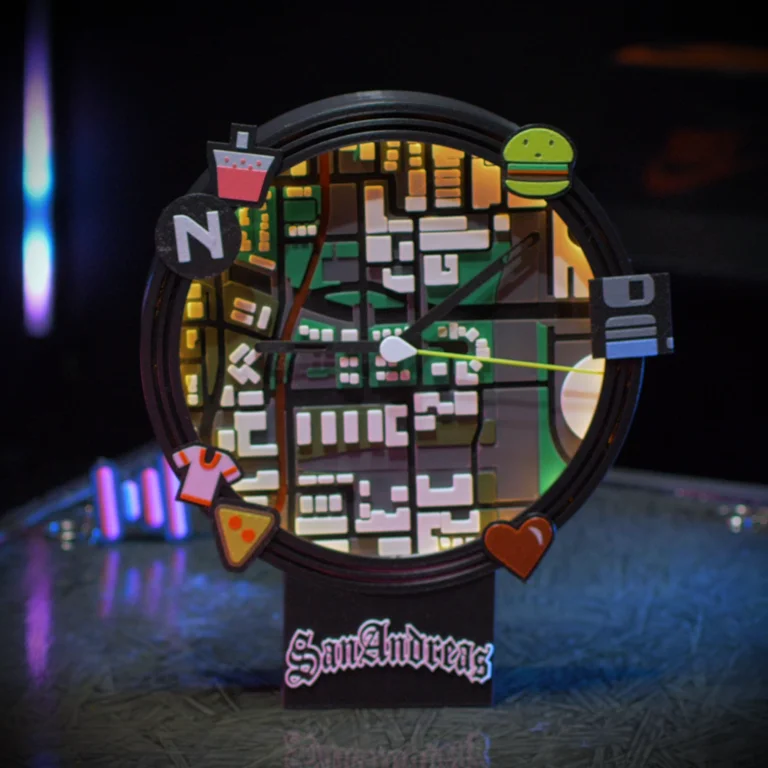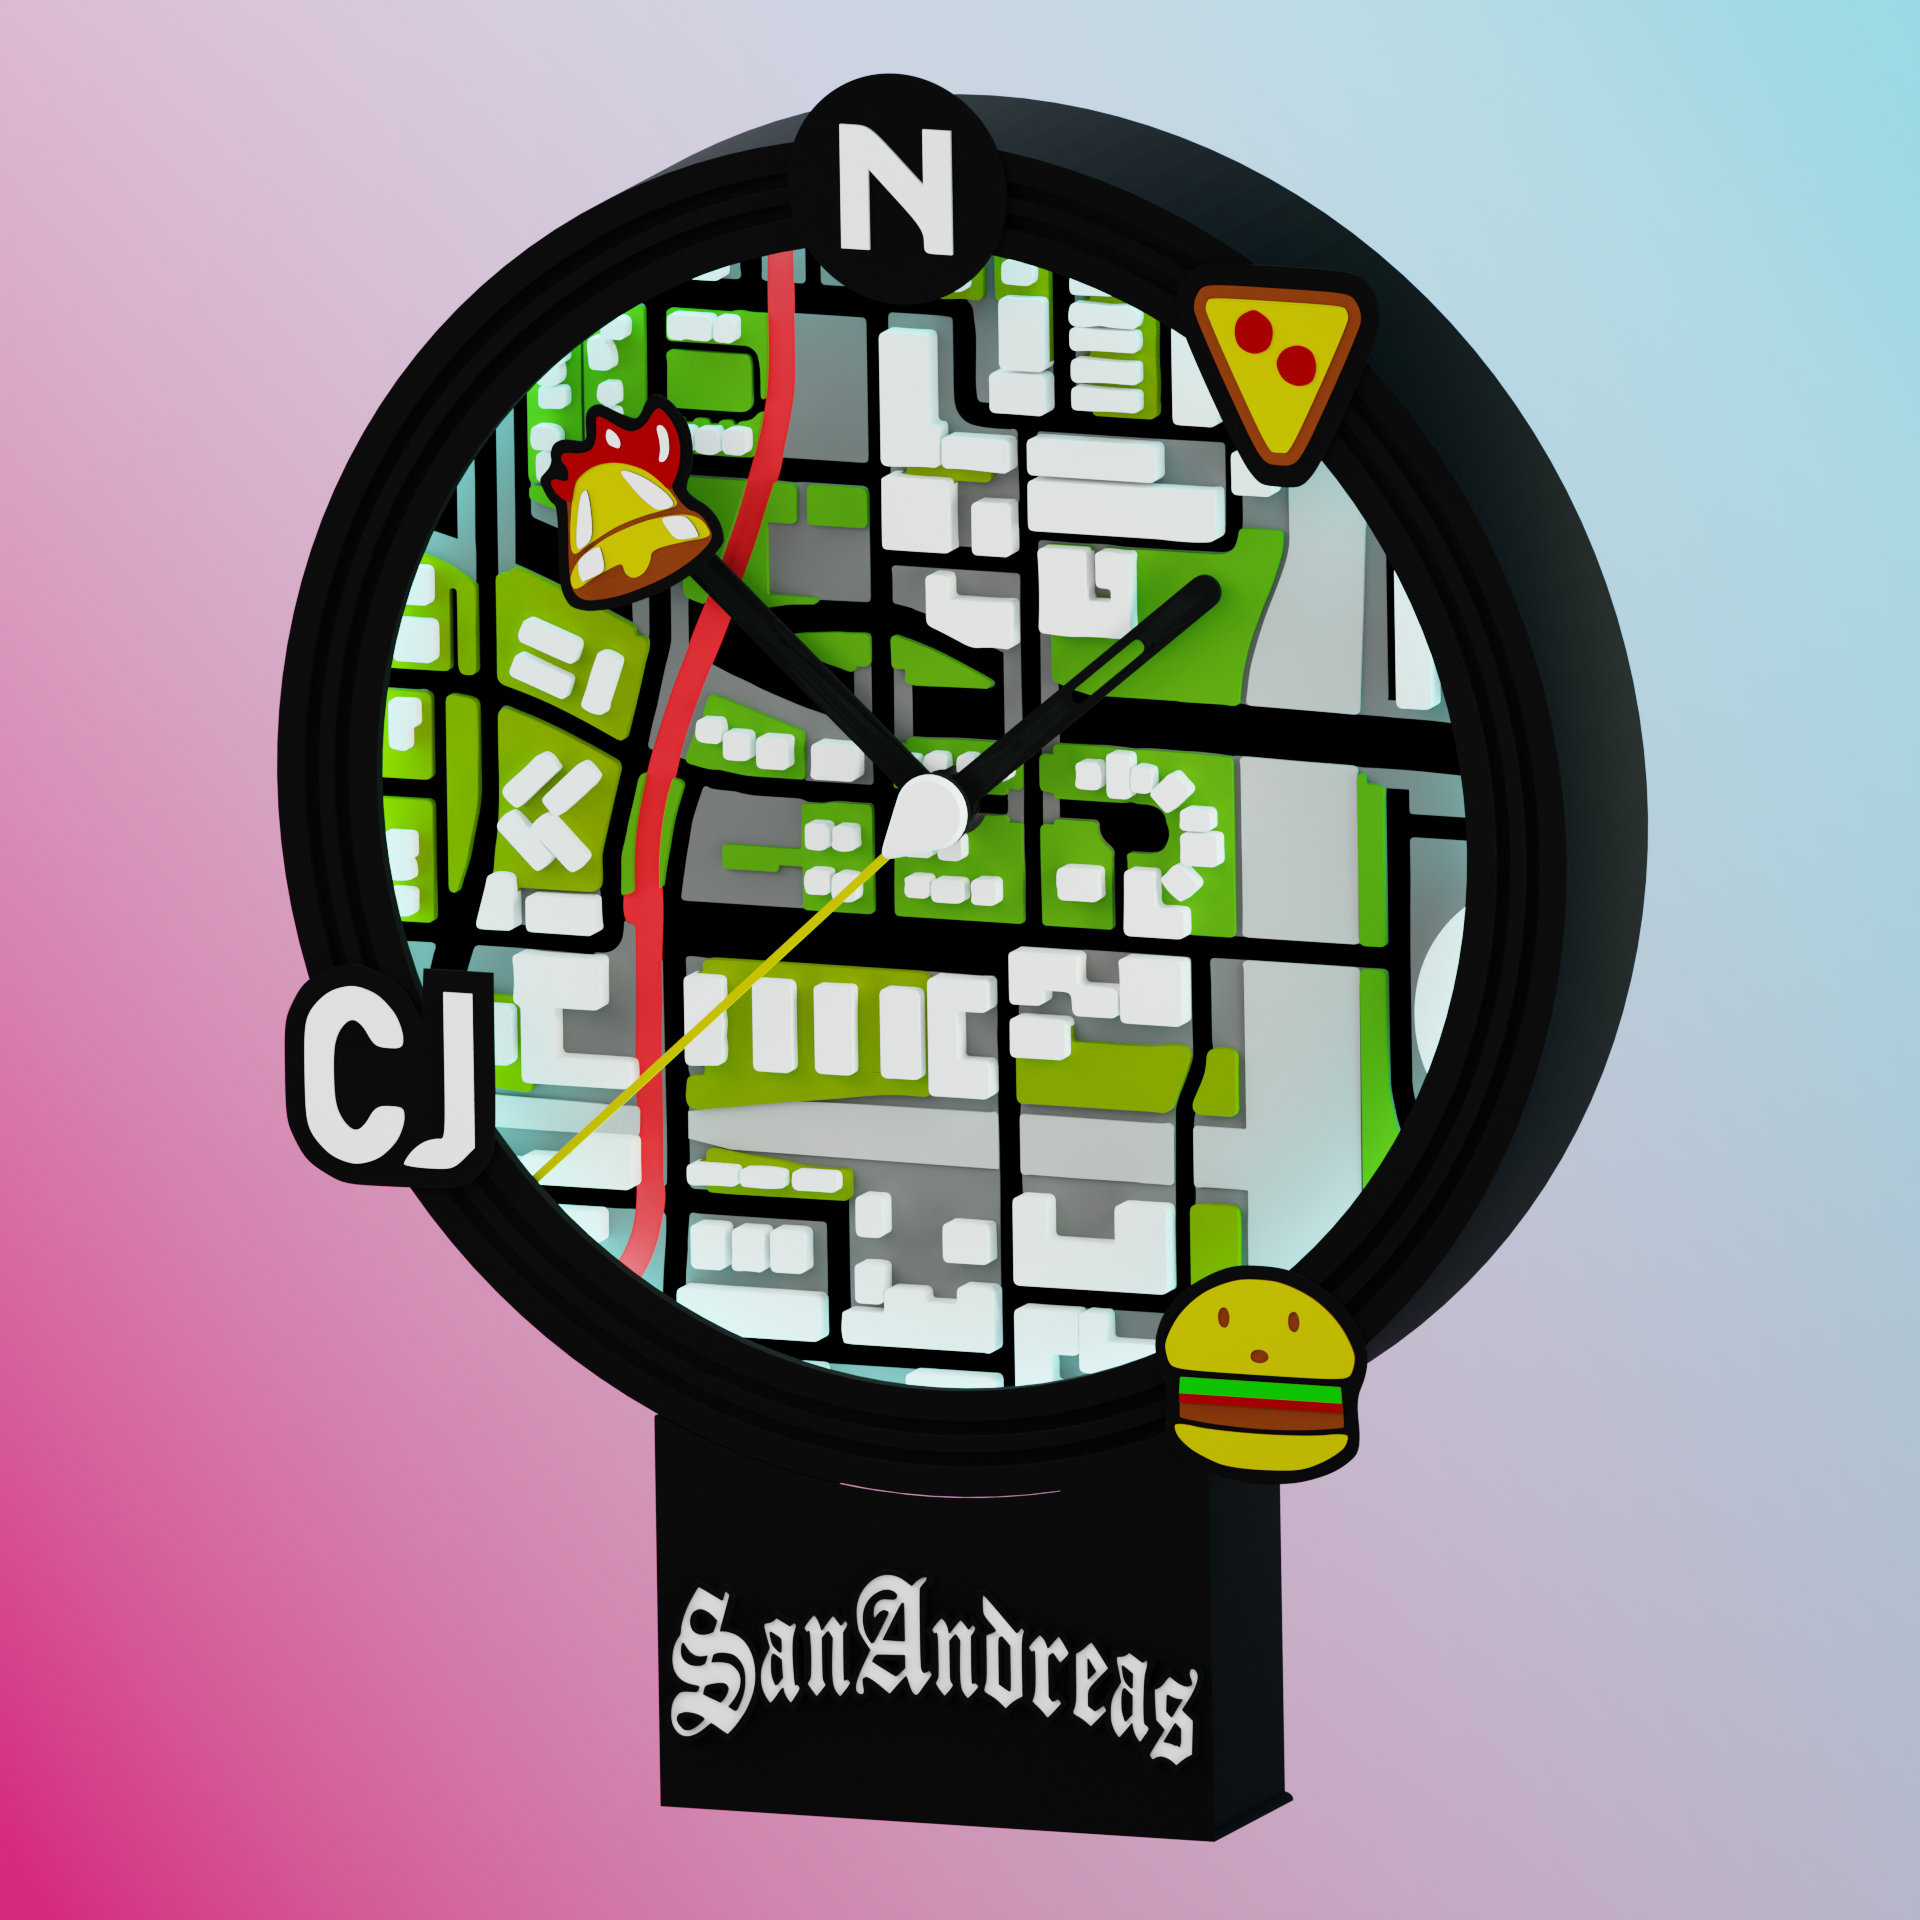
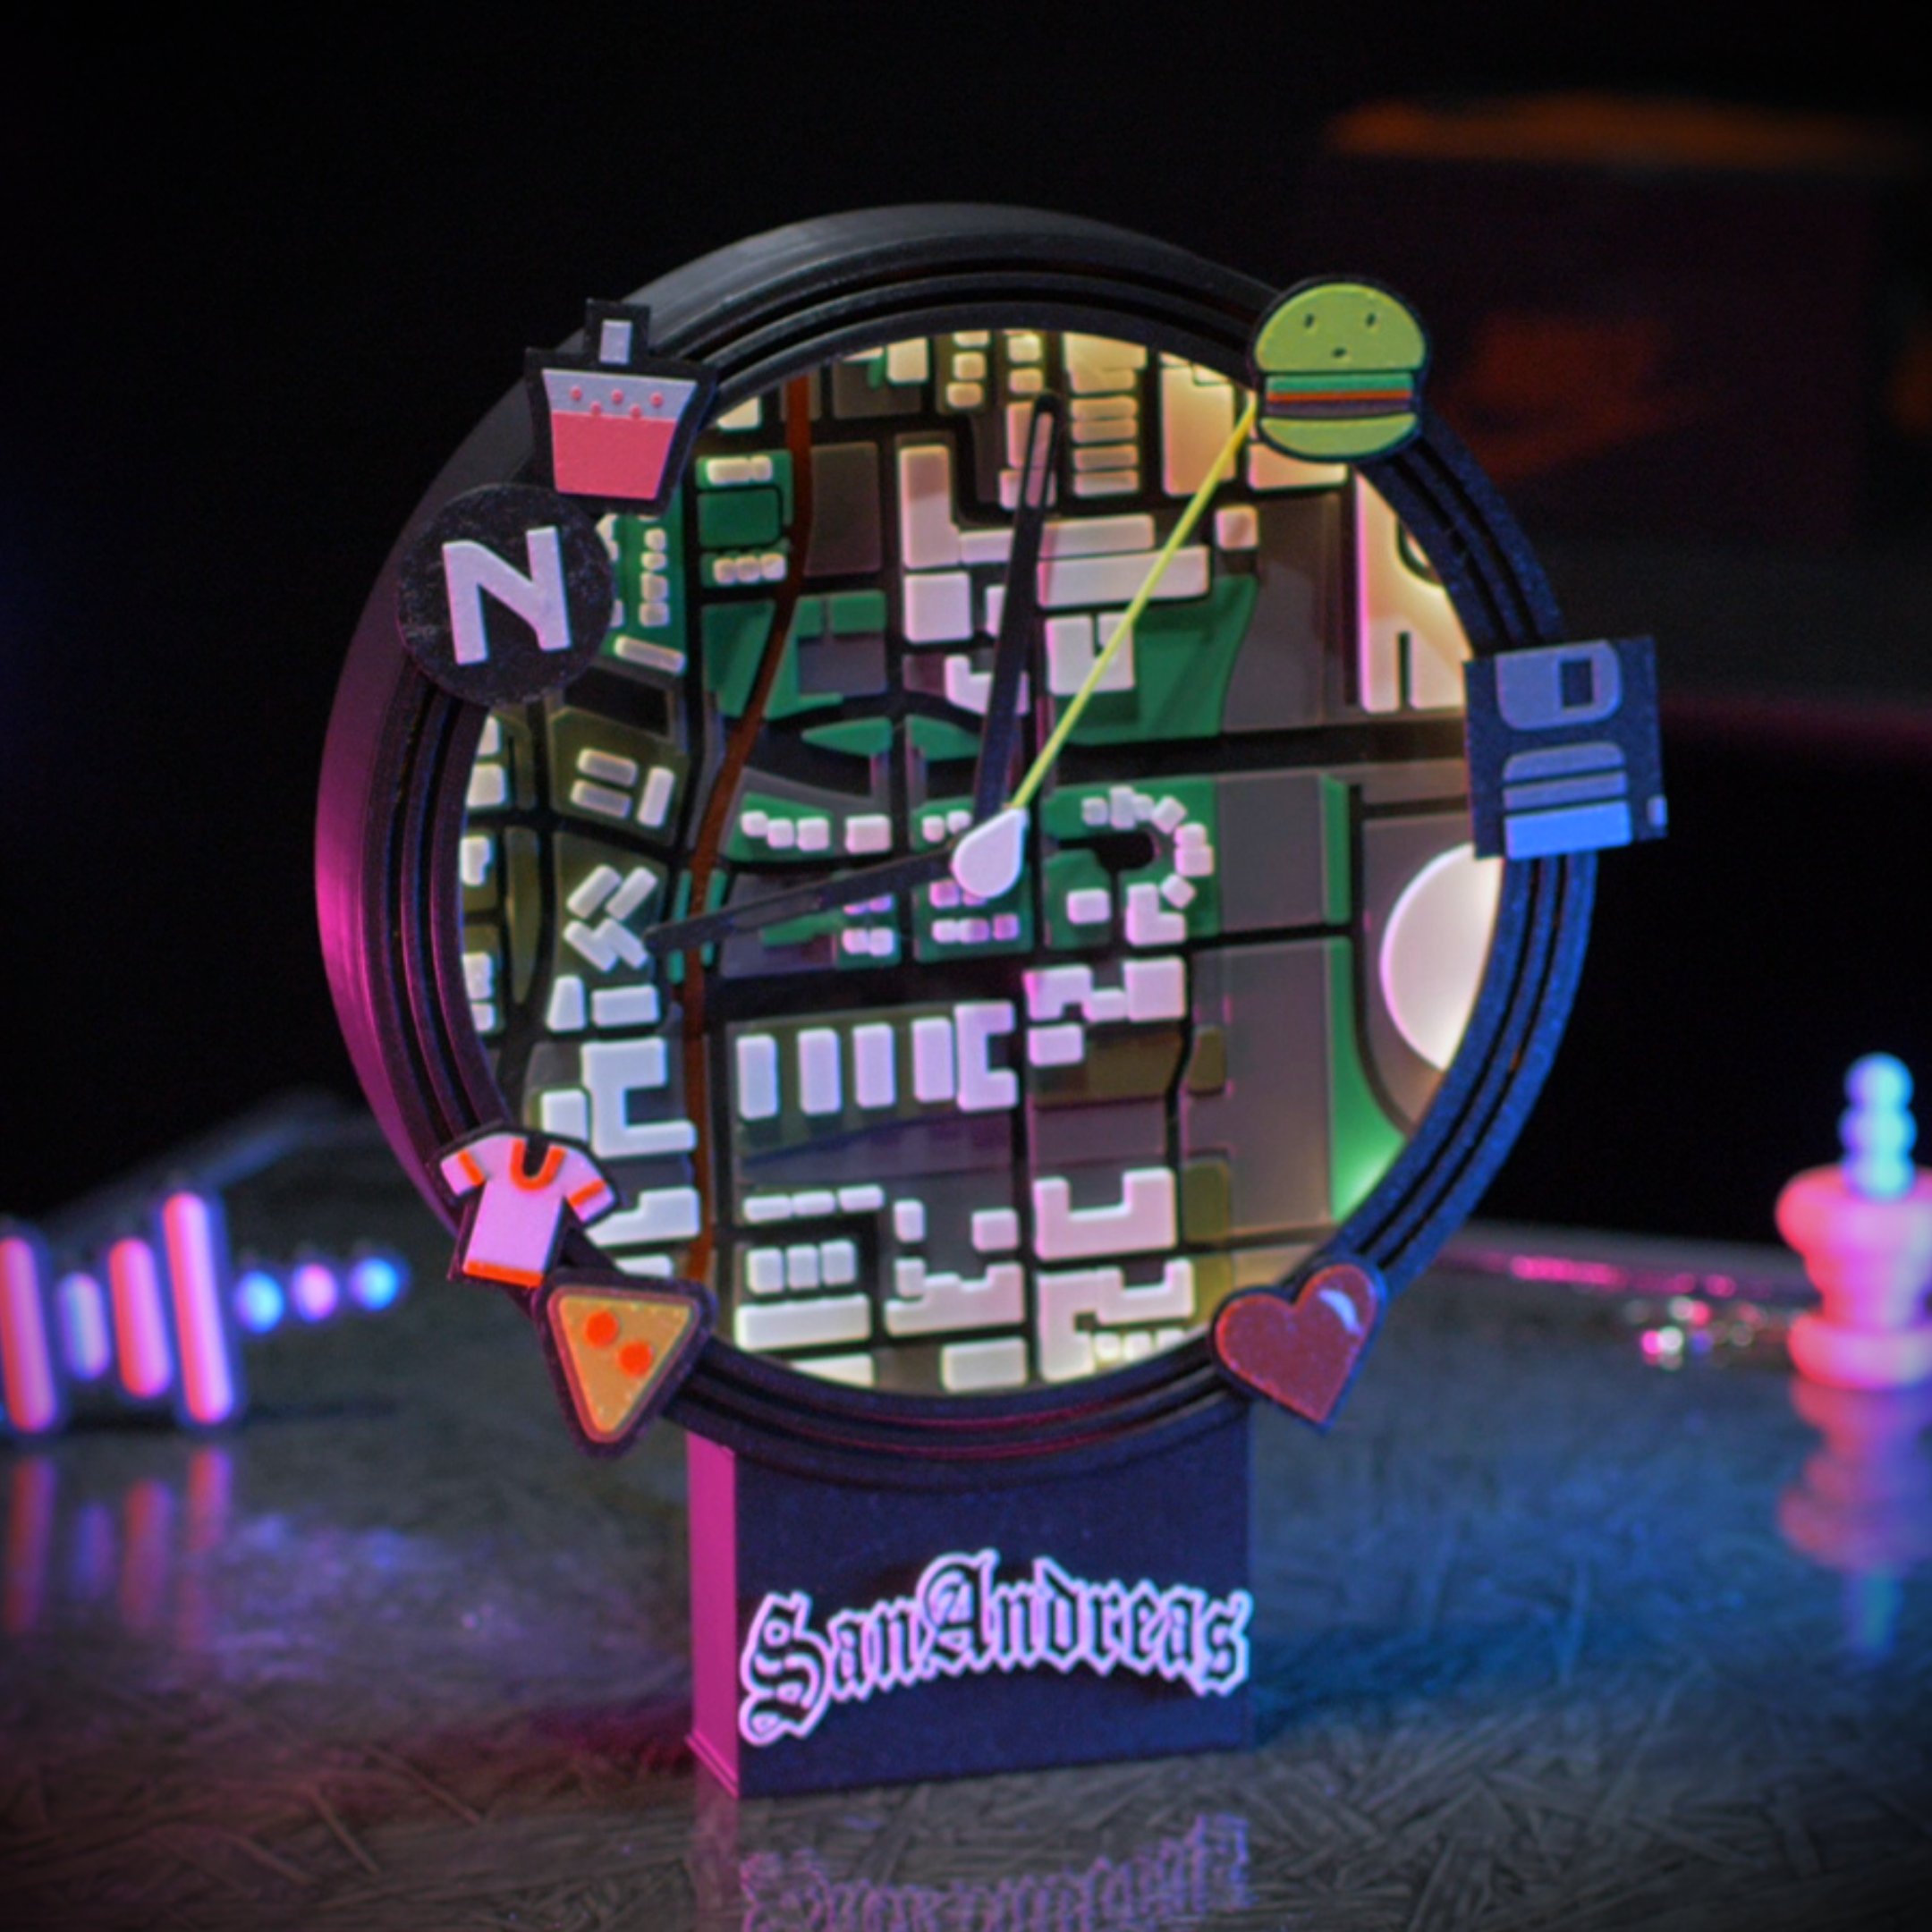
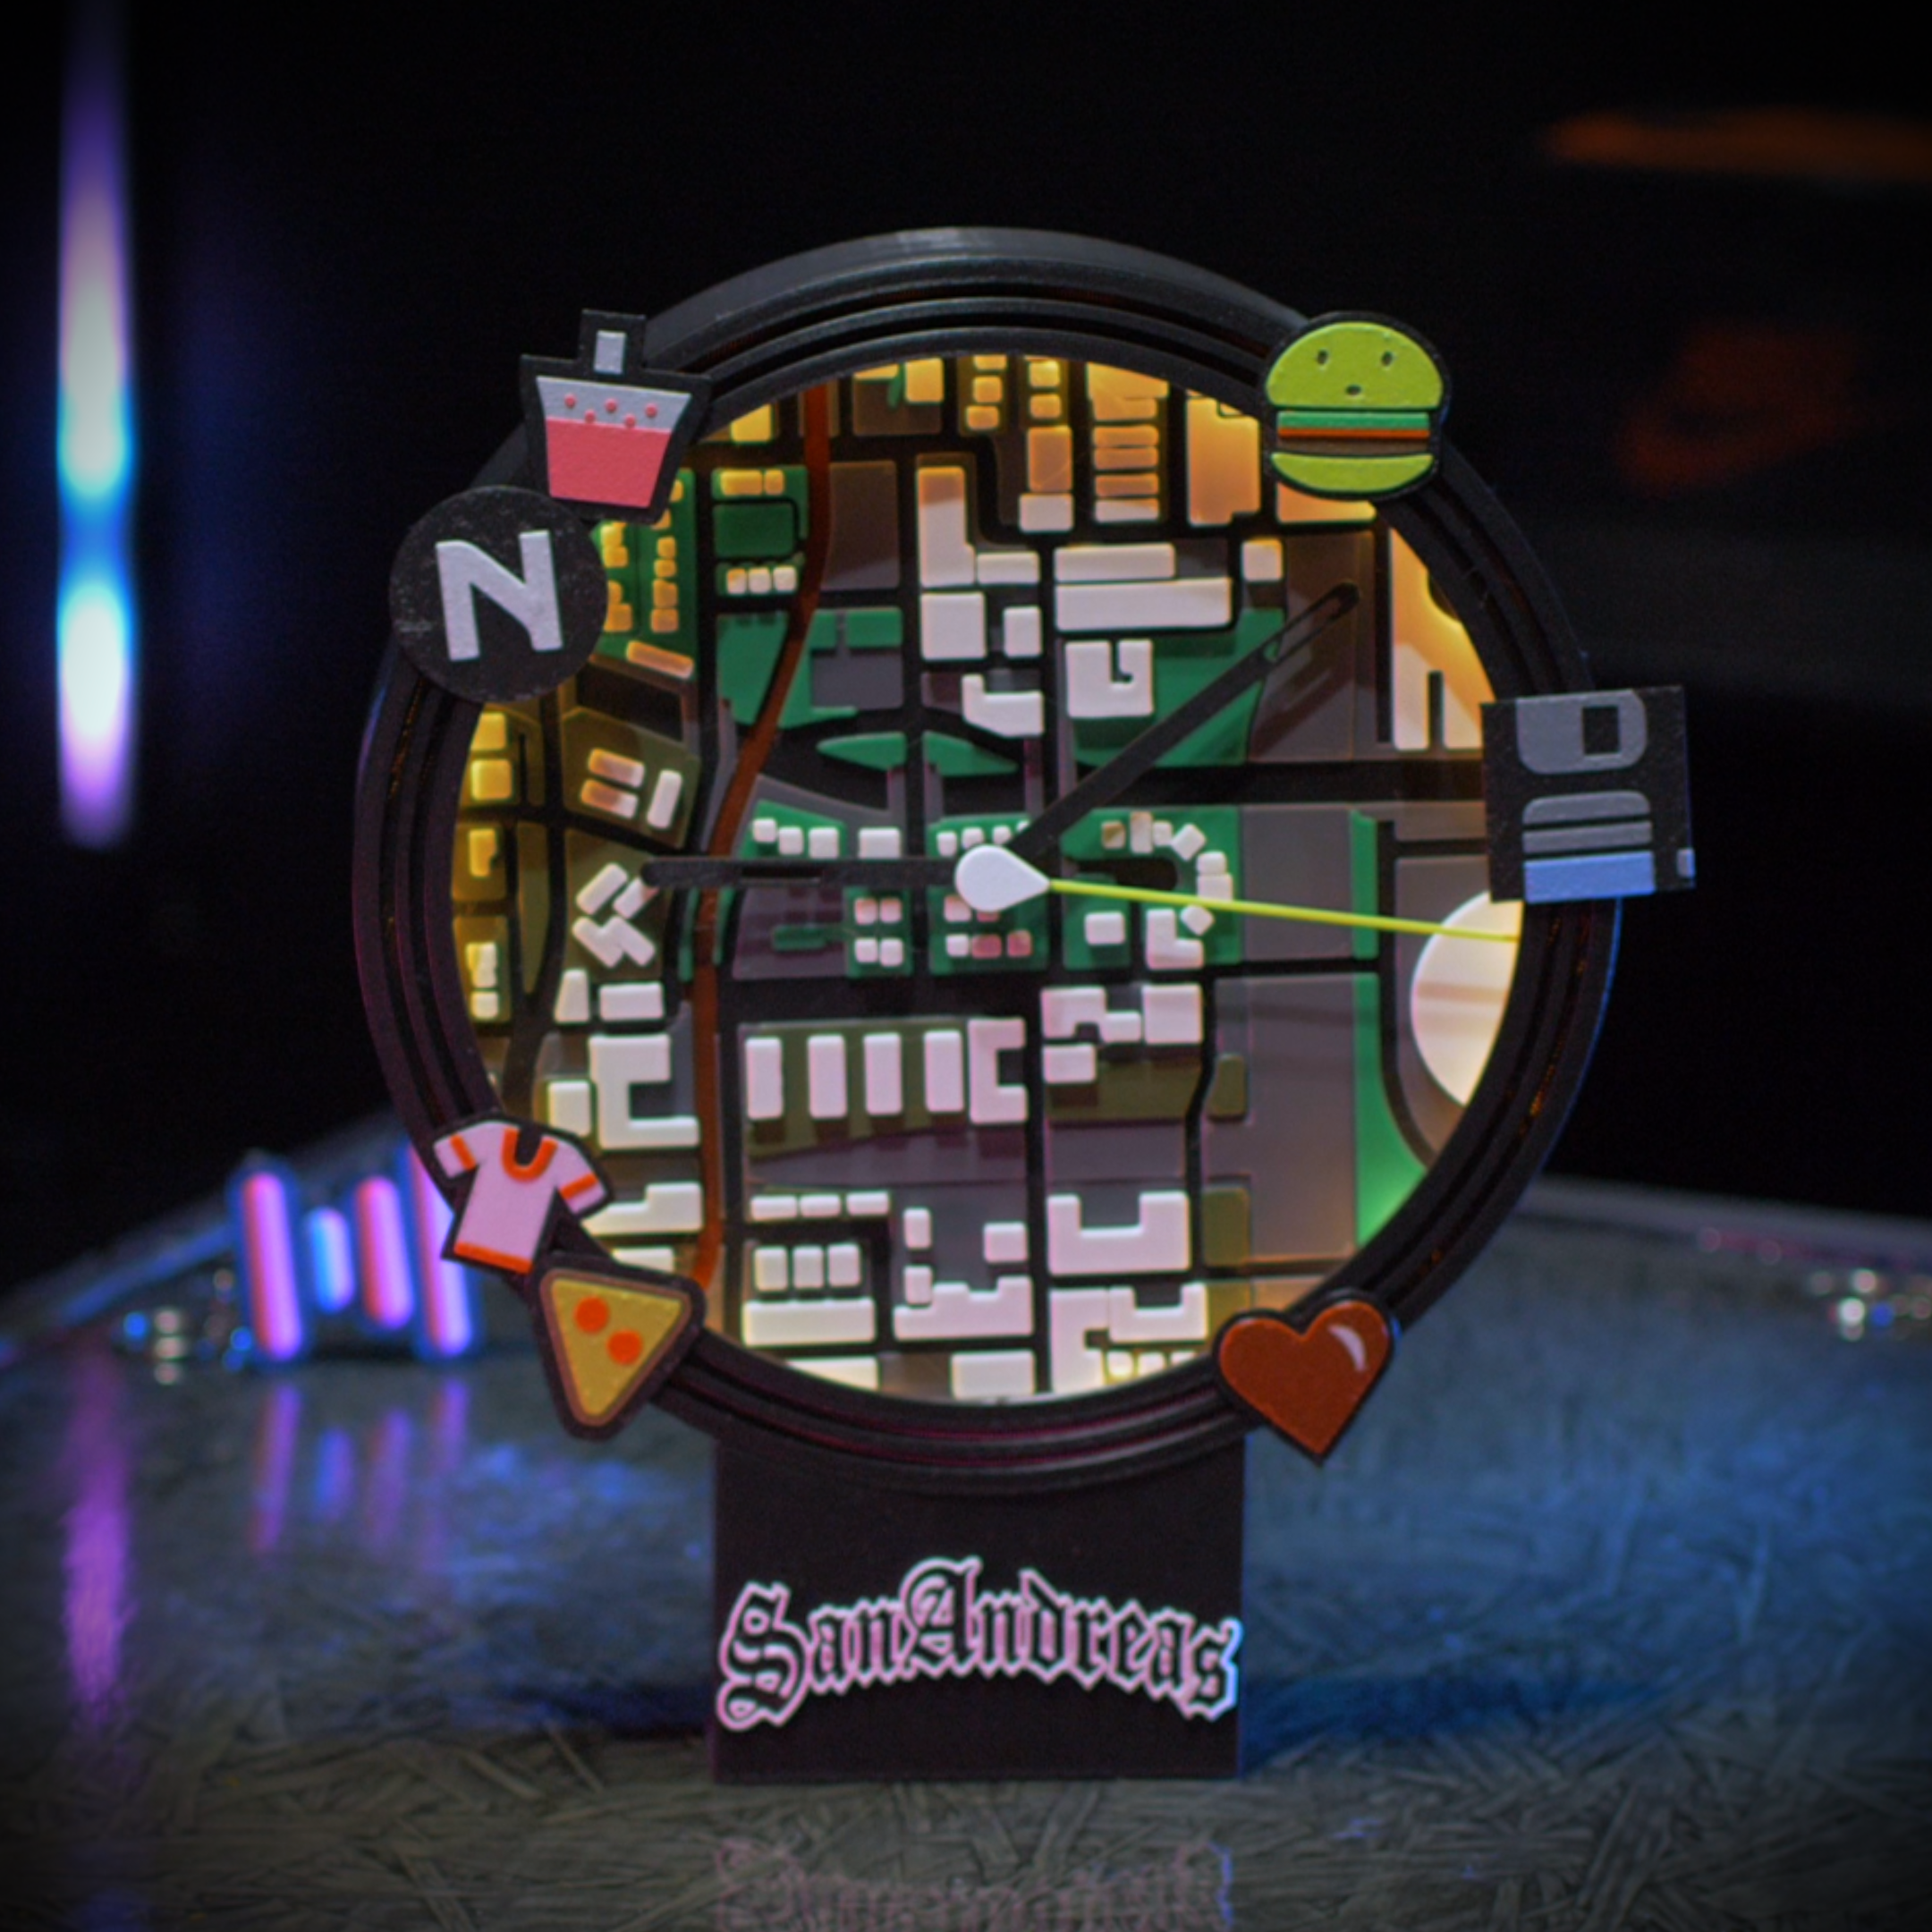
Welcome to Los Santos. Bring the ultimate 90s gaming nostalgia to your wall or desk with the GTA: San Andreas Radar LED Clock 3D Print File! This digital download provides everything you need to 3D print and assemble a fully functional, highly customizable analog clock designed to perfectly mimic the iconic mini-map radar HUD from one of the greatest games of all time.
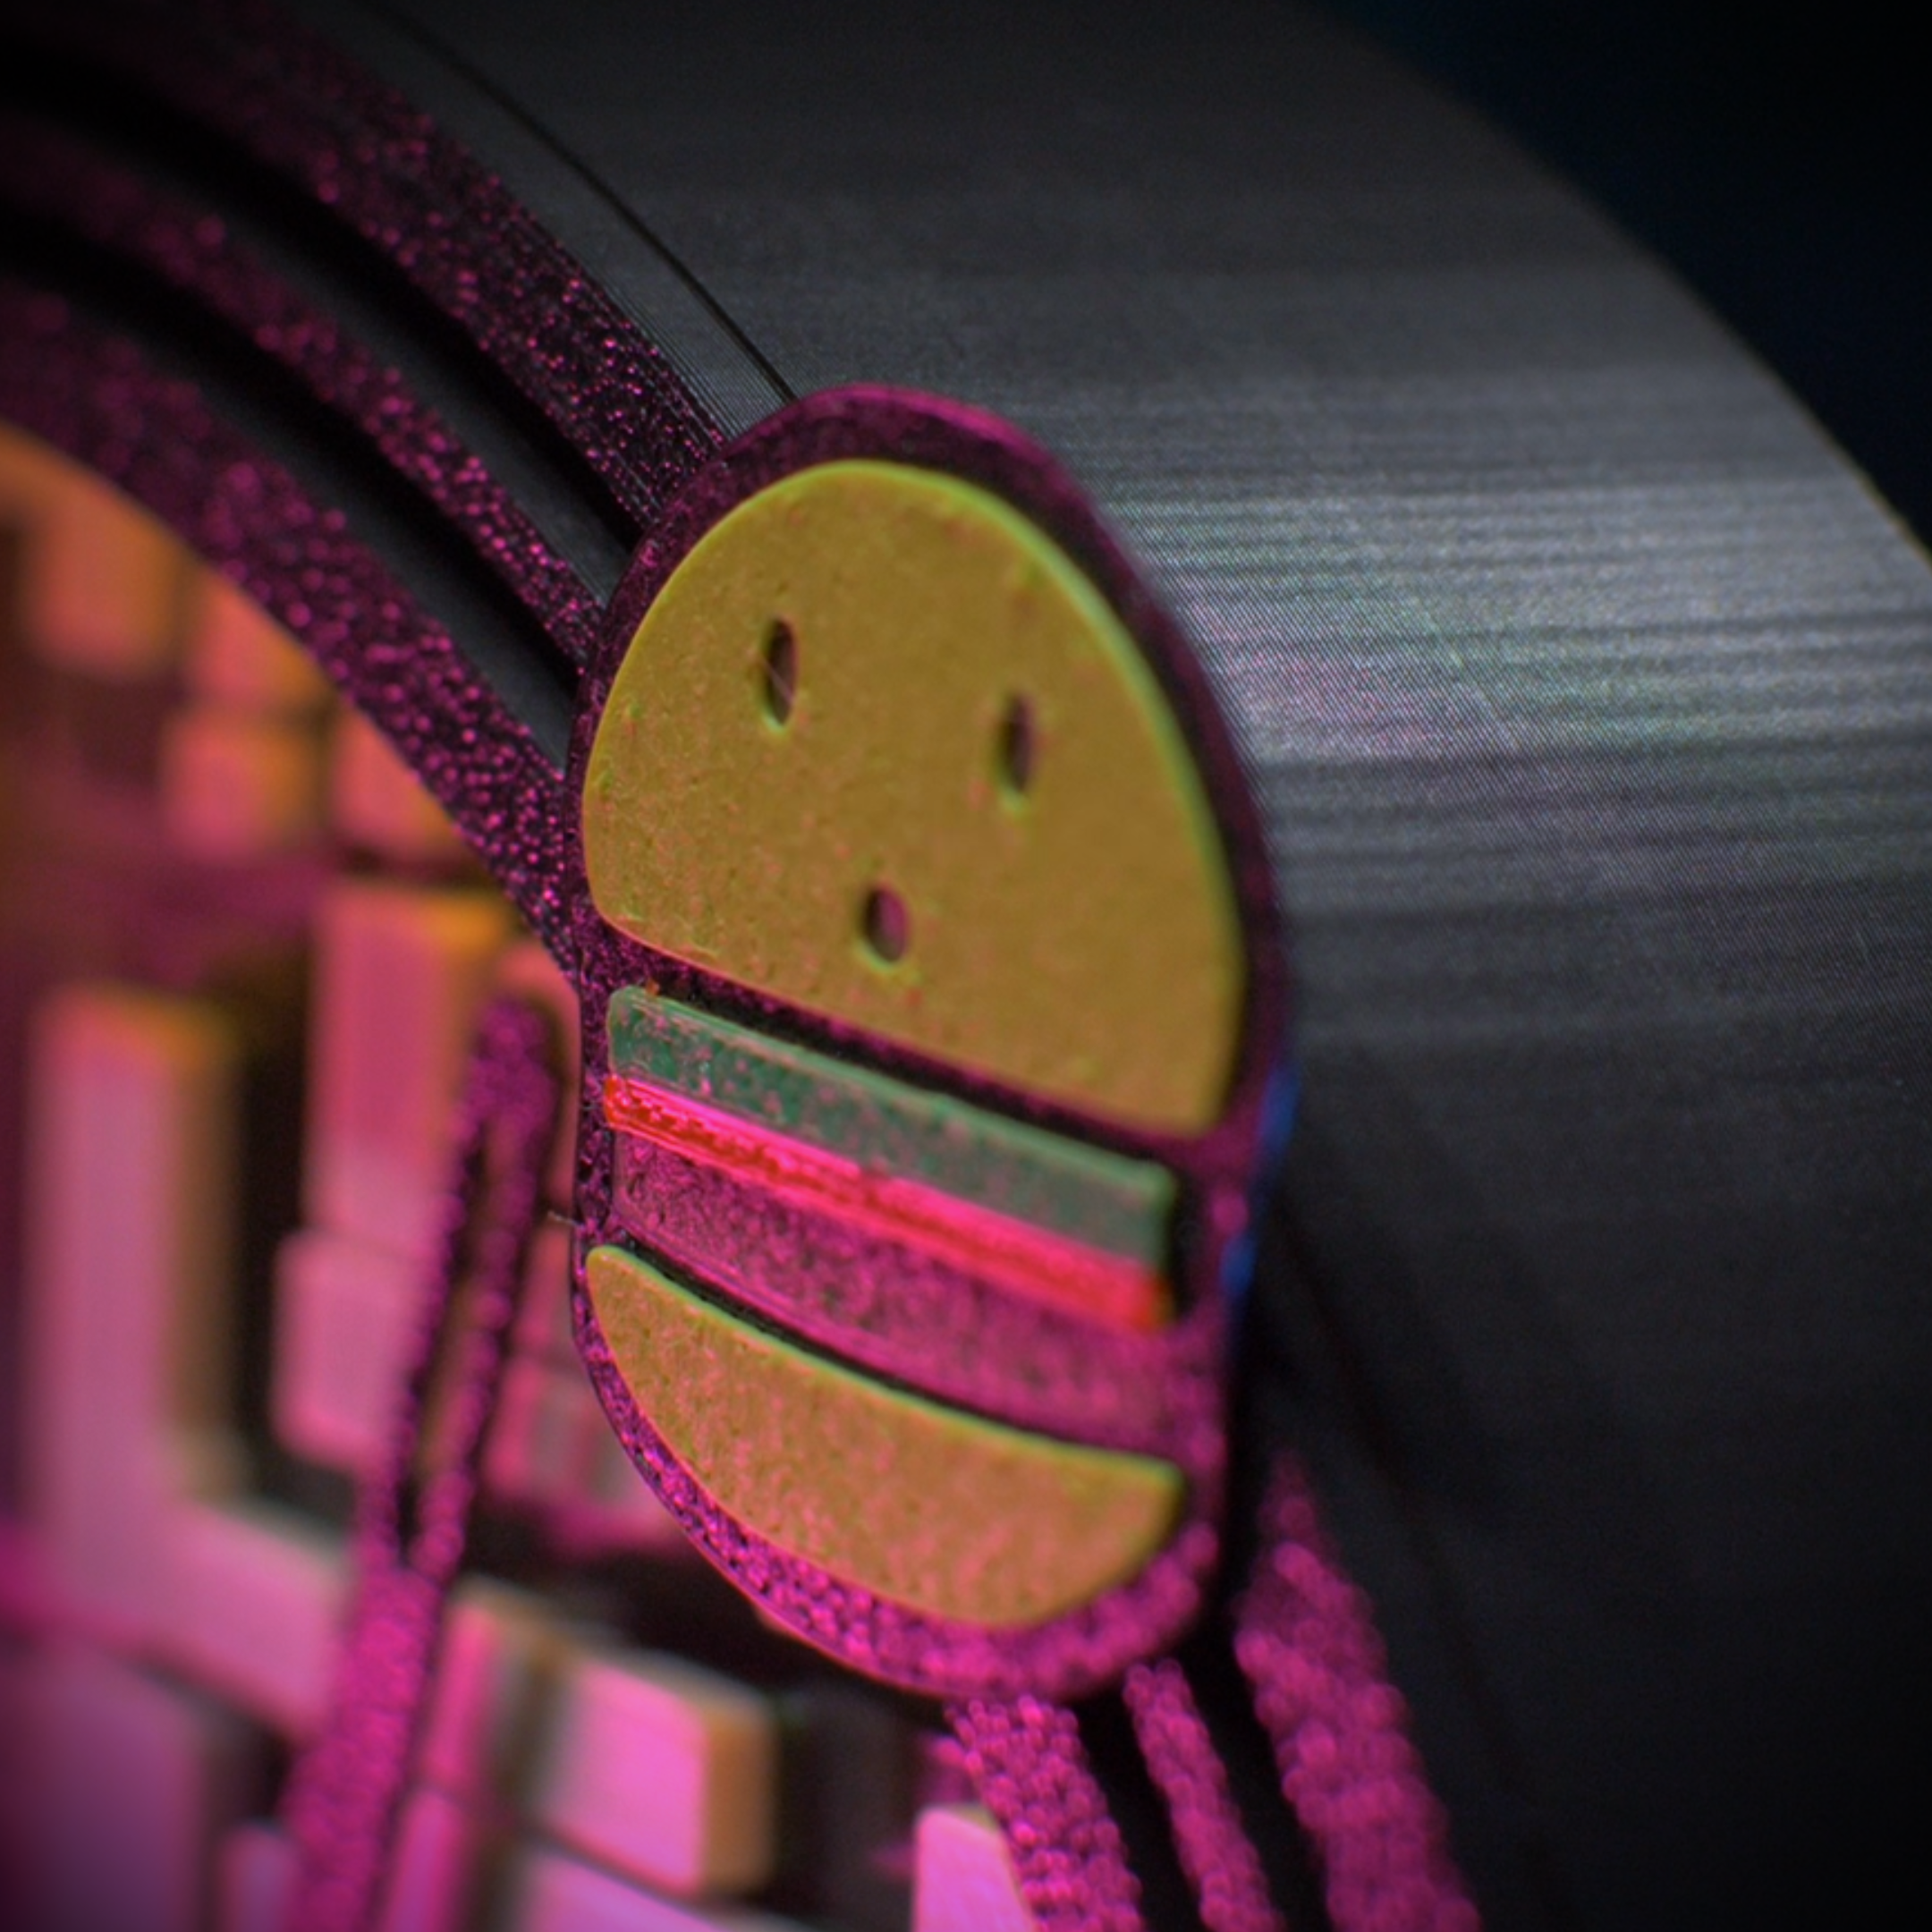
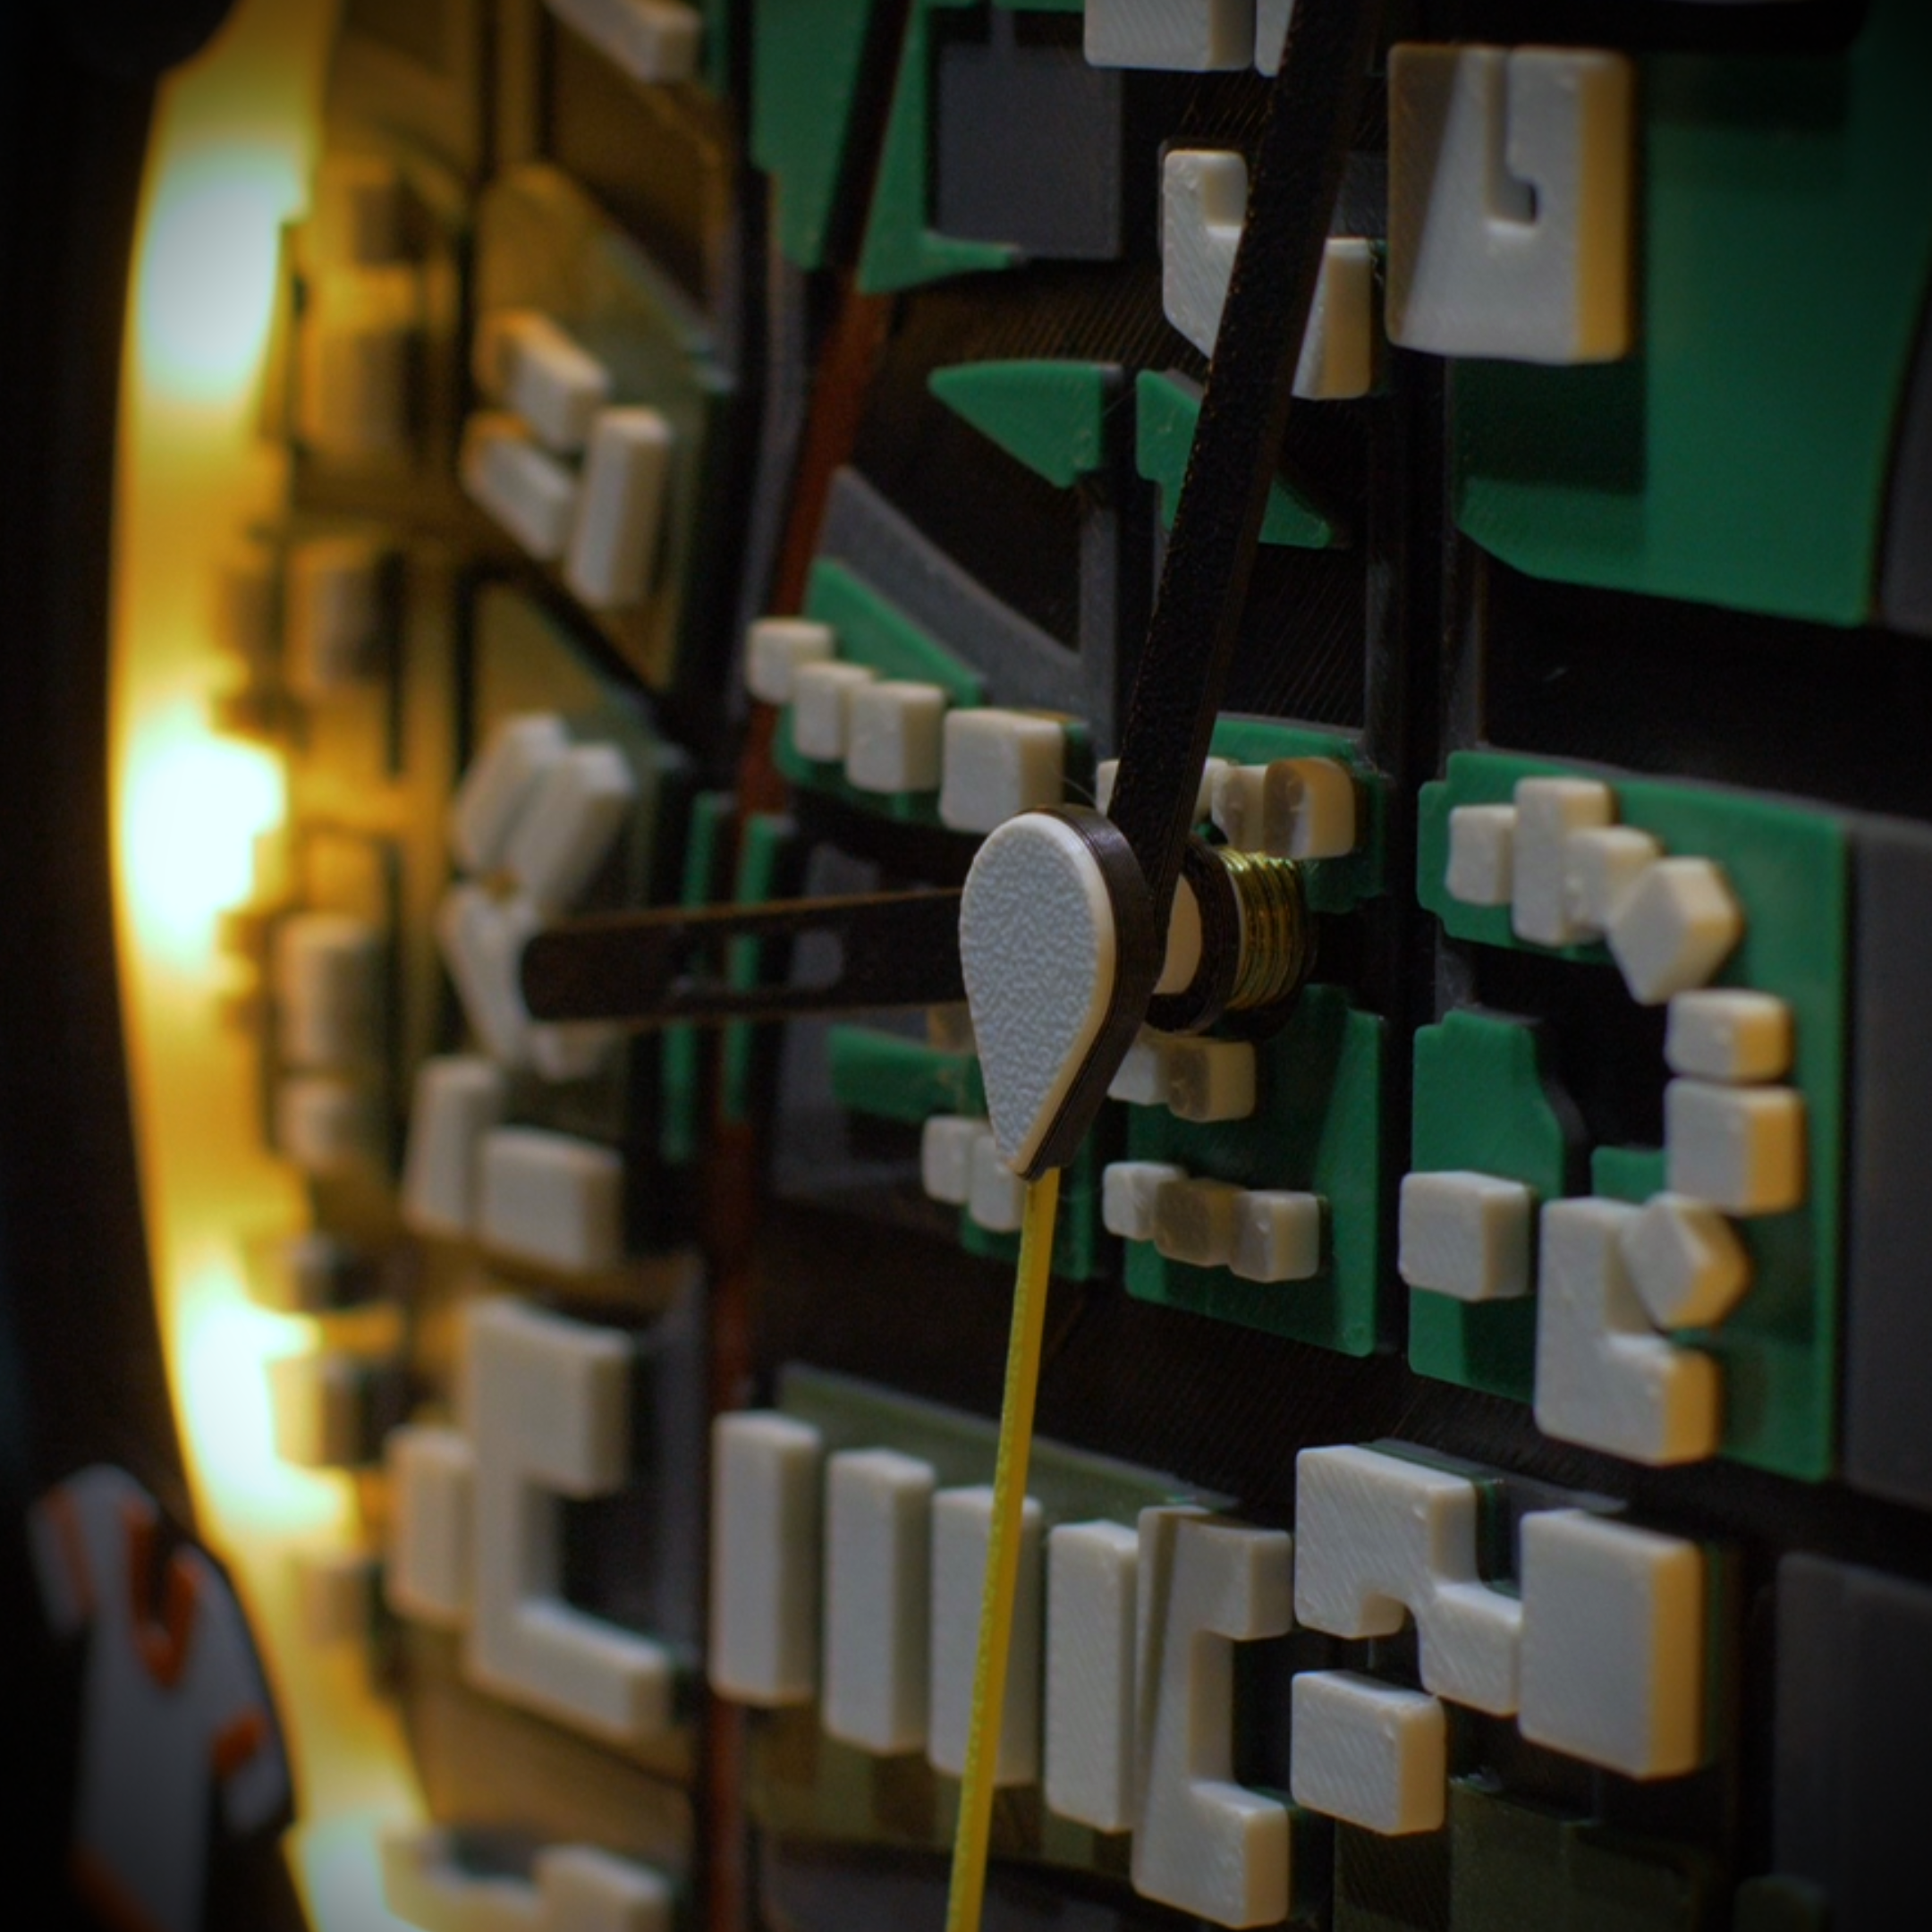
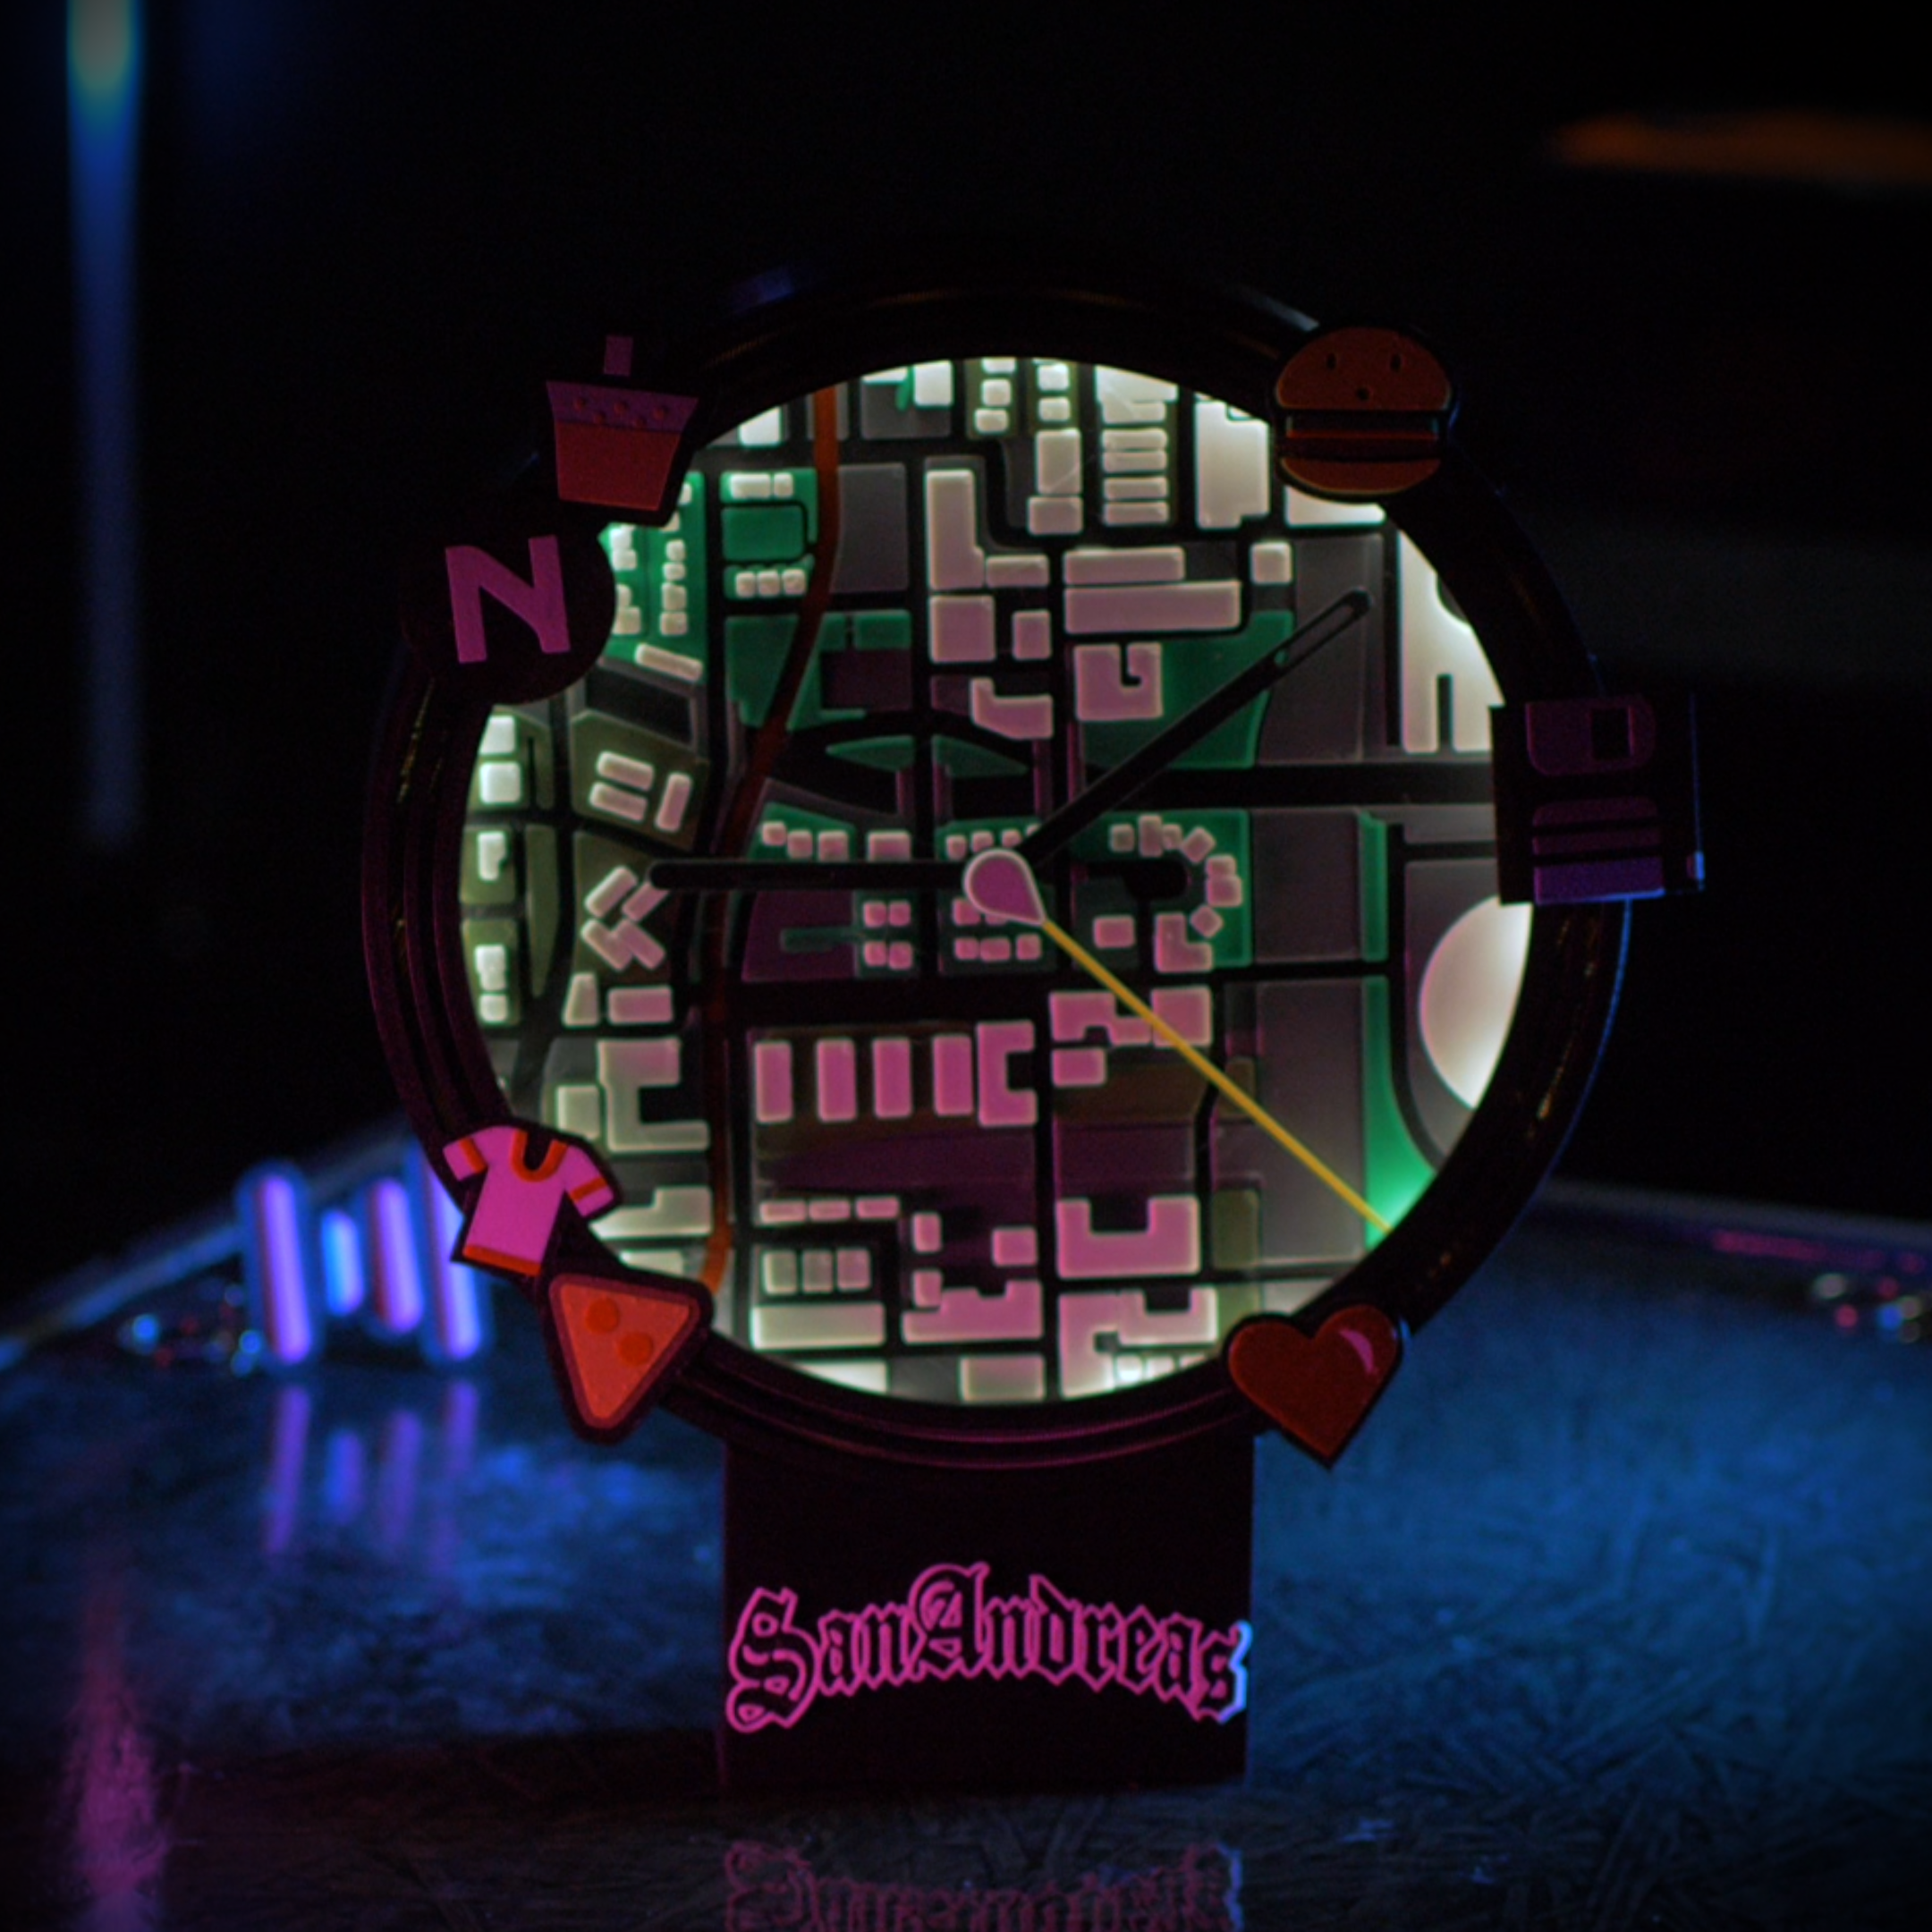
The clock face features a section of the classic Los Santos map centered directly over CJ’s neighborhood—Grove Street. The custom second hand acts as the player's center icon, sweeping a long line outward across the map to track the time. To truly bring the radar to life, the inner rim is designed to house an RGB LED strip controlled by an ESP8266, giving your clock an authentic, glowing HUD aesthetic.
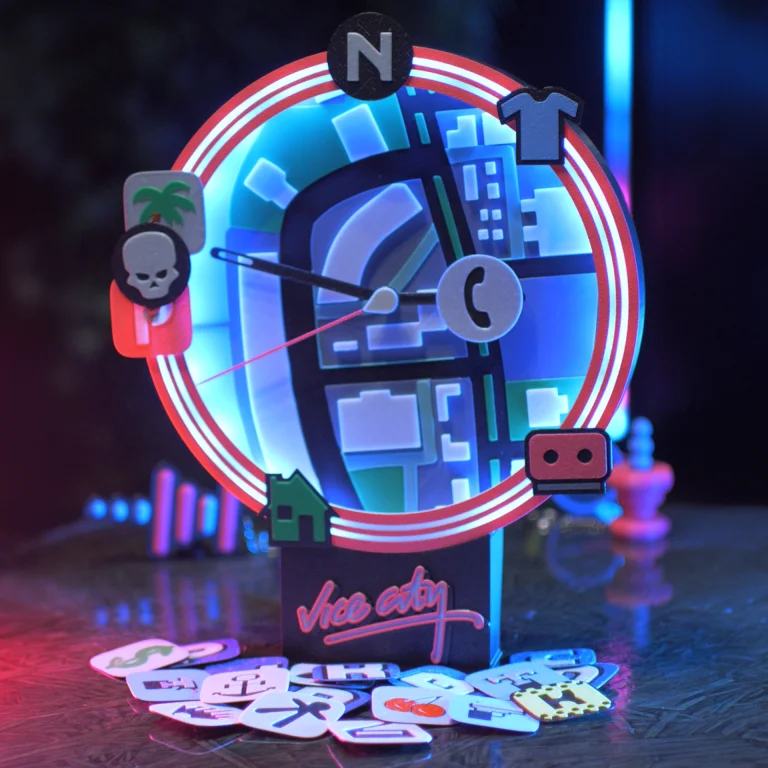
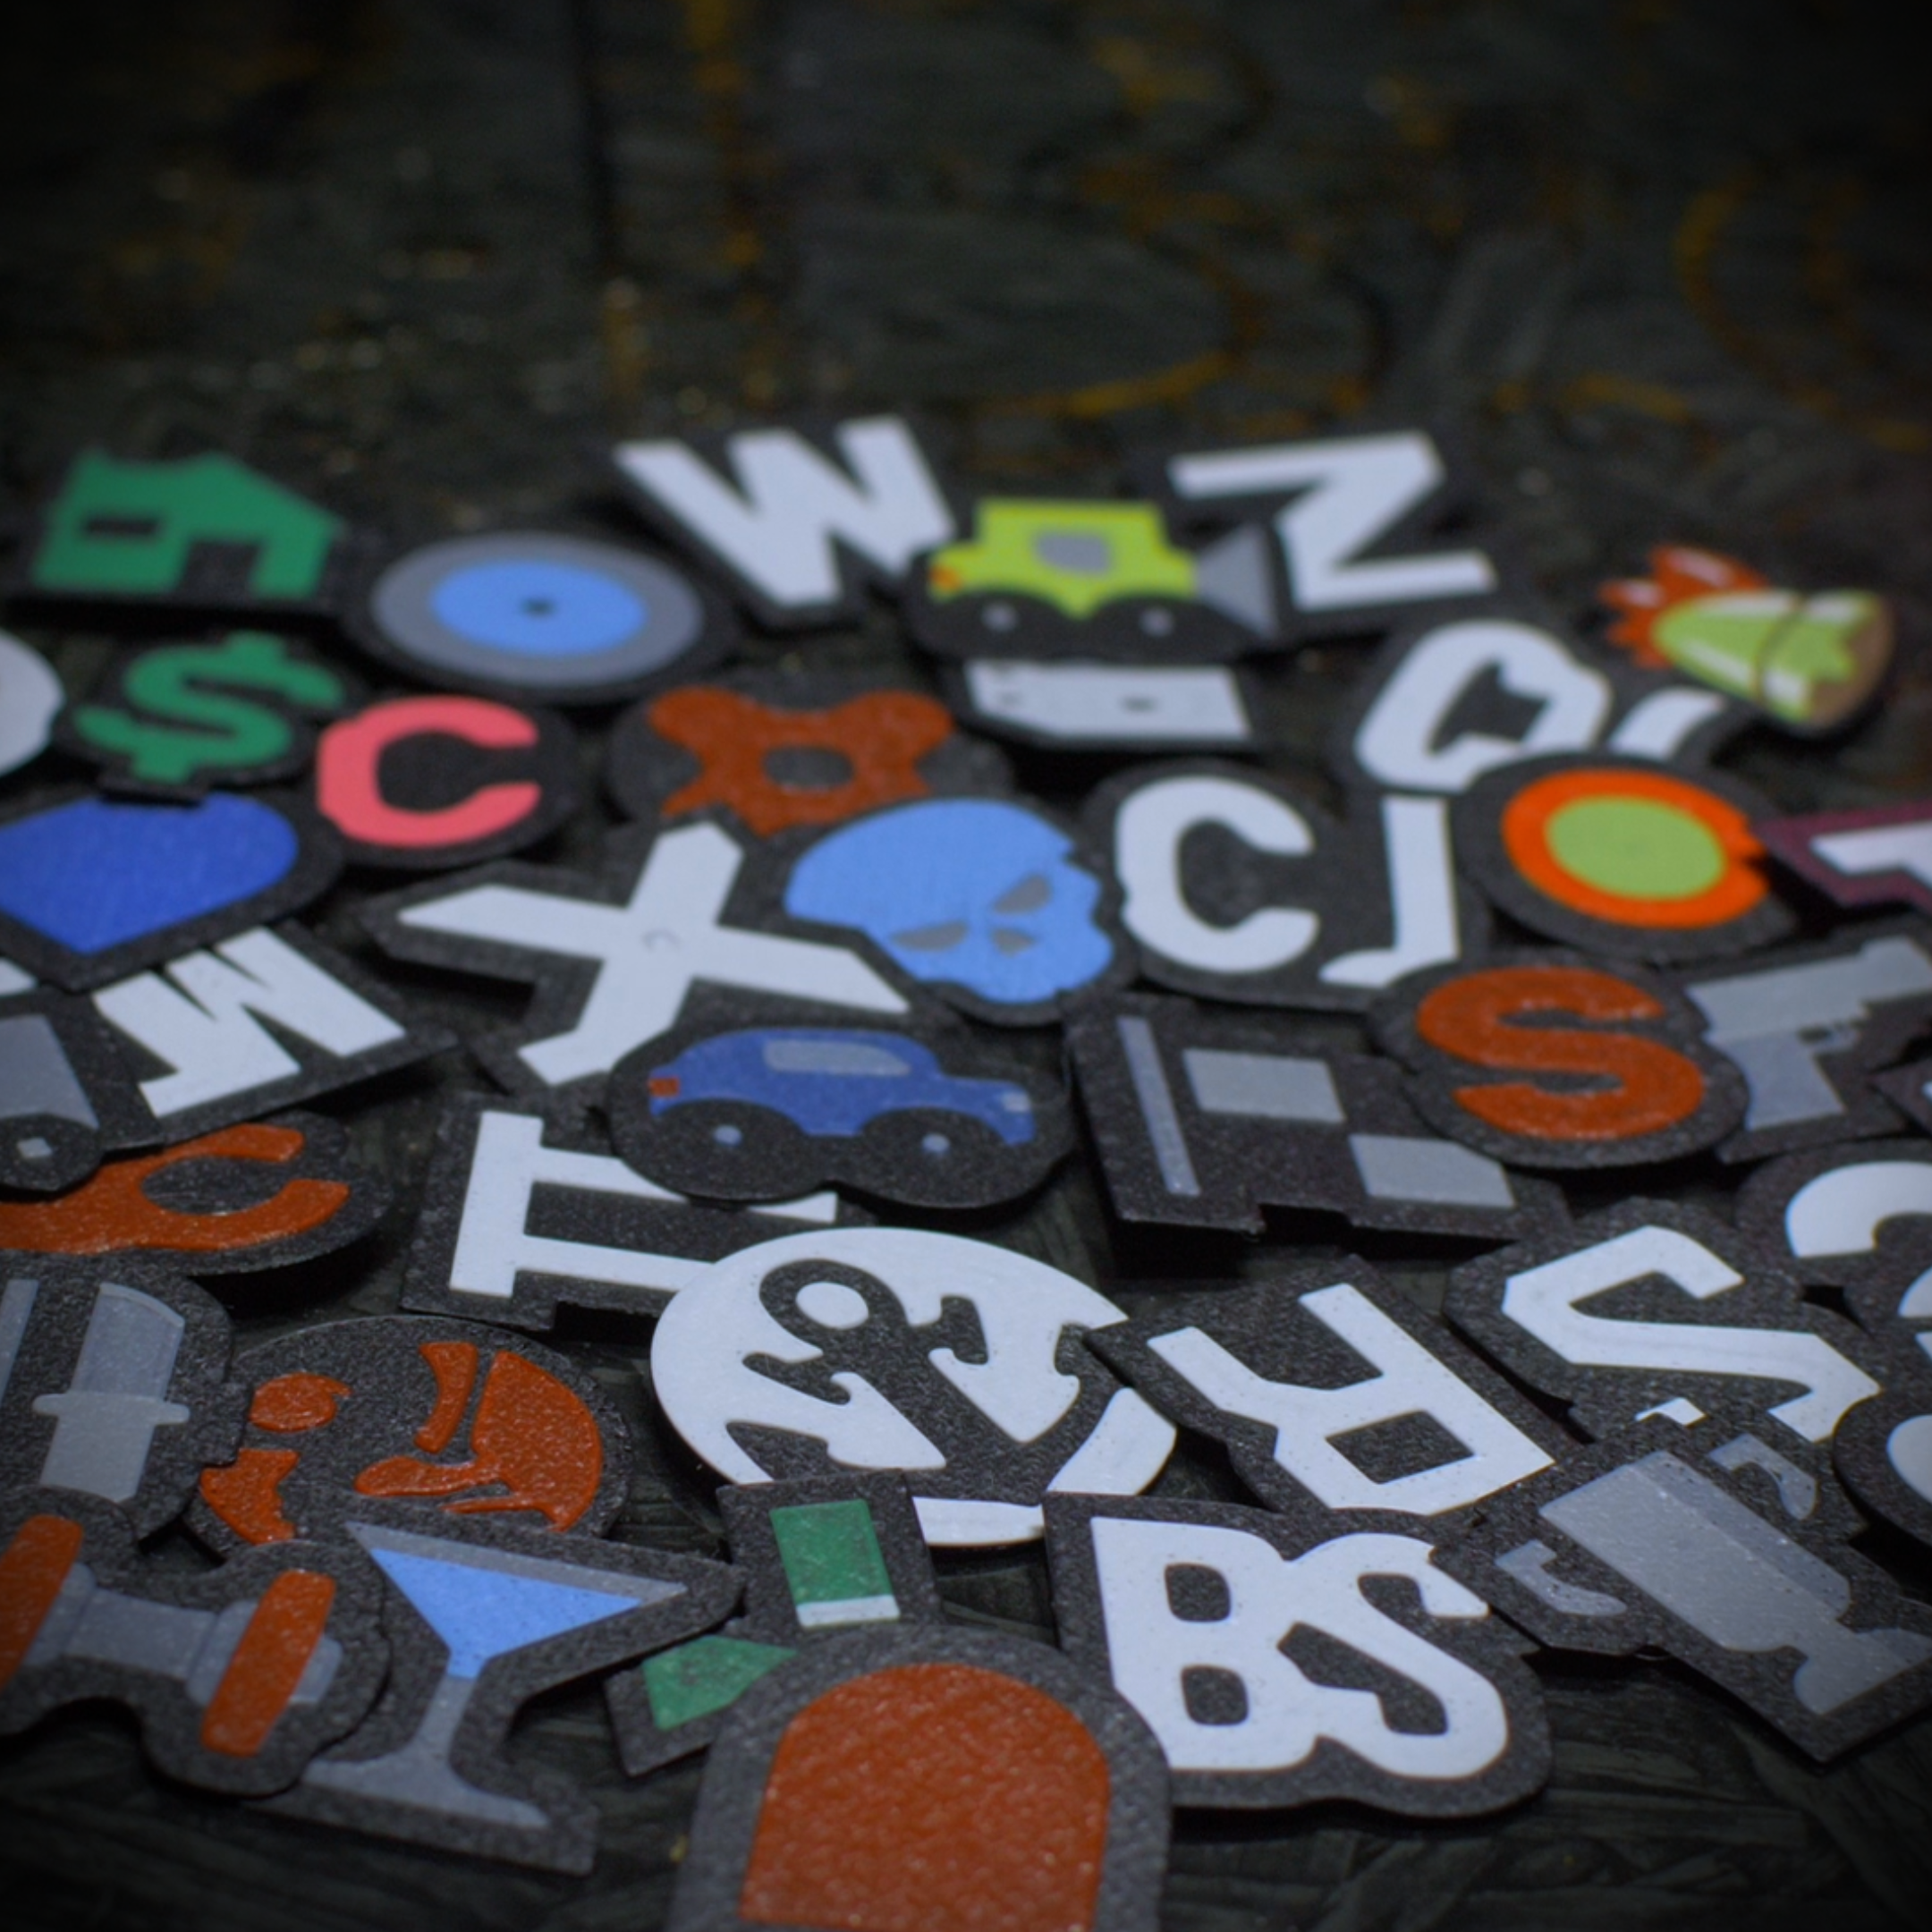
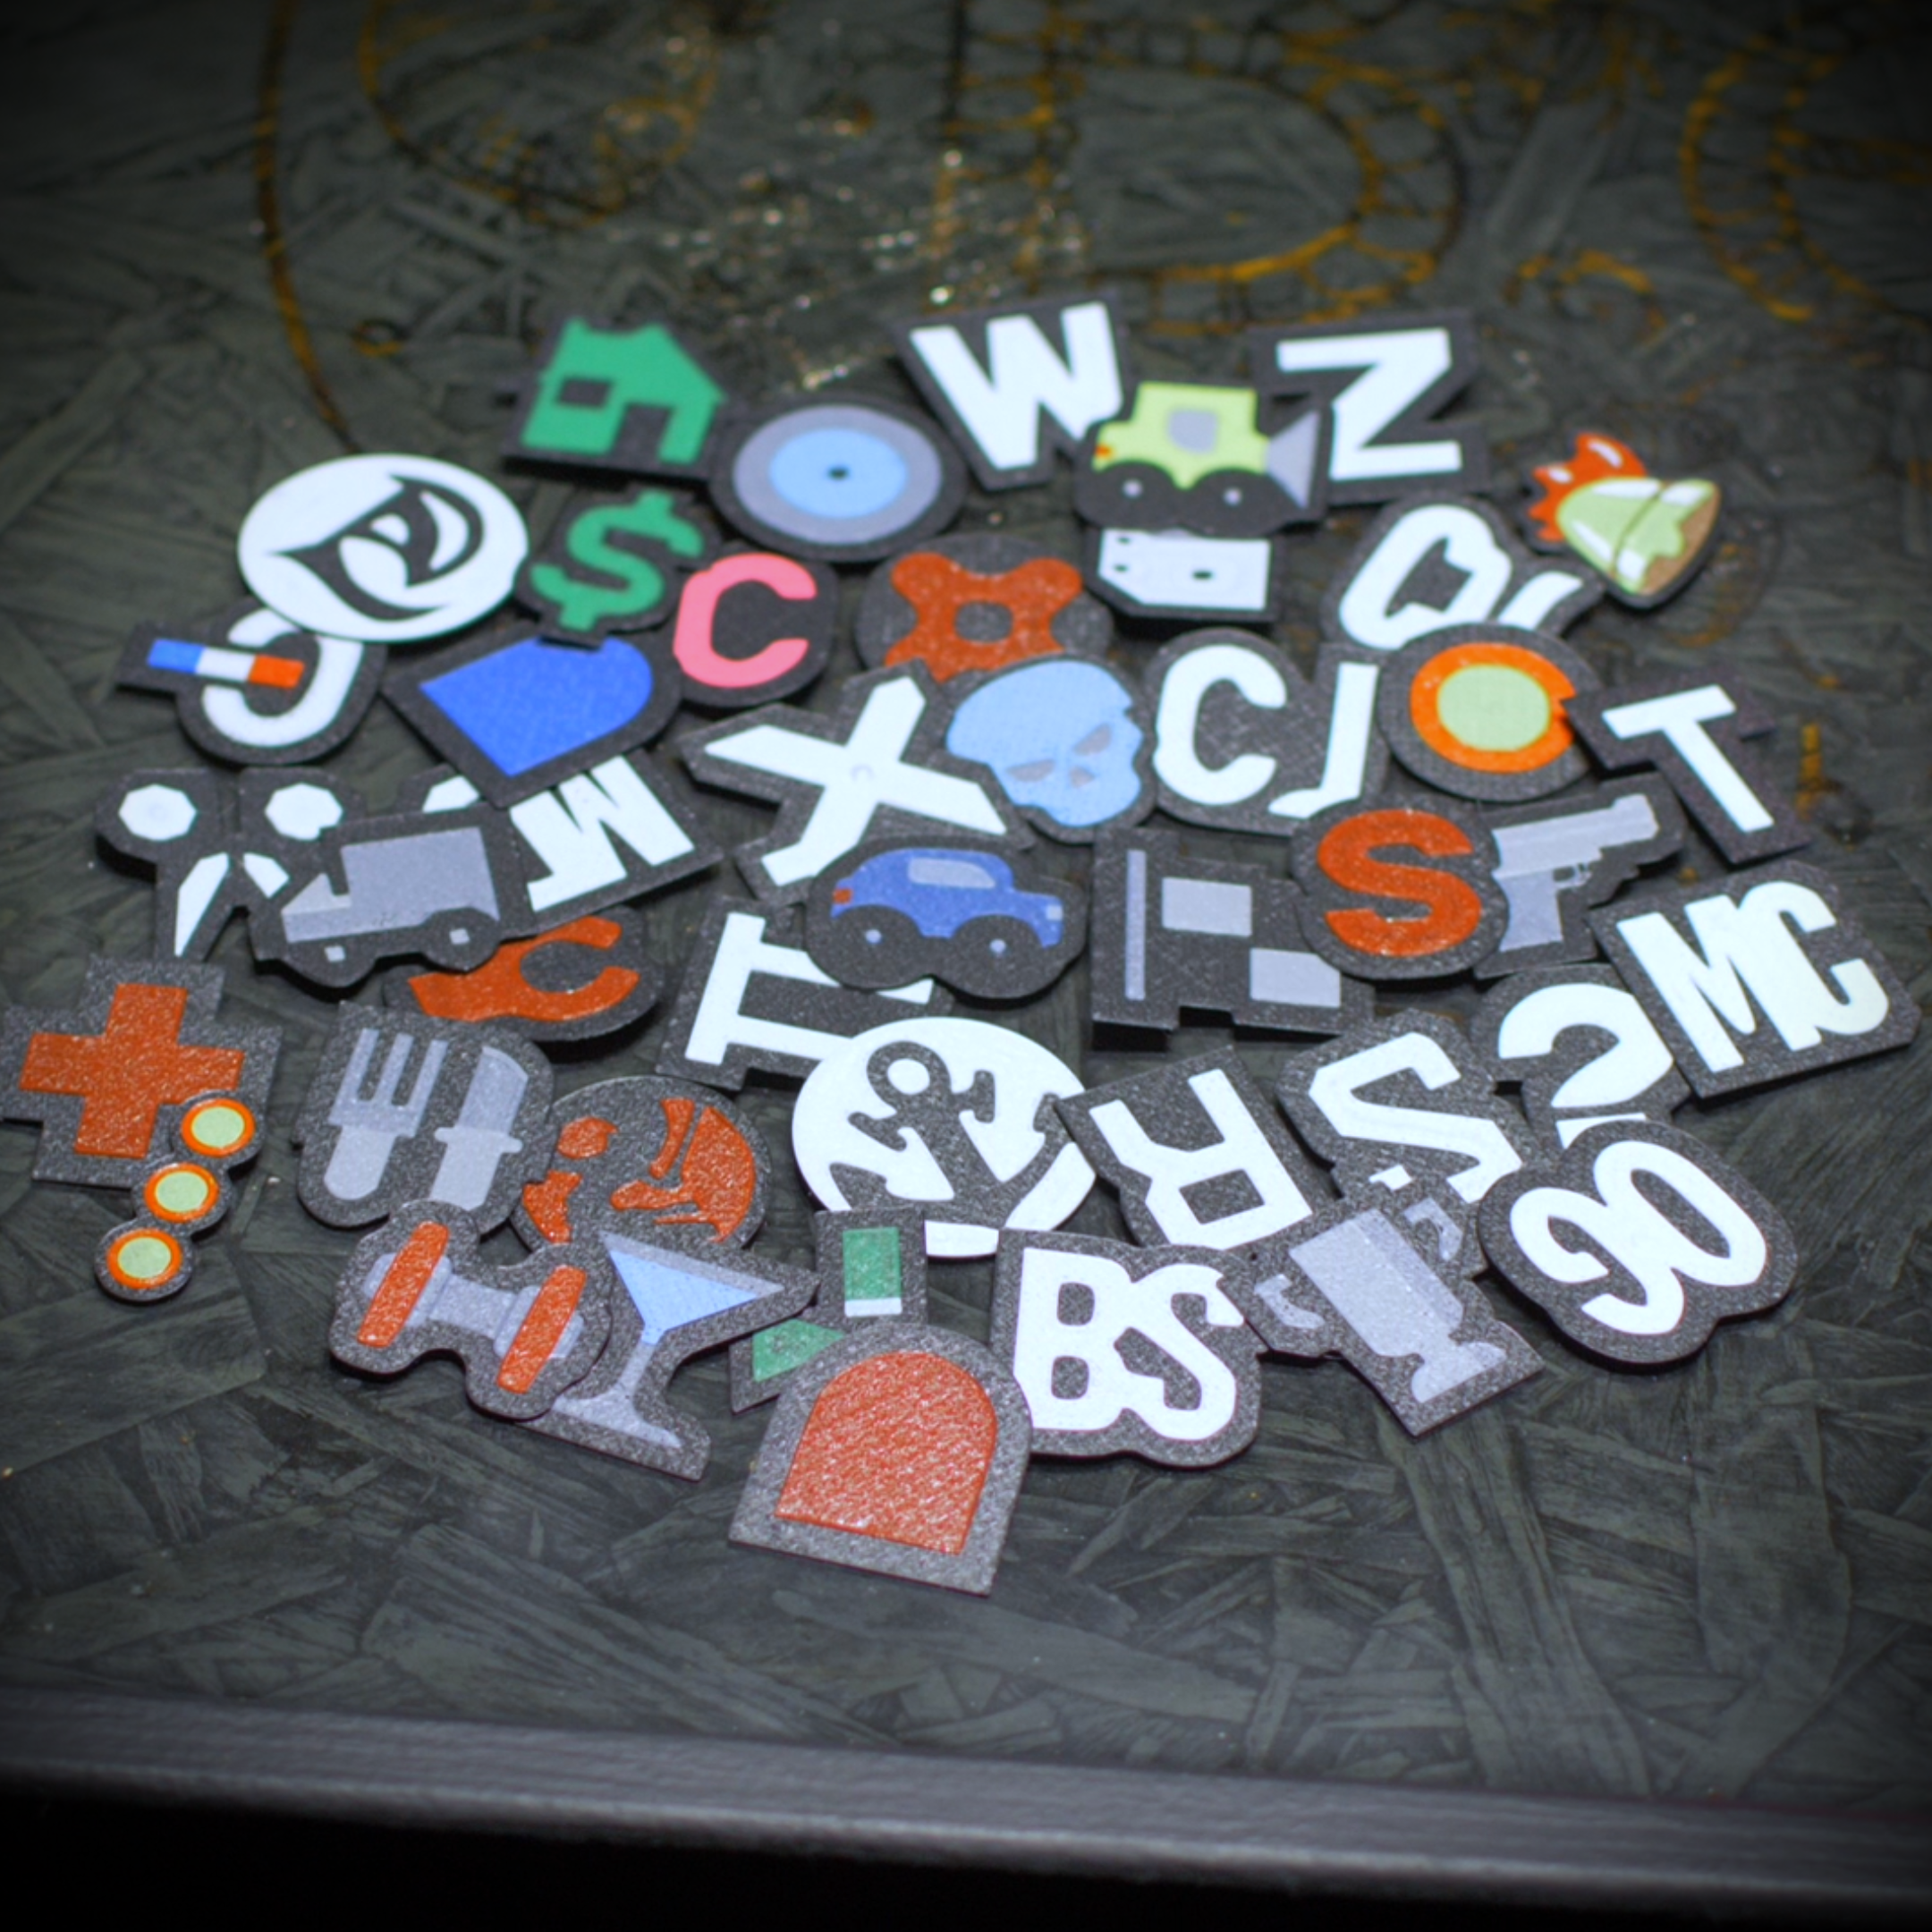
Make the map your own with an incredible 51 interchangeable 1-inch destination icons! From classic mission markers to safehouses, these waypoints snap securely right into the rim, allowing you to completely customize your display and populate your map alongside uniquely designed minute and hour hands.
-
Instant Digital Download: Includes all necessary STL files and a pre-configured 3MF file for quick and easy slicing.
-
Authentic HUD Design: Features a map face centered on Grove Street, a sweeping player-icon second hand, and a designated inner channel perfectly sized for your app-controlled RGB LED strip.
-
Massive Customization: Comes with 51 snap-in destination icons to populate your map and mark your favorite spots across San Andreas.
-
Complete DIY Kit: Your download includes high-quality reference images and a step-by-step installation guide text file to help you assemble the clock and set up your ESP8266 lighting. (Note: This is a digital file only. You will need a 3D printer, filament, a standard clock mechanism, an ESP8266, an RGB LED strip, and basic wiring tools to complete the physical build.)
🖨️ Print Details
🎚️ Moderate

⚖️ 260 Grams

⏱️ 14+ Hours

🍭 AMS Recommended but not required
🎨 Materials
These are the filaments and non-printable hardware used to complete this print:
Filaments:
Hardware:
* Contains affiliate links
🛠️ Installation Guide
Get seamless printing on any standard machine with these pre-tested STL files.
Overview
Keep the default orientation for a support-free print (only the display base and ESP8266 case will require supports), or use the 3MF file to easily customize your layout and filament Color. (STLs included for legacy slicers). The 3MF file is organized by print assembly order for simple guided installation.
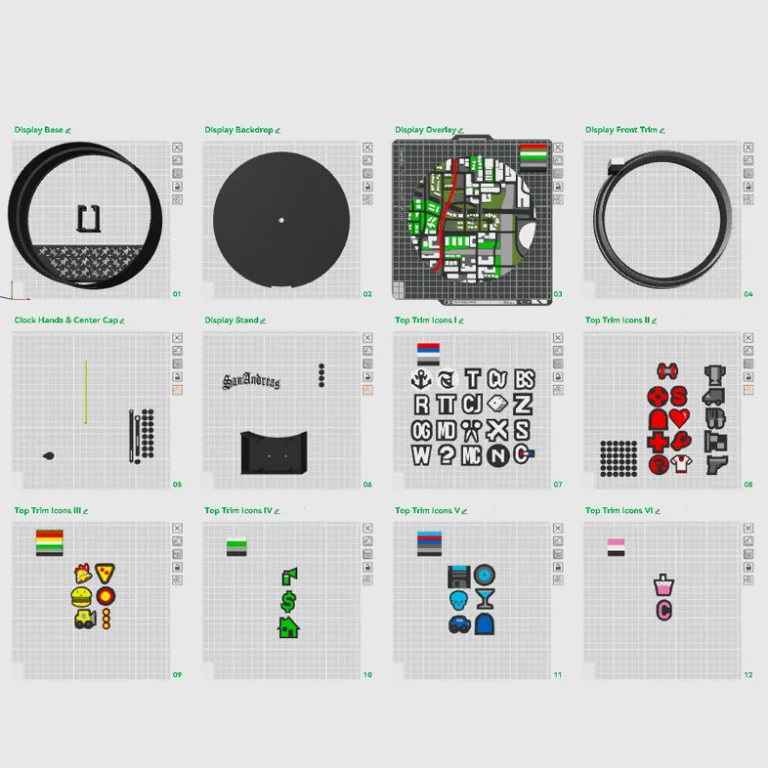
Display Base
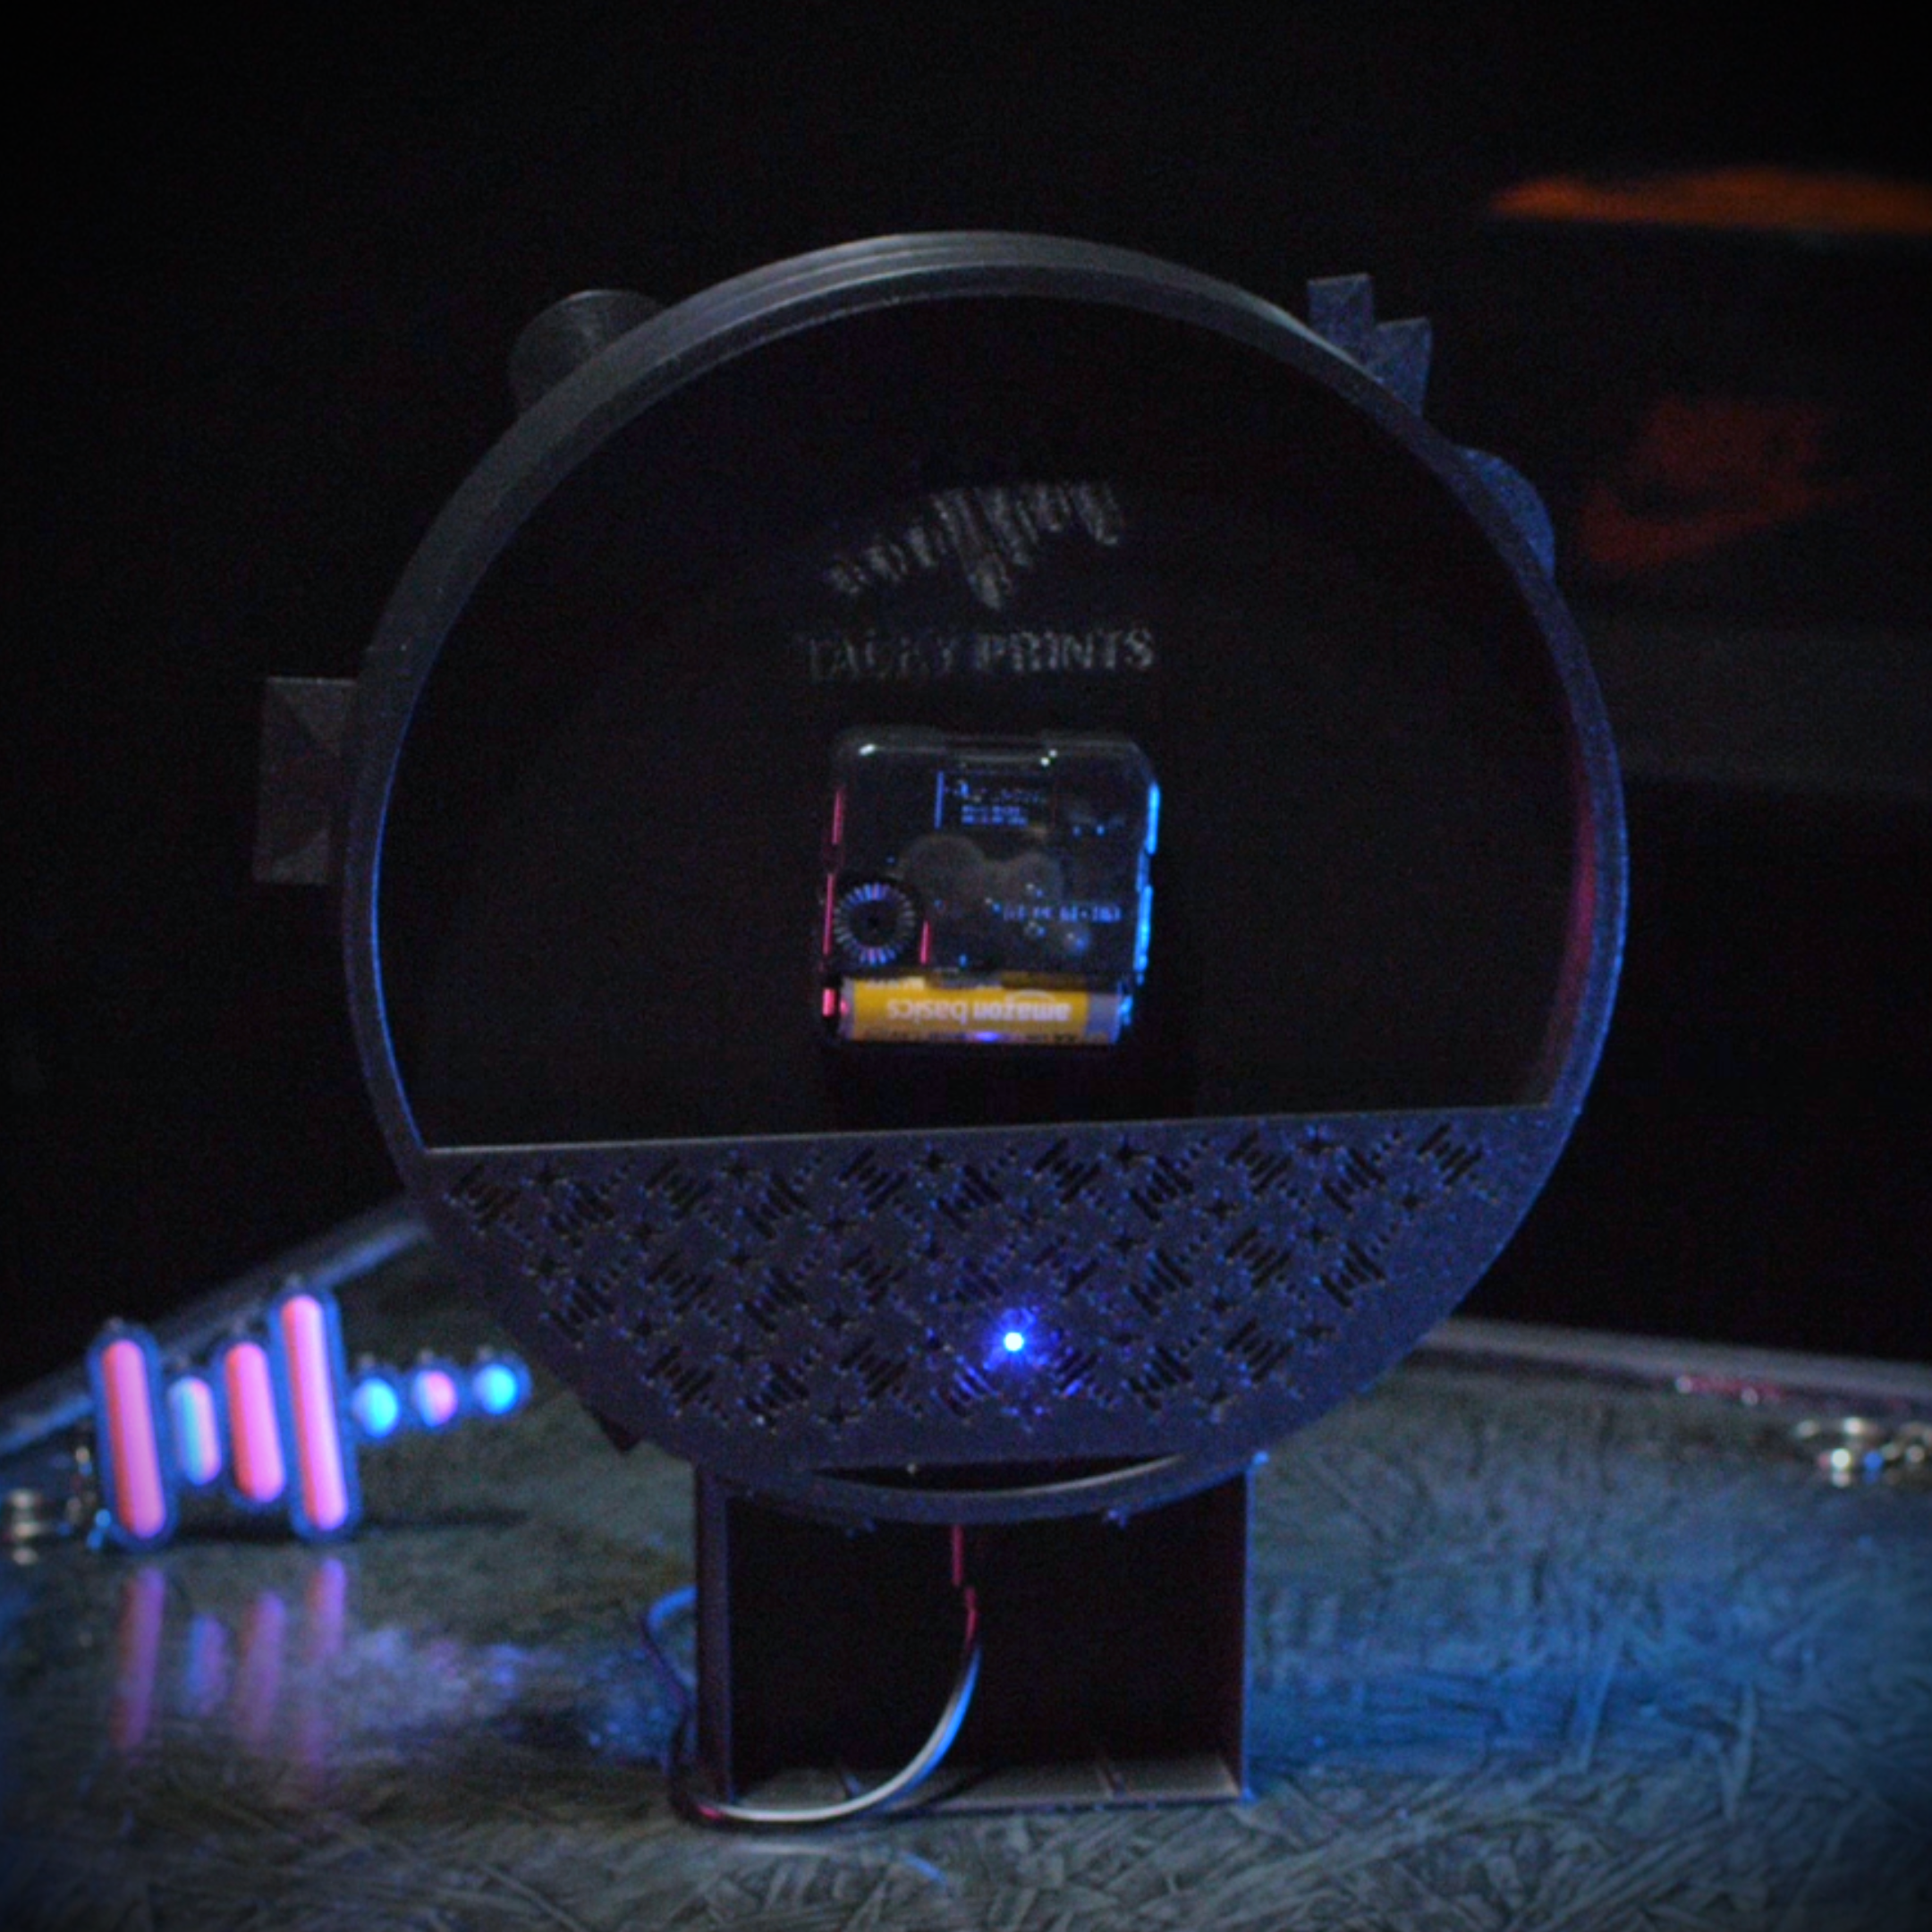
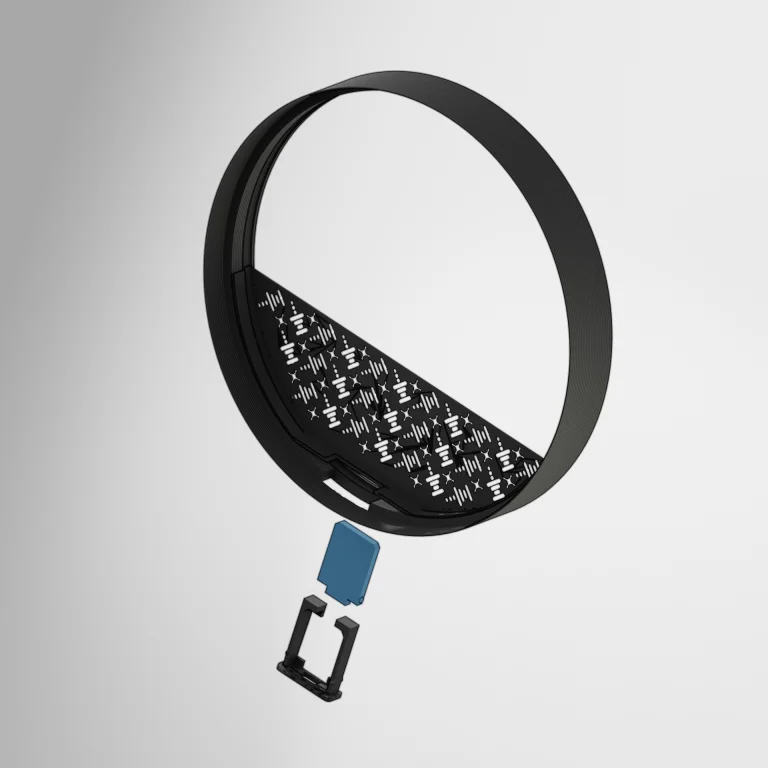
The ESP8266 case snaps into the display base, followed by the placement of the Display Back Tray. Once connected, the ESP8266 board can be placed into the case, and the LEDs can be soldered into place. Do not apply the LED lights to the display case until the Display Backdrop is installed. Just let them sit out and rest outside of the display base, along the edge.
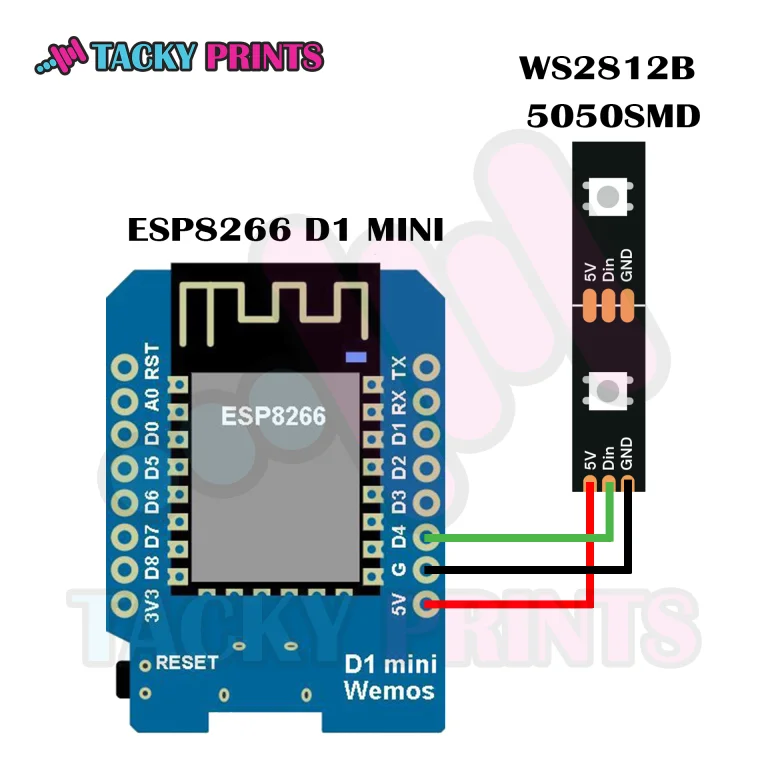
ESP8266 D1 MINI & WS2812B LED Lights
This part can be done in several ways, and I highly recommend following the WLED wiring guide for reference on ESP8266 & ESP32 boards. For this demonstration, I simply connected the 3 wires from the WS2812B LED Strip directly to an ESP8266 D1 MINI board and flashed the board by connecting it to my laptop and following the easy 3-step instructions to install the WLED files to the board at https://install.wled.me/. Once flashed, the lights can be easily controlled with the official WLED app (available on Google Play and Apple Store). This clock can hold up to 20 5050SMD LED bulbs on the strip.
Display Backdrop
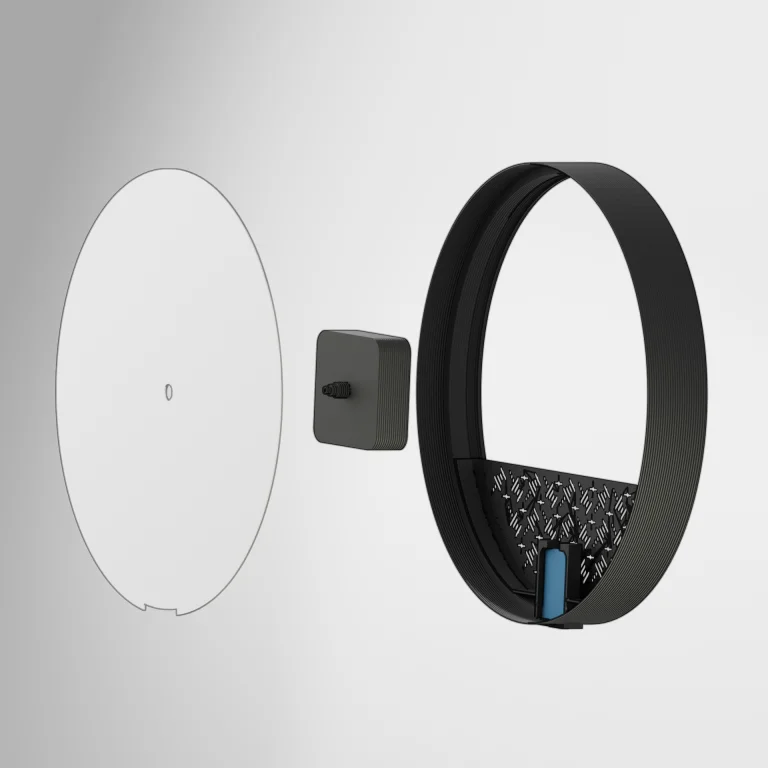
Install the clock assembly onto the display backdrop (if not using a clock, plug the hole with the second hand cap adaptor once the Display Overlay is installed). Slide the Display Backdrop into the Display Base until it fits snug with the open gap, pointing down over the ESP8266 case. Now the LED strip can be applied to the Display base inner trim, locking the backdrop into place. Tuck any loose wires under the backdrop around the ESP board.
Display Overlay & Top Trim
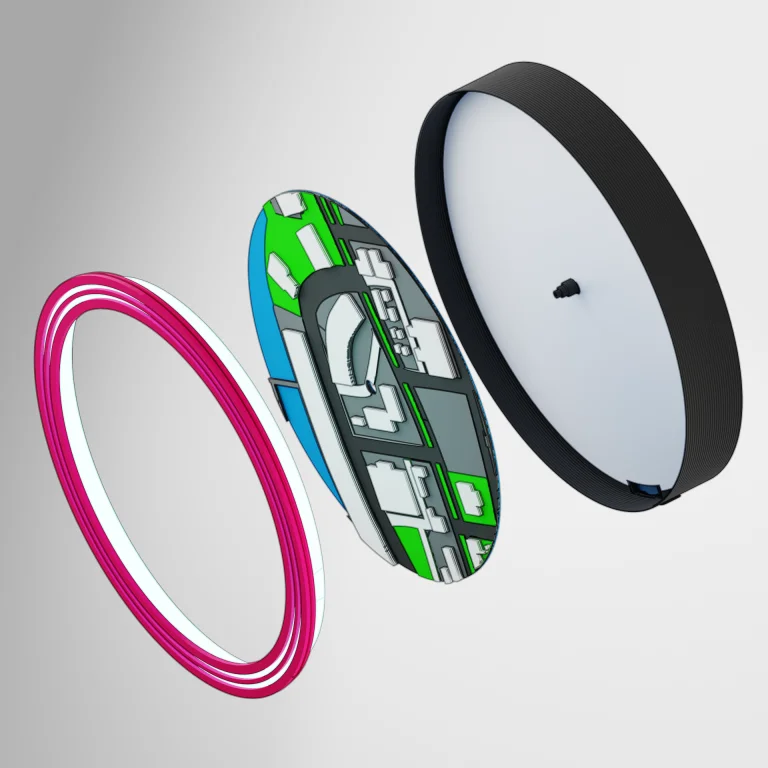
Place the Display Overlay over the backdrop and arrange it by spinning it until you are happy with the placement. The Display Top Trim can now be applied by snapping it into the Display base. If done correctly, the top trims diffuser should perfectly cover the LED strip and secure the backdrop in place.
Clock Hands & Center Cap
The clock hands are pretty straightforward. The hour hand (short one) goes in first, followed by the minute hand (longer one), and the second hand goes on last. I recommend popping the Clock Hand Center Cap onto the second hand before applying the second hand to the clock.
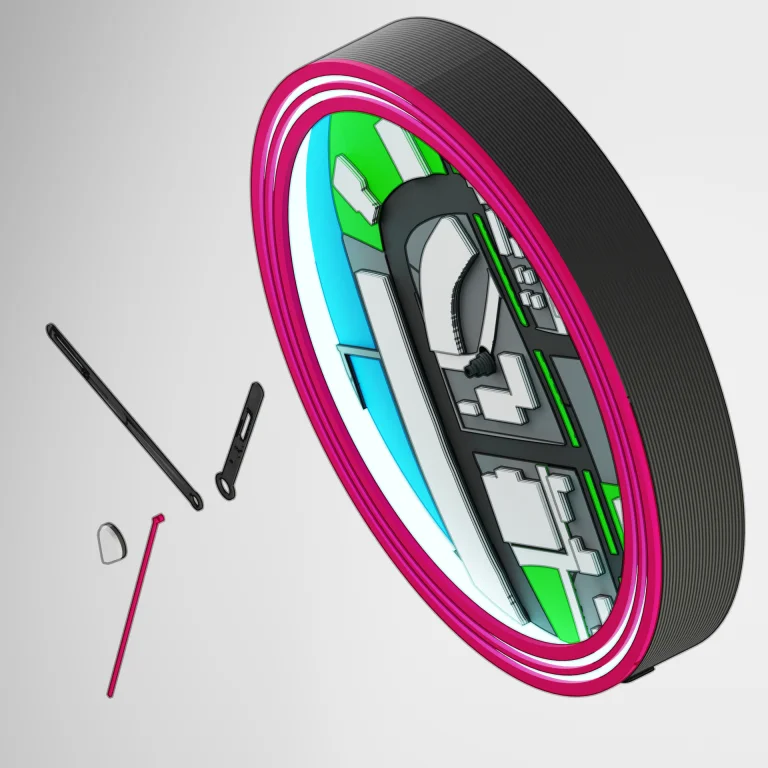
Display Stand
The logo is placed onto the Display Stand, which will need to have the logo plugs super-glued to it. I recommend snapping the plugs into the stand first and applying the glue to the plugs before placing the logo onto the stand. This will allow for easy removal later if you want to change the logo.
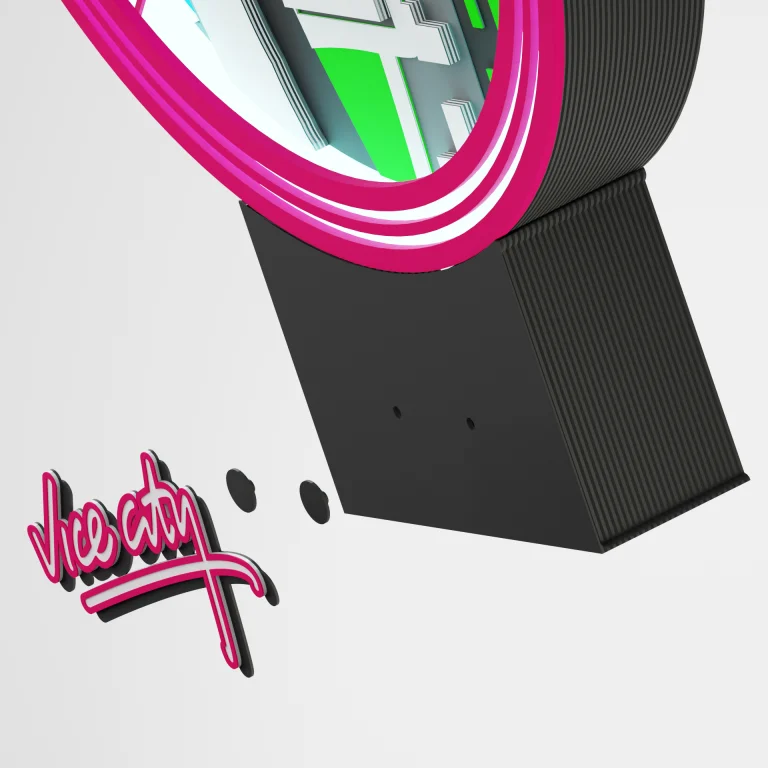
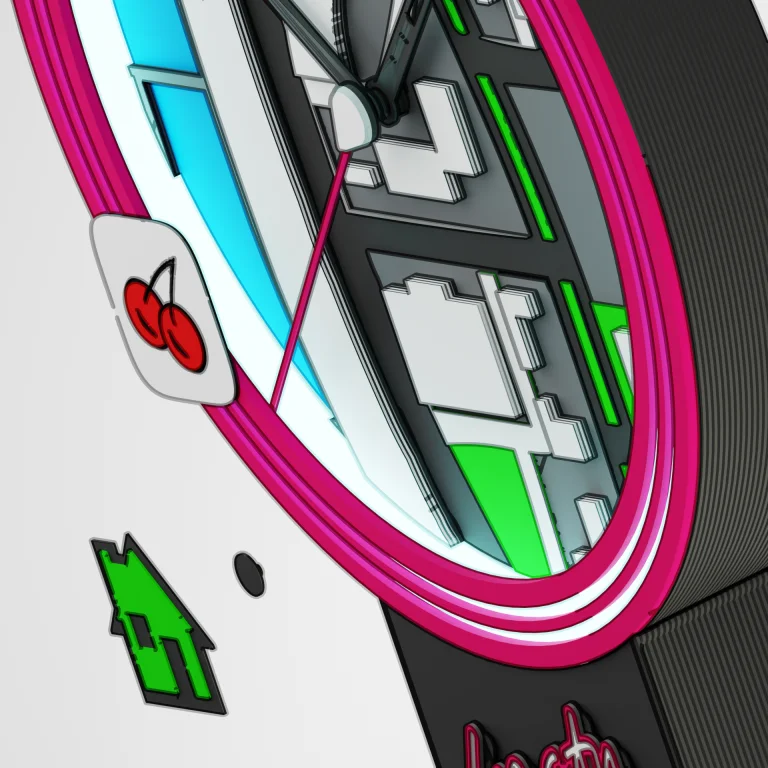
Top Trim Icons
Just like the logo on the display stand, we will need to glue the icon plugs onto the back of the Trim Icons. When printing these using an AMS system, these are designed to change Color by layer height, so pair the matching Color together and print them in batches. I have found this to be the most efficient way to print multi-color designs of this scale with as little waste as possible. These icons can be placed anywhere around the top trim as well as placed on hour/minute hands (I recommend one or the other, as using both starts to make the clock hands heavy, and it could affect the functionality of the clock.
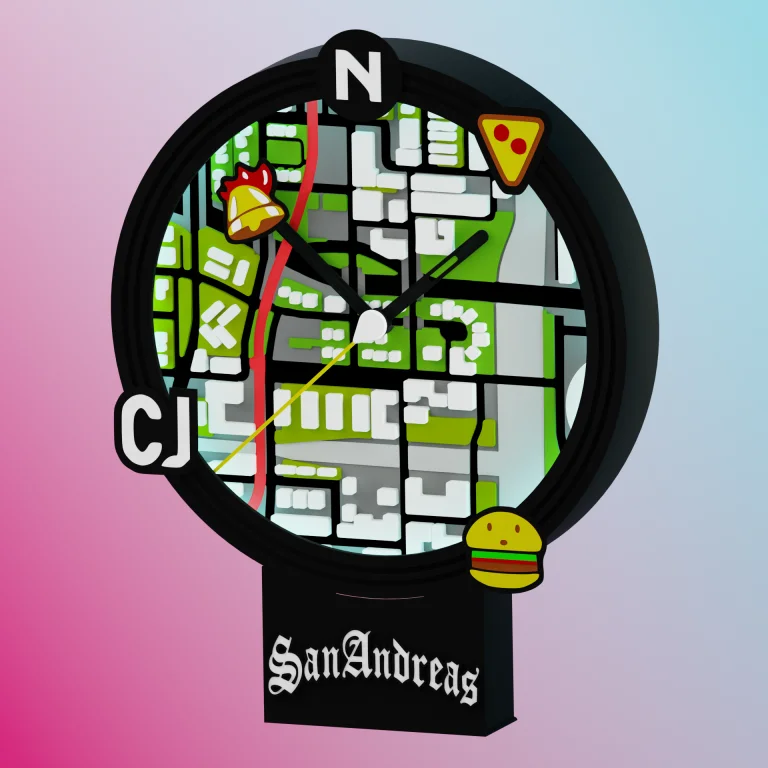
Mount & Enjoy
Congratulations, you’ve managed to recreate an iconic HUD display from one of my favorite games. 3d printing and working with micro-controllers like these ESP boards are something I’ve been tinkering around with for over a decade. It brings me true joy to not only combine all of my hobbies into one tacky project, but to be able to design it in a way that others can create as well. If you’ve completed this build and want someone to share it with, I’d love for you to consider posting it on the download page you found it on, as well as tagging us on social media if you decided to share it there… I can’t wait to see it!
Getting Connected…
Controlling your clock’s neon glow from your phone is simple. WLED runs on its own local hotspot out of the box so that you can link it to your home Wi-Fi in minutes:


-
Download the App: Search for WLED or WLED Native on the Apple App Store or Google Play Store and install it on your smartphone.
-
Connect to the Clock: Plug your clock into a power source. Open your phone’s Wi-Fi settings and look for the network named “GTA San Andreas Clock” (or “WLED-AP”). Connect to it using the default password:
wled1234. -
Link Your Home Wi-Fi: Once connected, a configuration page will automatically pop up on your screen. Tap WiFi Settings, enter your home Wi-Fi network name (SSID) and password, and click Save & Connect.
-
Launch & Control: Reconnect your smartphone to your normal home Wi-Fi and open the WLED app. Tap the + icon in the top right corner and hit Discover Lights—your LED clock will instantly appear, ready for you to customize its Color, brightness, and retro lighting effects!
📝 Changelog
Keeping our designs current and addressing user feedback are priorities. This tab will track all official updates to the STL files found in this download.
Version V1.0
-
Date: 7/10/2026
-
Notes: Initial Release. Clean STL & 3MF files provided. Optimized for FDM. No hollowing needed, minimal support setup required.
Version V2.0
-
Date: 7/14/2026
-
Notes: Improved Design & Print Quality. The Display Front Trim has rigid grooves added for better waypoint icon connection. The Display Base has a crease added around the lip for a better snap fit of the lid. The ESP8266 board holder has a wider port hole to allow a broader range of USB plugs to fit. The Overlay Map has been reduced to 50% to improve visibility under clock keys that hold icons. The Second’s Hand hole has been adjusted to snap into place and better grip the clock module. The Waypoint Icons have been modified with height adjustments to improve print color quality as well as efficiently print with less purge waste.